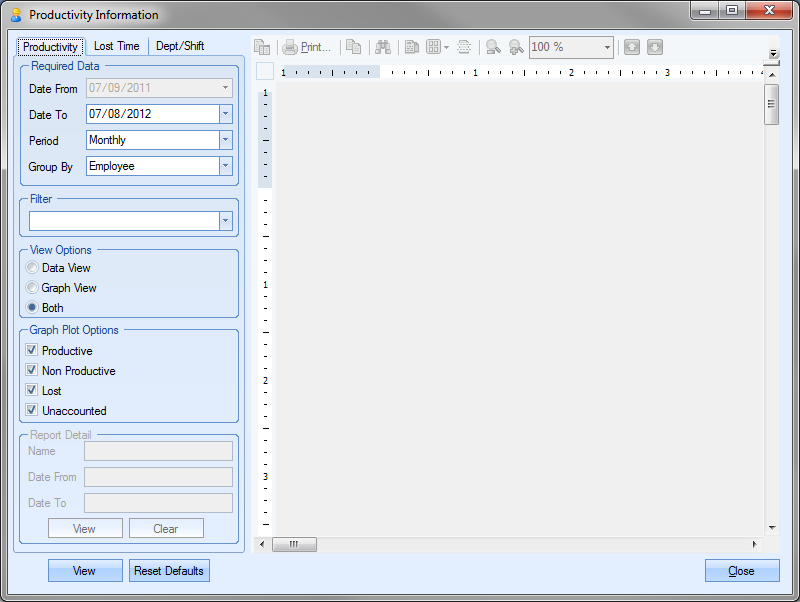
This option allows the user to run productivity reports based on selected criteria. Clicking this option presents the following screen.
The user can run reports on the following areas:
Productivity Analysis
Lost Time Analysis
Department Time Analysis
The user can select which report they wish to generate by selecting on the appropriate tab at the top of the screen.
Productivity Analysis
This report allows the user to run a productivity report for a specified date range and group the information in a variety of ways to suit. The report itself provides a breakdown of the time within each date range. The time is broken down into Productive, Non-Productive, Lost and Unknown time as both values and percentages. This allows the user to investigate any time that cannot be accounted for. The left hand side of the screen allows the user to specify the details of the report and how they wish the report to be generated. The first set of options allows the user to specify the date range to be reviewed and how the report should be grouped.
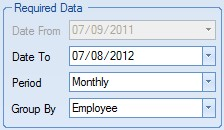
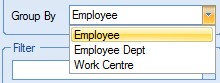
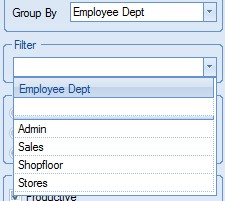
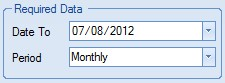
The user can run this report over a 12 month (MONTHLY) or 12 week (WEEKLY) basis or can specify the date range required (FIXED DATES). Both the monthly and weekly report options will generate the report based on the 12 month or 12 week period prior to the date specified in the DATE TO field. The Group By value allows the user to specify how they wish the data to be grouped on the report. The user can select the grouping method using the drop-down list.
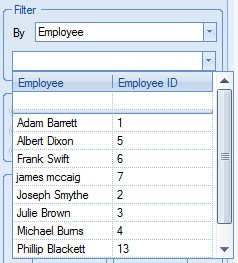
The user can also filter the report for specific values based on the GROUP BY value chosen by the user. The FILTER drop-down list will allow the user to choose a value based on the GROUP BY value chosen.
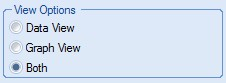
The user can specify whether they wish to view the report as either a graph, date or both. The user can select using the options available.
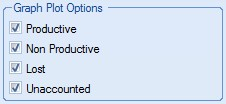
The user can select which values they wish to see plotted on the graphical report using the tickboxes available.
Once the above details have been specified by the user, they can run the Productivity Analysis report by clicking the VIEW option at the bottom-left of the screen. This will present the user with the report.
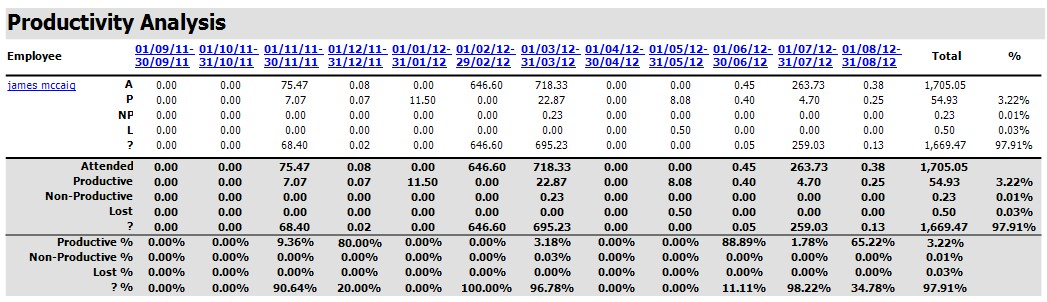
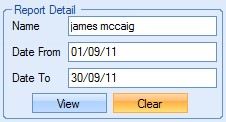
The REPORT DETAIL section of this report allows the user to run the Employee Time Analysis report for the selected employee and/or date range. Once the productivity report has been run, the user can click on the date ranges and/or employee name to populate the REPORT DETAIL section.
Clicking on the date range of the first column and clicking on the employee name in the example above populated the REPORT DETAIL section as follows:
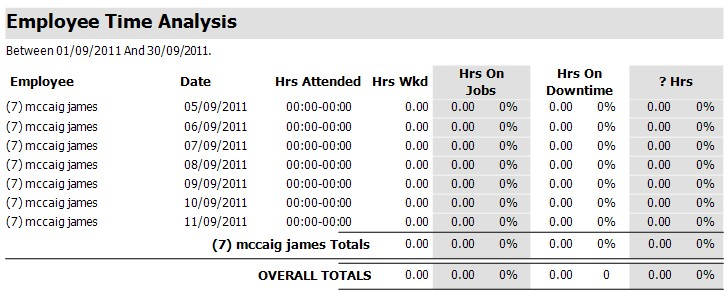
Once populated, clicking on the VIEW option will generate the Employee Time Analysis report for the specified data.
The user can reset the selected date range and employee by clicking the CLEAR option and repeat the steps above to view details about other date ranges and/or employees.
Lost Time Analysis Report
This report allows the user to view a breakdown of the time recorded as “lost” within Progress. This time maybe the result of machine failure or training sessions that have taken place and logged as lost time through timesheets. The left hand side of the screen allows the user to specify the details of the report and how they wish the report to be generated. The first set of options allows the user to specify the date range to be reviewed.
The user can run this report over a 12 month (MONTHLY) or 12 week (WEEKLY) basis. Both the monthly and weekly report options will generate the report based on the 12 month or 12 week period prior to the date specified in the DATE TO field. The user can also filter the report for specific values based on the FILTER BY value chosen by the user. The user must first select the category they wish to filter the report by from the top drop-down list before choosing the desired value.

Like the Productivity Analysis report, the user can specify whether they wish to view the report as either a graph, date or both. The user can select using the options available.

Once the details have been set by the user, they can view the report using the VIEW option at the bottom left of the report. This will present the user with the report.

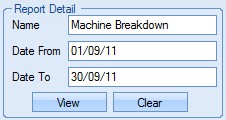
Again, like the Productivity Analysis report, the user can look at the details behind the report values using the REPORT DETAIL option. Once the Lost Time Analysis report has been run, the user can click on the date ranges and/or lost time category to populate the REPORT DETAIL section.
Clicking on the date range of the first column and clicking on the lost time category in the example above populated the REPORT DETAIL section as follows:
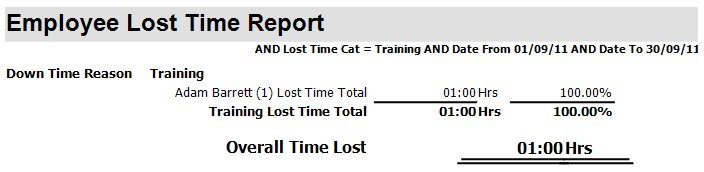
Once populated, clicking on the VIEW option will generate the Employee Lost Time report for the specified data.
The user can reset the selected date range and lost time category by clicking the CLEAR option and repeat the steps above to view details about other date ranges and/or categories.
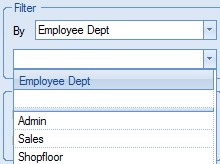
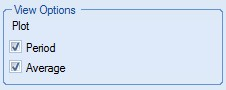
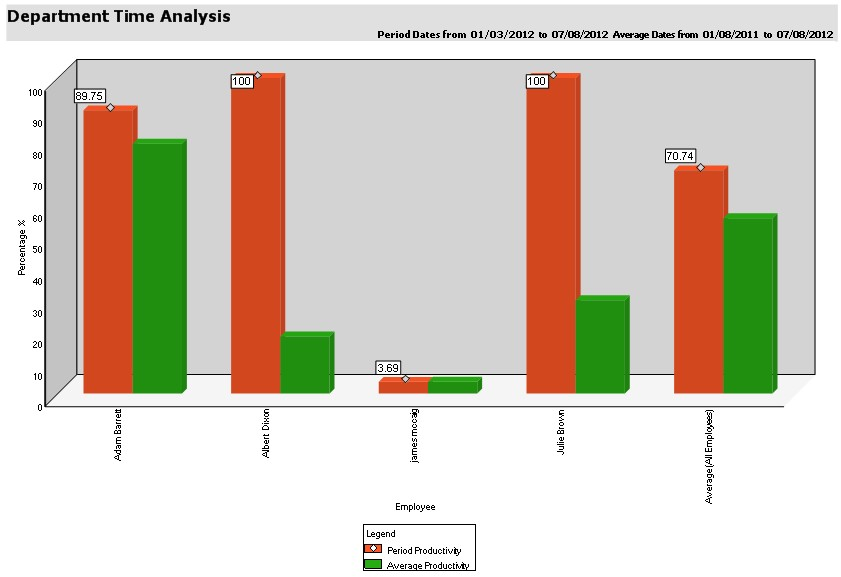
Department Time Analysis
This report allows the user to view employee productivity against average productivity figures for the department over specified date ranges as well as the overall productivity and average for all employees..
The left hand side of the screen allows the user to specify the details of the report and how they wish the report to be generated. The first set of options allows the user to specify the date range of the employee data to be reviewed.
The user can also filter the report for specific values based on the FILTER BY value chosen by the user. The user must first select the category they wish to filter the report by from the top drop-down list before choosing the desired value.
The user can also specify the date range from which the average productivity value is calculated. This is specified using the date options below.

The user can also specify what values are plotted on the report using the VIEW OPTIONS.
Once the user has set the report details required, they can view the report using the VIEW option at the bottom-left of the screen. This will present the user with the report.
The user can return to the work orders section from any of these reports by clicking the CLOSE option at the bottom of the screen.