Once the goods have been delivered to the customer, the last stage of the process is to invoice them for the goods. The user can raise the invoice from within a delivery via the MENU option, via the Customers > Invoices section and also from the Delivered Not Invoiced screen in the Today section.
Creating Invoice via Delivery
The user can create the invoice from within the delivery itself, using the CREATE INVOICE option within the MENU option.
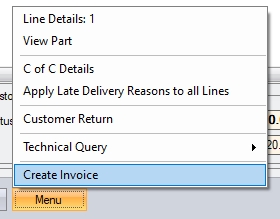
Selecting this option will present the user with the New Invoice screen with the delivered items listed for invoicing.
Creating Invoice via Invoices Section
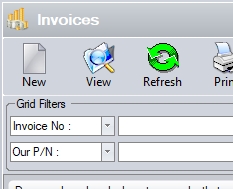
The user can create invoices from within the Customers > Invoices section. This is the main invoice section within Progress. To create the invoice from within this section, the user must first click the NEW option at the top of the screen.
The user will then be prompted to select the details of the invoice they wish to create.
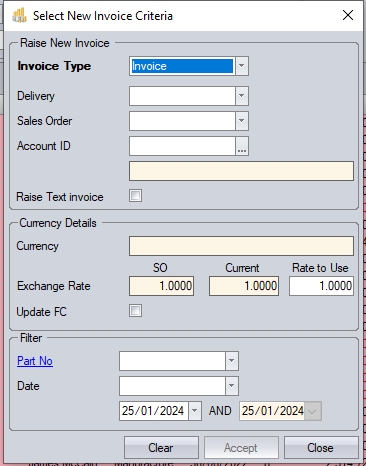
The user can create the invoice based on a single delivery, a sales order or customer account. The user can select how they wish to raise the invoice using the drop-down lists provided.
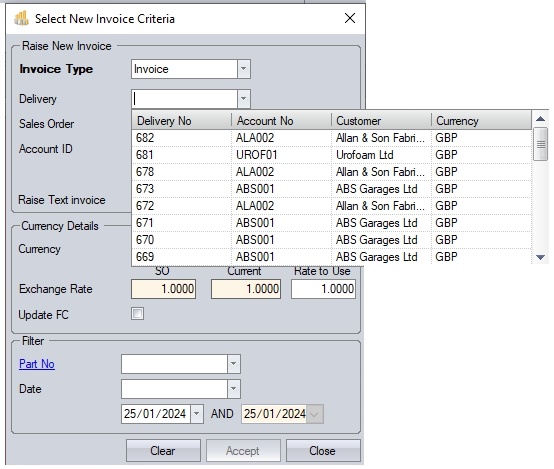
(Creating invoice based on a delivery)
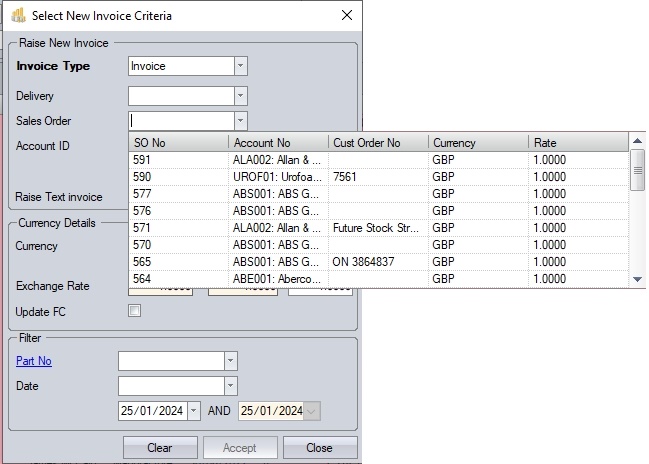
(Creating invoice based on a sales order)
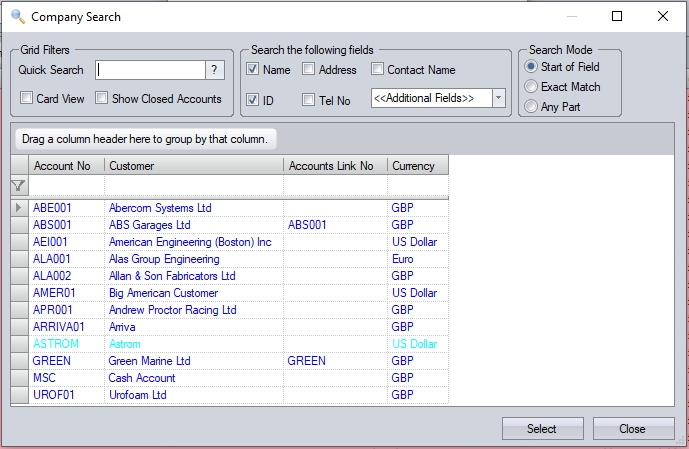
(Creating an invoice based on customer account)
Once the required method has been selected, the associated details will be displayed on screen.
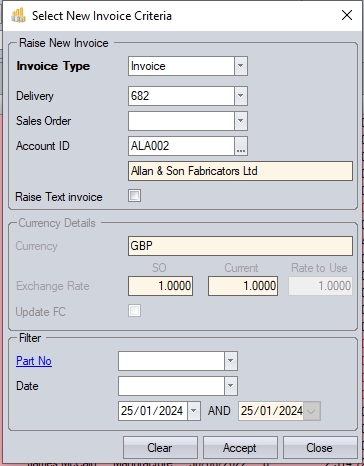
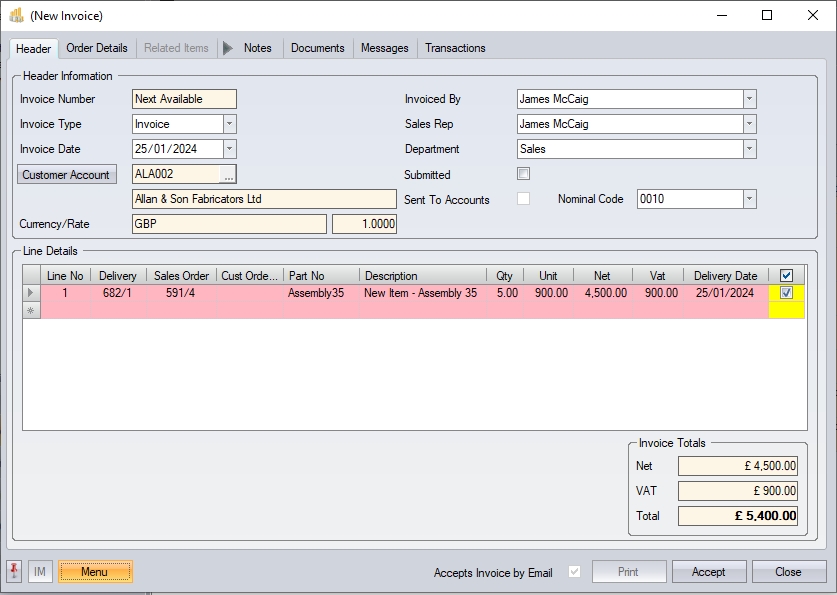
Clicking ACCEPT will open a New Invoice screen with the relevant details listed for invoicing.
Creating Invoice from Delivered Not Invoiced Screen
The Delivered Not Invoiced screen shows all deliveries that have yet to be invoiced.

The user can create new invoices directly from this screen by double-clicking on the delivery they wish to invoice. Doing so will open a New Invoice screen with the selected item(s) listed. Depending on the system's configuration, other items may also be included on the new invoice if they have yet to be invoiced. These could be related to items from the same sales order, or other sales orders for the same customer.
The majority of the information on the invoice will be pulled through from the selected delivery, its associated sales order and also the customer account. Any additional deliveries included for the customer that are also available to be invoiced will get their associated details from their sales orders (i.e. customer order number, unit price, discounts, etc.).
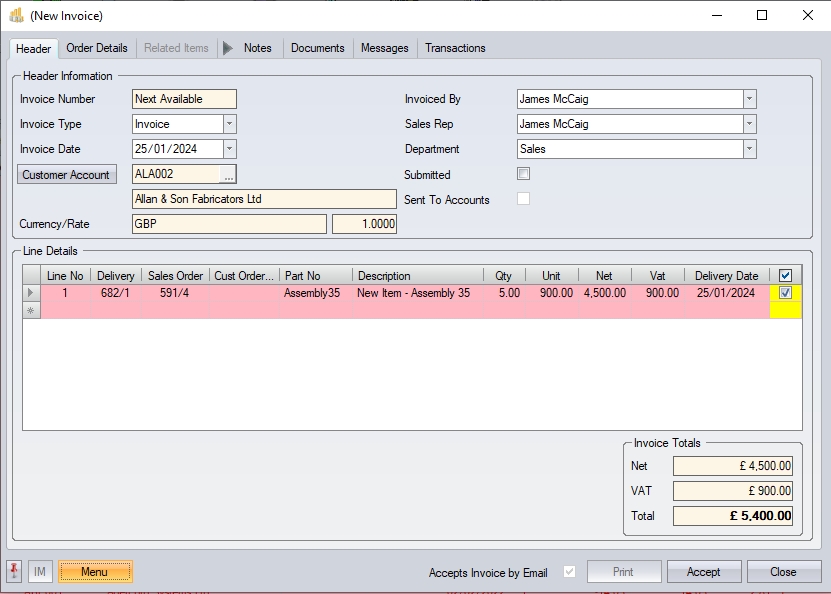
The top half of the invoice screen contains all the customer information.
| Invoice Number | This is the system maintained invoice number. This is a numeric counter based on the invoice numbering sequence. The Invoice Number will be populated on saving the invoice. |
| Invoice Type | This field indicates whether the user is creating an invoice or a credit. This field will default to Invoice. |
| Invoice Date | This is the date to of the invoice. This will default based on the invoice date setup in the system settings of Progress. |

(Invoice date system option)
| Creation Date - This option will default the invoice date to the current date. |
| Earliest Delivery Date - If invoicing multiple delivery notes on the one invoice, and these deliveries have different delivery dates, the system will default to the date of the earliest delivery. |
| Latest Delivery Date - If invoicing multiple delivery notes on the one invoice, and these deliveries have different delivery dates, the system will default to the date of the latest delivery. |
| Customer Account | These are the details of the customer for whom the invoice is being raised. The details in this field are read only and cannot be amended by the user. |
| Currency / Rate | This is the default currency set up for this customer. This will default based on the invoice rate setup in the system settings of Progress. |

| Sales Order Exchange Rate - This option will default the invoice exchange rate to the same as the associated sales order (i.e. the sales order being invoiced) |
| Current Exchange Rate - This option will default the invoice exchange rate to the current exchange rate |
| If the system is configured to use the sales order rate, and the user raises an invoice for multiple sales order which have different exchange rates, the system will highlight this to the user and default the rate to the current rate if the user chooses to proceed. |
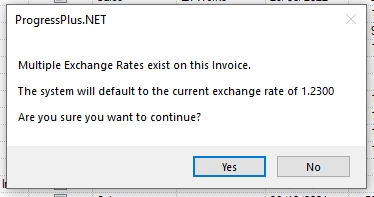
| NOTE: The rate cannot be changed by the user on the invoice. |
| Invoiced By | This field allows the user to specify who is creating the invoice. This will default to the current user's employee name. |
| Sales Rep | If the invoice is raised for a single sales order, then this will default to the sales rep set on the sales order. If the user is invoicing multiple sales orders, then this will default the default sales rep set against the customer account. The user can choose an alternative from the drop-down list if required. |
| Department | If the invoice is raised for a single sales order, then this will default to the department set on the sales order. If the user is invoicing multiple sales orders, then this will default the default department set against the customer account. The user can choose an alternative from the drop-down list if required. |
| Submitted | This field indicates that the invoice has been sent to the customer. This will be set when the user prints the invoice and an date of submission will be shown. This will default to the current date, but the user can amend using the drop-down calendar if required. |
| Sent To Accounts | This flag indicates whether the invoice has been posted to accounts (i.e. Sage, Xero, etc.) This will default unticked when creating new invoiced but will be updated once the invoice has been sent to accounts. This option is not editable by the user and is controlled by the system. |
The user can now proceed to the Line Details section of the screen.

All the details of the items being invoiced are pulled through from the associated deliveries and sales orders. This information cannot be edited by the user. The only option for the user is the tick box to allow them to select/de-select the items to be included on this invoice. The system can be configured to automatically select all items listed, or it can be left for the user to do it manually.

Once the user has selected all the lines required for inclusion on the invoice being created, the summary total at the bottom of the invoice will show the total being invoiced.
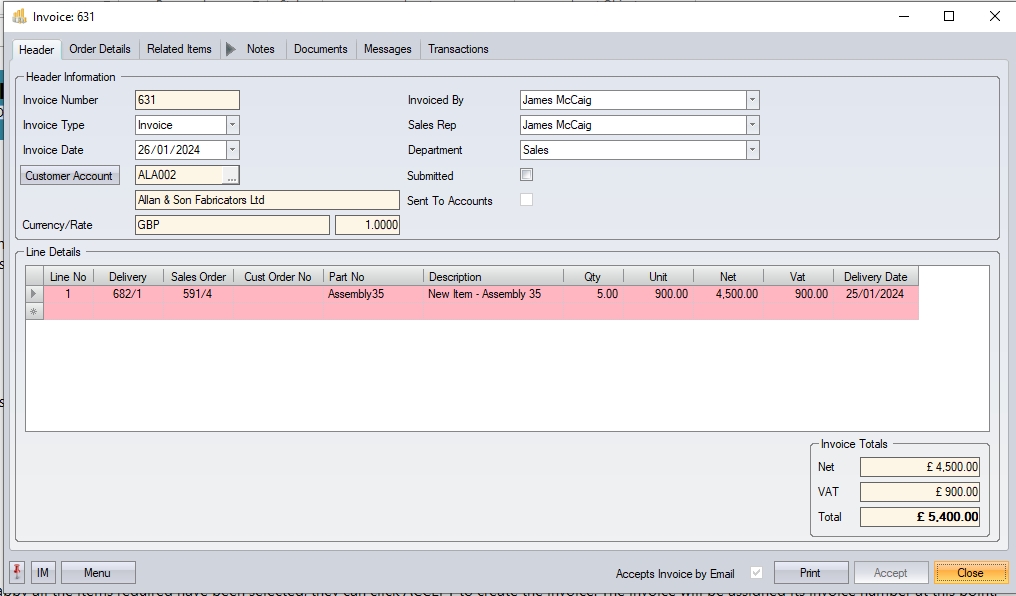
Once the user is happy all the items required have been selected, they can click ACCEPT to create the invoice. The invoice will be assigned its invoice number at this point.
Invoice Notes
Further details on the items being invoiced can be added by the user via the invoice notes sections. These can be entered for the invoice as a whole (i.e. Invoice notes) or for specific invoice lines (i.e. Invoice Line notes).
Invoice Notes
Invoice notes (i.e. relating to the entire invoice) are entered via the Notes tab at the top of the invoice. This tab gives the user a few note fields that can be used.
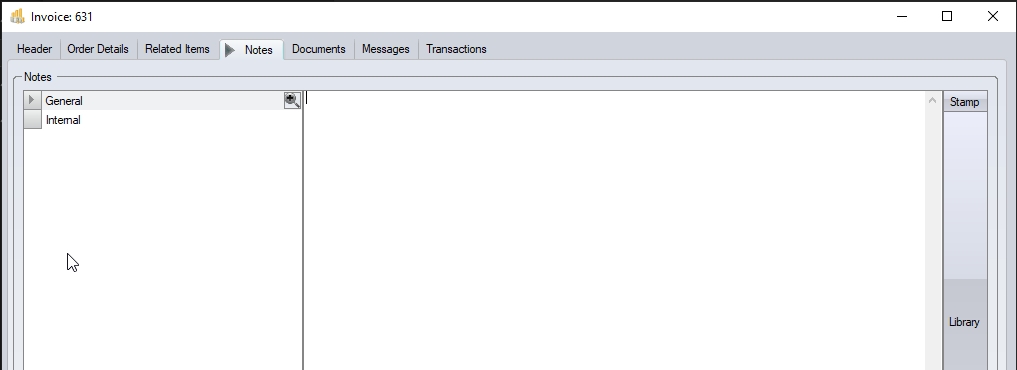
The notes fields available for the overall order are as follows:
| General | This note field is the main one for relaying information to the customer and is typically included on the invoice sent to the customer. |
| Internal | This note is an internal note and is not included on the documents sent to the customer. This is useful for adding notes that are for internal purposes or reference only. |
The user can manually enter the notes required in any of the listed notes fields, or they can select a pre-defined note from the Notes Library, using the LIBRARY option to the right of the notes fields.
Invoice Line Notes
The user can also enter notes relating to individual invoice lines. The line notes are added via the invoice Line Details screen in the Notes section. To add line notes to the invoice line, the user must open the line details screen, either by double-clicking on the line line, or select the LINE DETAILS option via the invoice MENU option.
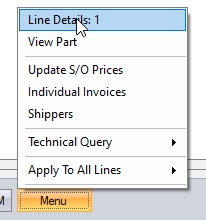
(Accessing invoice line details via MENU option)
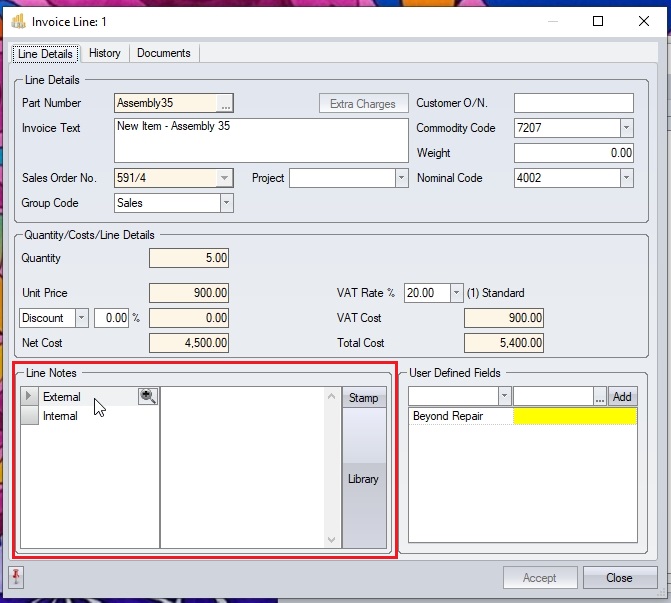
(Invoice line notes at bottom of screen)
The notes fields available for the selected order line are as follows:
| External | This note field is the main one for relaying information to the customer about the selected line item and is typically included on the invoice sent to the customer. |
| Internal | This note is an internal note and is not included on the documents sent to the customer. This is useful for adding line-specific notes that are for internal purposes or reference only. |
As per the general invoice notes described above, the user can manually enter the note required in any of the listed notes fields, or they can select a pre-defined note from the Notes Library, using the LIBRARY option to the right of the notes fields.
Once the user has entered any required notes, clicking the ACCEPT button will save the notes and return the user to the previous screen.
Printing Invoices
Once the user have created the invoice (i.e. an invoice number has been assigned), the user can print the invoice for the customer using the PRINT option at the bottom of the screen. This will display the invoice onscreen.
![]()
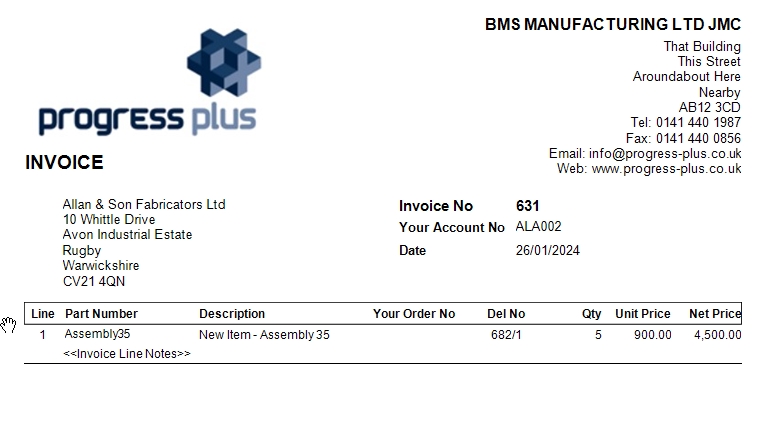
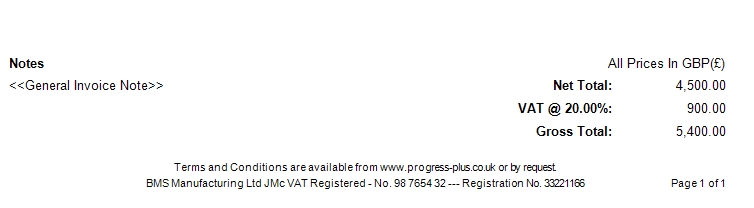
(Example invoice)
Once displayed, the user can save the invoice in a number of formats via the SAVE option, print a hard copy of the documents on a printer of their choice via the PRINT option, or email the documents directly to the customer via the EMAIL option.

NOTE: Once an invoice has been created, the user has very limited ability to change. Its important that the user ensures all details are correct before clicking ACCEPT.