Deliveries to customers can be raised for all items that are in stock and allocated to the sales order line. If the goods have been manufactured on a work order, the receipt of the work order may have automatically allocated the stock to the associated sales order line. If stock has not yet been allocated to the sales order line to be delivered, then this would need to be done prior to the delivery being created.
Once the stock has been allocated to the sales order line(s), the user can create the delivery. The user can create a delivery from within the sales order, via the MENU option, via the main Customers > Deliveries section using the NEW option, or also via the Today > To Do > Available to Deliver screens. All these options will take the user to a New Delivery screen.
Creating Delivery via Sales Order
The user can create the delivery from within the sales order itself, using the CREATE DELIVERY option within the MENU option.
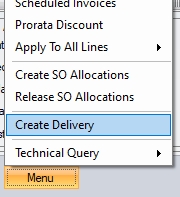
Selecting this option will present the user with the New Delivery screen with any of the sales order lines ready for delivery listed.
Creating Delivery via Deliveries Section
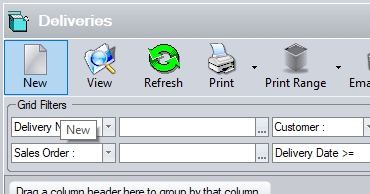
The user can create deliveries from within the Customers > Deliveries section. This is the main deliveries section within Progress. To create the delivery from within this section, the user must first click the NEW option at the top of the screen.
The user will then be prompted to select the details of the delivery they wish to create.
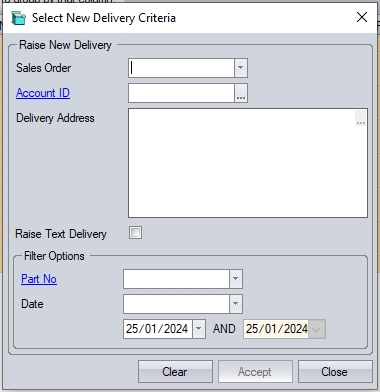
The user can select the sales order to be delivered from the drop-down list.
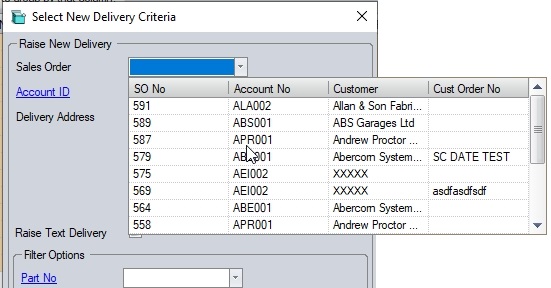
Once selected, the details will be displayed on screen.
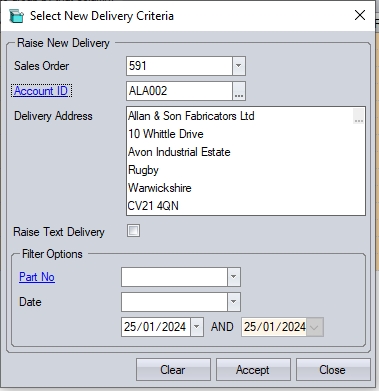
Once the sales order has been selected, clicking ACCEPT will open the New Delivery screen.
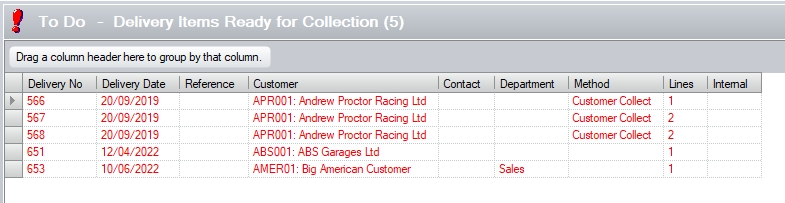
Creating Delivery via the Available To Deliver All screen
The Available To Deliver All screen shows all sales order lines that currently have stock allocated to them. This is effectively a list of sales order lines that are ready to be delivered. Any overdue sales order lines will be shown in red.

The user can create new deliveries directly from this screen by double-clicking on the sales order line they wish to deliver. Doing so will open a New Delivery screen withe the selected item listed. Depending on the system's configuration, other items may also be included on the new delivery if they are ready. These could be items from the same sales order, or other sales orders for the same customer.
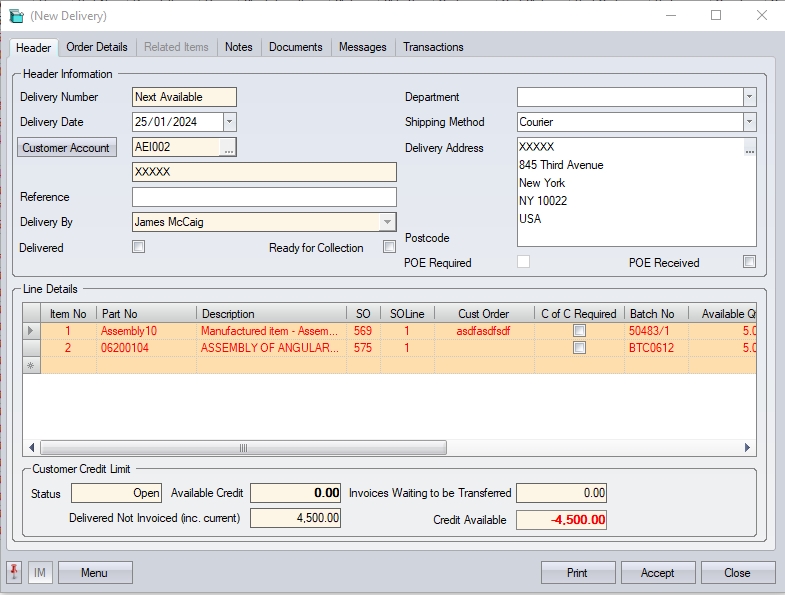
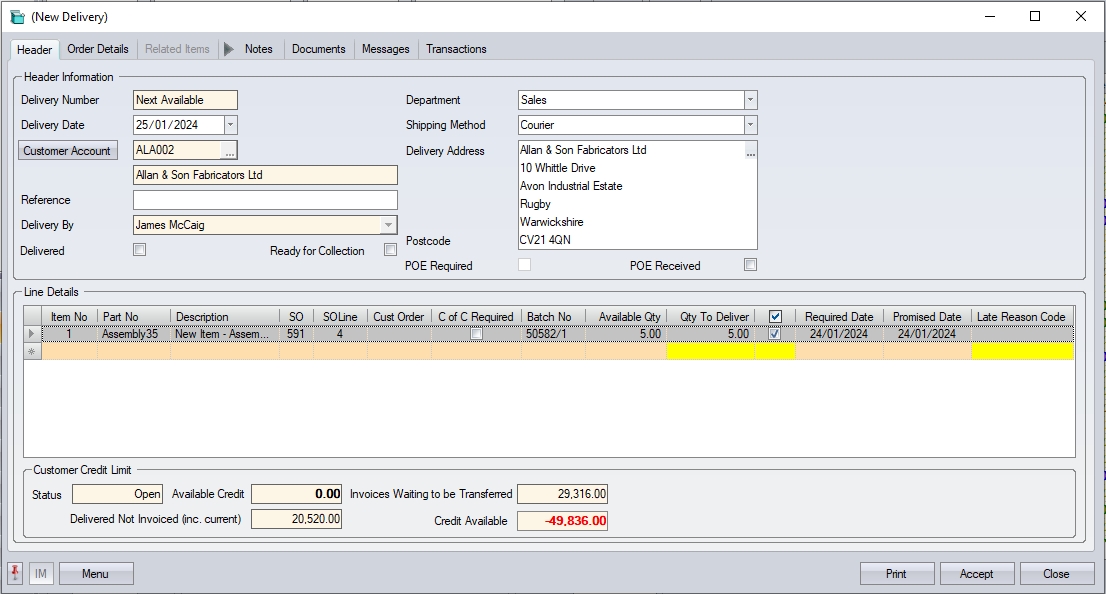
Once the New Delivery screen is presented to the user with their selected details, the user can complete the remaining details. The header section relates to the delivery as a whole, with the items being delivered listed in the Line Details section below.
| Delivery Number | This is the system maintained delivery note number. The delivery number will be populated on saving the delivery note. |
| Delivery Date | This is the delivery note entry date. This field will default to the current date but the user can select an alternative from the drop-down calendar. |
| Customer Account | These are the details of the customer for whom the delivery is being raised. This information will be automatically populated from the selected sales order. The details in this field are read only and cannot be amended by the user. |
| Reference | The user may enter an additional reference if required (i.e. courier consignment note number, etc.) This field is not mandatory. |
| Delivery By | This field allows the user to set who the delivery was created by. This will default to the current user, but the user can choose another employee from the drop-down list if required. |
| Delivered | This option allows the user to mark the deliver as received by the customer. This will default unticked and is for use later once confirmation is received from the customer that the goods have arrived. |
| Ready For Collection | If the goods are being collected by the customer, the user can mark the delivery as ready for collection. The delivery created will be highlighted on the Today screen on the Delivery Items Ready For Collection screen, allowing someone to notify the customer. |
| Department | This allows the user to associate the delivery with a particular department. Typically, this will default to the department set on the sales order being delivered against, but the user can set this to any department in the drop-down list. This field is not mandatory. |
| Shipping Method | This allows the user to assign a shipping method to the delivery. Typically, this will default to the SHIP BY value set on the sales order being delivered against, but the user can set this to any method in the drop-down list. This field is not mandatory. |
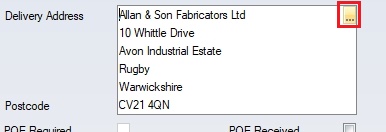
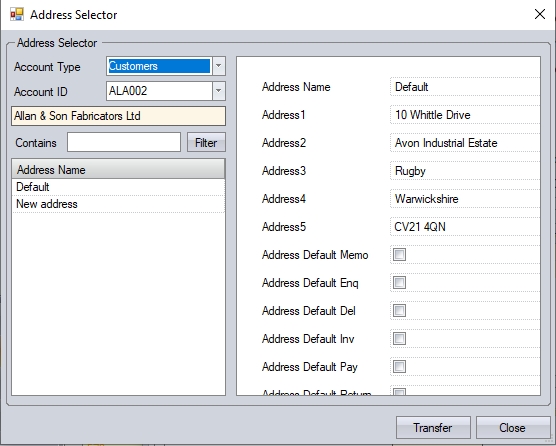
Delivery Address This field will default to the delivery address entered against the selected sales order, however, the user can change this to another address using the Address Selector option.
| POE Required | This option indicates whether the customer has requested a Proof of Export (POE). |
| POE Received | This option allows the user to update the delivery to confirm that a Proof of Export (POE) has been received for the delivery. |
The Line Details section shows all the items that can be included on the delivery.

Fields relating to Item No, Part No, Description, SO, SO Line, Customer Order, C of C Required, Batch No, Available Qty, Required Date and Promised Date are all populated by the system when the delivery is created and cannot be amended by the user. The remaining fields are as follows:
| Qty To Deliver | This field will default to the quantity that is currently available and allocated to this sales order line. The user may decrease the quantity to be delivered but cannot increase above what is currently allocated. |
| Deliver | This field must be ticked to include this item on the new delivery note. In the case of multiple lines / sales orders the user may choose to untick any lines that are not required to be delivered to this current time. |
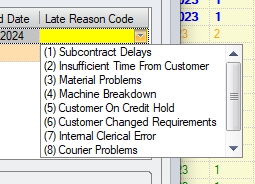
| Late Reason Code | This field allows the user to specify a late delivery reason if the delivery is being made after the date on the sales order line. If the system is configured to make this field mandatory, the user must select a reason from the drop-down list. |
Once all the details have been entered by the user, clicking ACCEPT will save the delivery and assign it the latest delivery note number.
Creating a Certificate of Conformity (C of C) for a Delivery Note
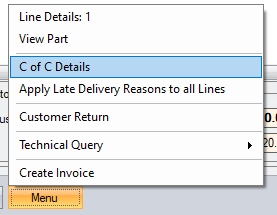
If the customer requires a certificate of conformity (CofC) for the goods being delivered, the user can generate one from the delivery created. The user can add details for the CofC for each line item on the delivery using the CofC Details option in the MENU option. These details are recorded on a delivery line by line basis, so the user must complete these details (if required) for each delivery line that requires a CofC to be generated.
When selected, a screen similar to the following will be displayed permitting the user to manually enter notes into the various difference categories or choose from / add new notes to the Library in the manner as previously mentioned.
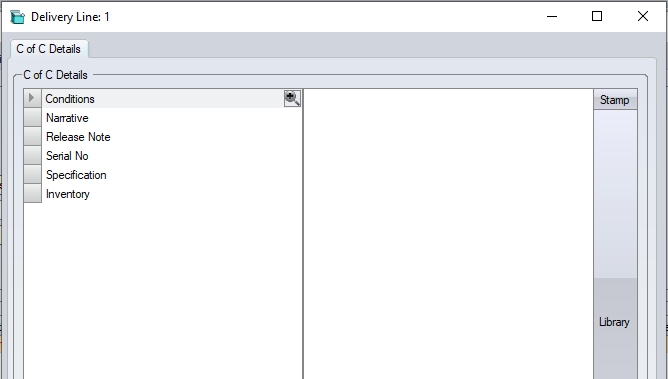
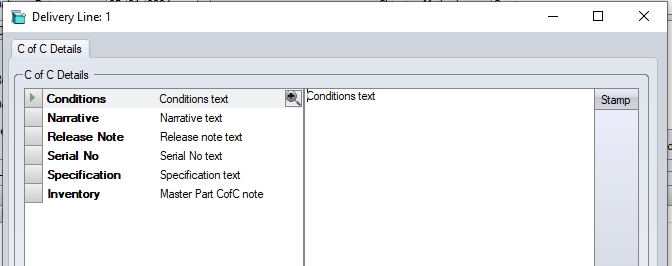
The screen displayed gives the user multiple CofC notes categories that they can complete for inclusion on the CofC document. All of the listed categories can be completed by the user as required. The Inventory category will show any notes added against the part number's CofC note in the master part record. If nothing is populated on the master part, then the user can add notes manually at the delivery stage.
Once any required details have been entered by the user, clicking ACCEPT will save the details and return the user to the delivery. If additional delivery lines require a CofC, the user can repeat the steps above by selecting the delivery line(s) and filling in the CofC Details for those too.
Delivery Notes
Further details on the items being delivered can be added by the user via the order notes sections. These can be entered for the delivery as a whole (i.e. Delivery notes) or for specific delivery lines (i.e. Delivery Line notes).
Delivery Notes
Delivery notes (i.e. relating to the entire delivery) are entered via the Notes tab at the top of the delivery. This tab gives the user a few note fields that can be used.
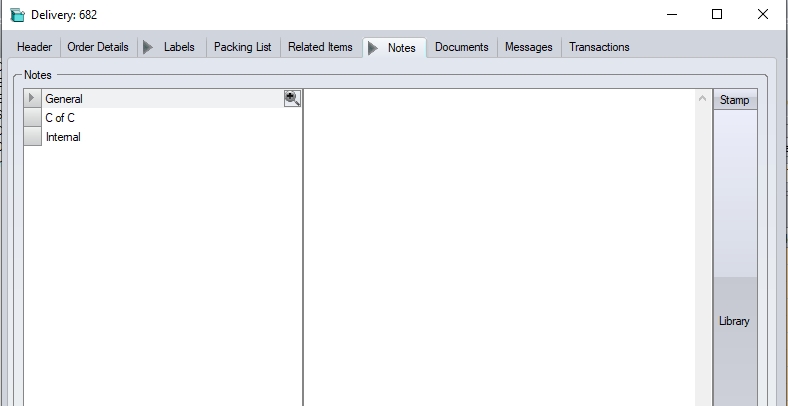
The notes fields available for the overall order are as follows:
| General | This note field is the main one for relaying information to the customer and is typically included on the delivery note sent to the customer. |
| CofC | THis note field can be used to specify information regarding the goods CofC. This is typically included on the certificate of conformity sent to the customer. |
| Internal | This note is an internal note and is not included on the documents sent to the customer. This is useful for adding notes that are for internal purposes or reference only. |
The user can manually enter the notes required in any of the listed notes fields, or they can select a pre-defined note from the Notes Library, using the LIBRARY option to the right of the notes fields.
Delivery Line Notes
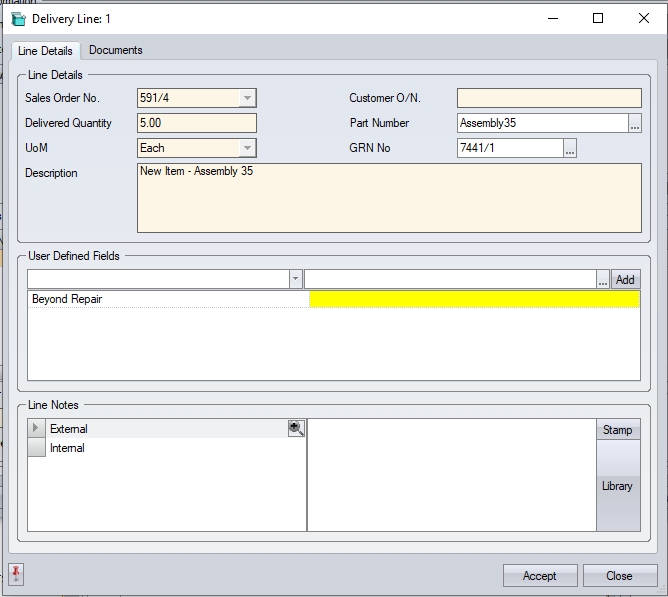
The user can also enter notes relating to individual delivery lines. The line notes are added via the Delivery Line Details screen in the Notes tab. To add line notes to the order line, the user must open the line details screen, either by double-clicking on the delivery line, or select the LINE DETAILS option via the delivery MENU option.

(Accessing order line details via MENU option)
(Delivery line notes at bottom of screen)
The notes fields available for the selected order line are as follows:
| External | This note field is the main one for relaying information to the customer about the selected line item and is typically included on the delivery note sent to the customer. |
| Internal | This note is an internal note and is not included on the documents sent to the supplier. This is useful for adding line-specific notes that are for internal purposes or reference only. |
As per the general order notes described above, the user can manually enter the note required in any of the listed notes fields, or they can select a pre-defined note from the Notes Library, using the LIBRARY option to the right of the notes fields.
Once the user has entered any required notes, clicking the ACCEPT button will save the notes and return the user to the previous screen.
Creating Delivery Labels
If the user wishes to create delivery labels for the shipment of goods, these can be configured in the Labels tab of the delivery once the delivery has been created.
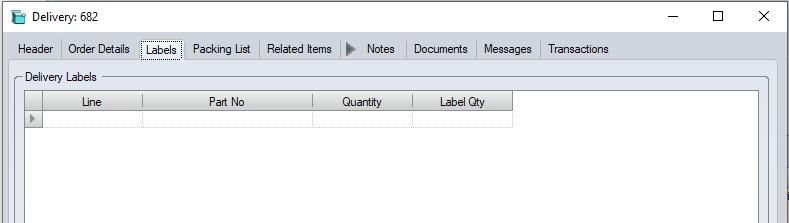
The user can generate a set of default labels using the DEFAULT option on the Label screen. This will create labels for each delivery line and quantity, mirroring the delivery lines and their quantities.
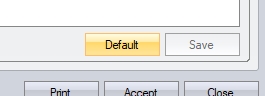
(Default label option)

(Example delivery lines)

(Default label configuration)
The user is not restricted to the default labels, and can specify any combination of labels required. To do this, the user must specify the number of labels, and the quantities required.

(Example: 2 labels of 2 units, 1 label of 1 unit)

(Example: 5 labels of 1 unit)

(Example: 1 label of 3 units, 1 label of 2 units)
Once the user has configured the labels required, the can click SAVE to save the label configuration.
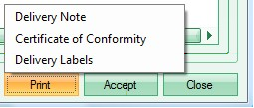
Printing Delivery Notes / Delivery Labels / Certificates Of Conformity
Once the delivery has been created, labels configured and any CofC details added, the user can print the delivery note, labels and/or CofC documents using the PRINT option at the bottom of the delivery. The user can then select the relevant option required to generate the documents/labels.
If the system is configured to display the document onscreen, then the user will be presented with the selected document. (Note: Delivery labels cannot be previewed and will be sent directly to the printer if selected).
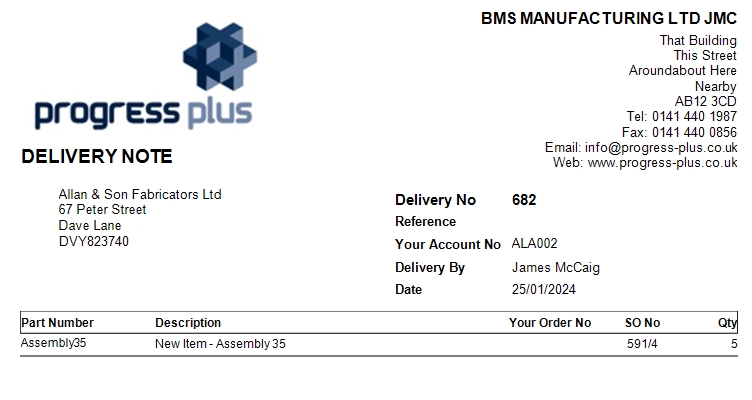
(Example delivery note document)
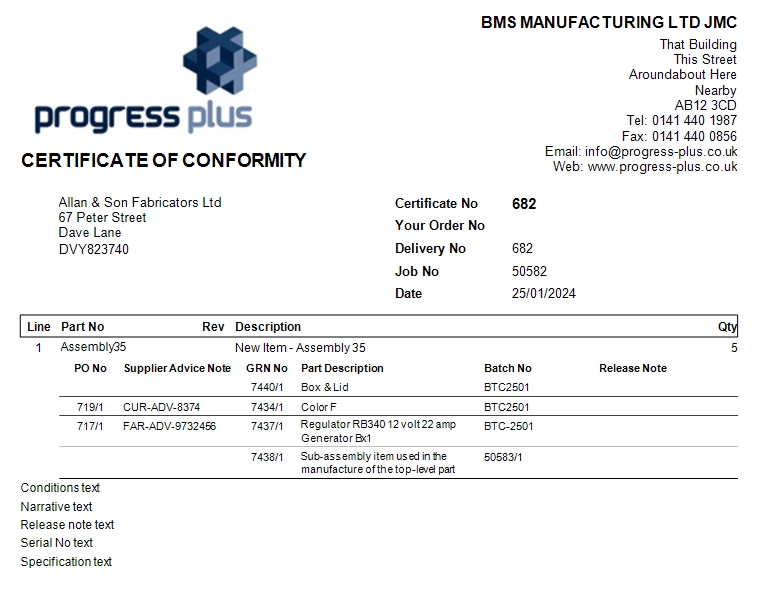
(Example CofC document)
Once displayed, the user can save the documents in a number of formats via the SAVE option, print a hard copy of the documents on a printer of their choice via the PRINT option, or email the documents directly to the customer via the EMAIL option.
