The inventory status section all the user to create, amend and delete inventory statuses for use within the system against inventory parts. The user can determine what actions can and cannot be done when a part is assigned a particular status. When selected, the user is prompted with the following screen.
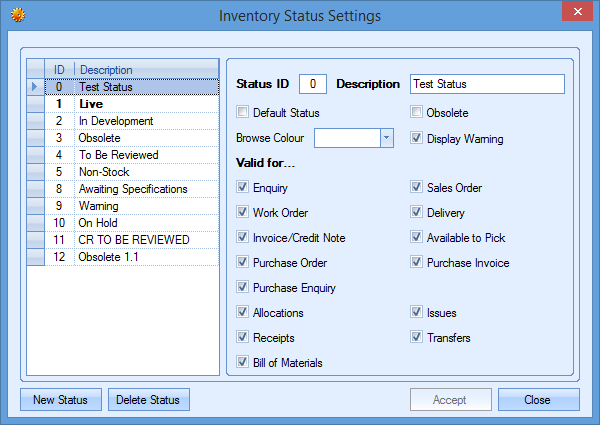
The window shows all existing statuses in the list on the left hand side while the options on the right show the configurations for each status. Clicking on each status in the list updates the options on the right to show the current configuration for that status.
Adding New Statuses
The user can add a new status by clicking on the NEW STATUS option at the bottom of the window. This will prompt the user to assign a name/description for the new status.
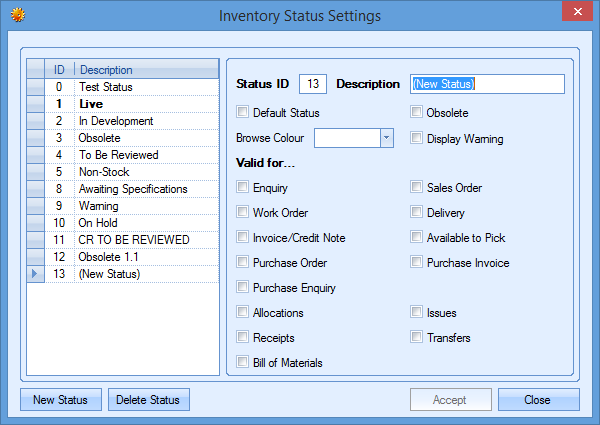
Once a name has been entered, the user can then proceed to configure the abilities of the new status by ticking the appropriate boxes.
Default Status
Determines which of the statuses will be defaulted to when new inventory parts are being created.
Obsolete
Indicates that the status is an “obsolete” status and will result in the inventory item being hidden from view by default unless the user specifically includes the “obsolete” items in their searches.
Browse Colour
Allows the user to assign a colour to this status. This displays the inventory part in this colour on the main inventory Parts List screen.
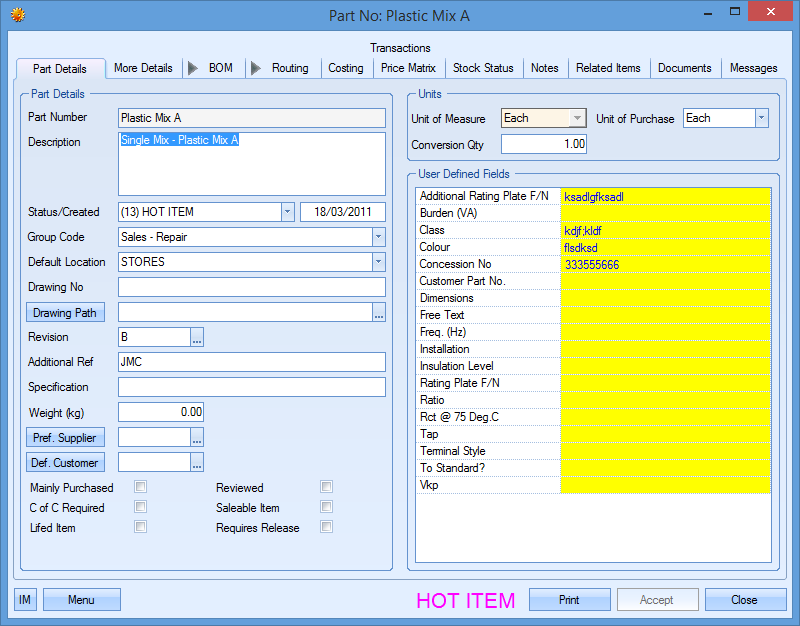
Display Warning
This determines whether the inventory status is displayed/highlighted when the inventory item is opened (as shown below).
Valid For…
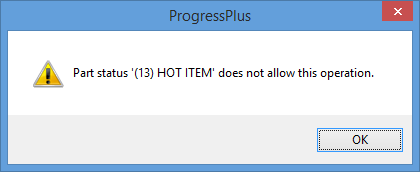
This section dictates which areas of the system a part assigned to the selected status can be used. Any options that are unticked will not allow any parts of that status to be selected. If the user tries to use a part in an areas which is not applicable, they are presented with the following message.
Deleting Existing Inventory Statuses
The user can delete an existing status by simply highlighting it and then clicking the DELETE STATUS option. The user will be prompted to confirm the deletion as shown below.
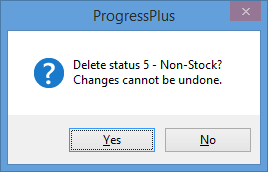
Clicking YES will complete the deletion of the status. If the status is already in use against an inventory part, the system will prompt the user accordingly as shown below.

Clicking YES will then prompt the user for a replacement status to use against any parts who currently use the status being deleted.
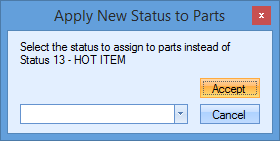
Once the replacement status is selected and the user has clicked ACCEPT, the deletion will be completed and the inventory parts updated accordingly.