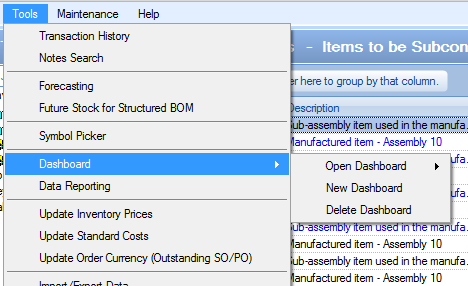
This tool allows the user to create a dashboard with a choice of reports, KPIs, graphs and Today items for display on screen that automatically refresh based on a specified period of time. The user can create multiple dashboards but can only display one at a time on a single client PC. This tool is accessed from the Tools menu at the top of Progress Plus.
Creating a Dashboard
When using the Dashboard tool initially, the user must create it first. This is done using the New Dashboard option from the menu.
This will present the user with a blank dashboard window. Using the Setup > Add Panels option, the user can add a number of individual panels which will display their required information.
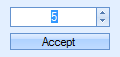
Once the number of panels has been entered, the new dashboard window will be updated accordingly.
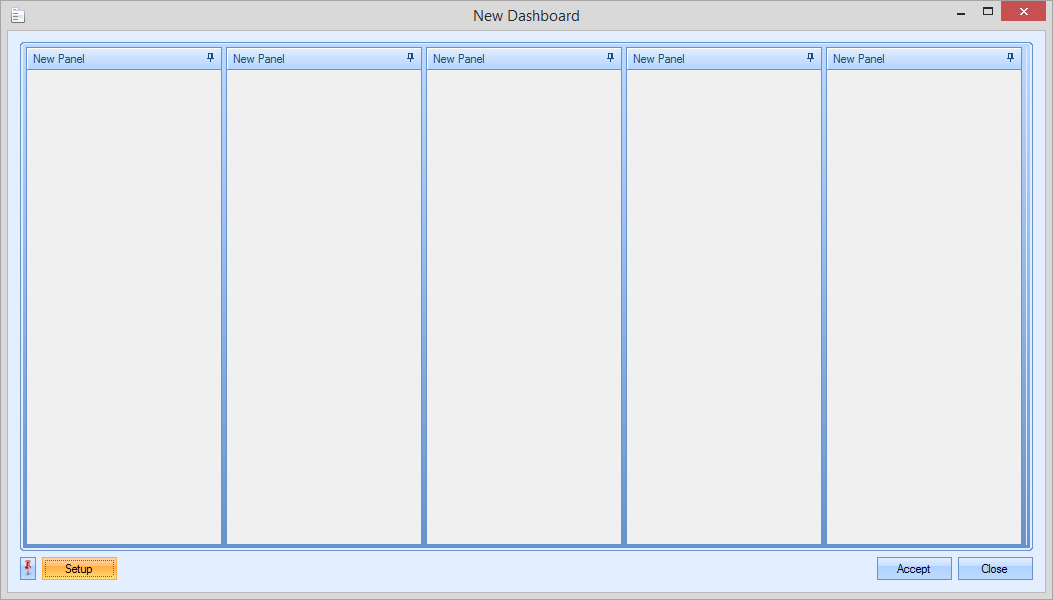
Once the number of panels have been specified, the user can select what each of them shows. To do this, the user simply has to right-click on a panel title and then select from the available list of items.
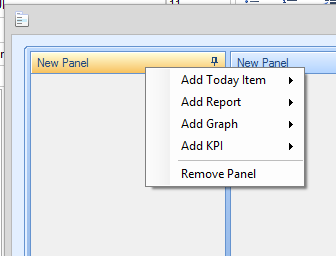
The user can select from a range of Today items as well as a reports, graphs and KPI items. Once selected, the panel will be updated with the selected item. The user can repeat this for all other empty panels.
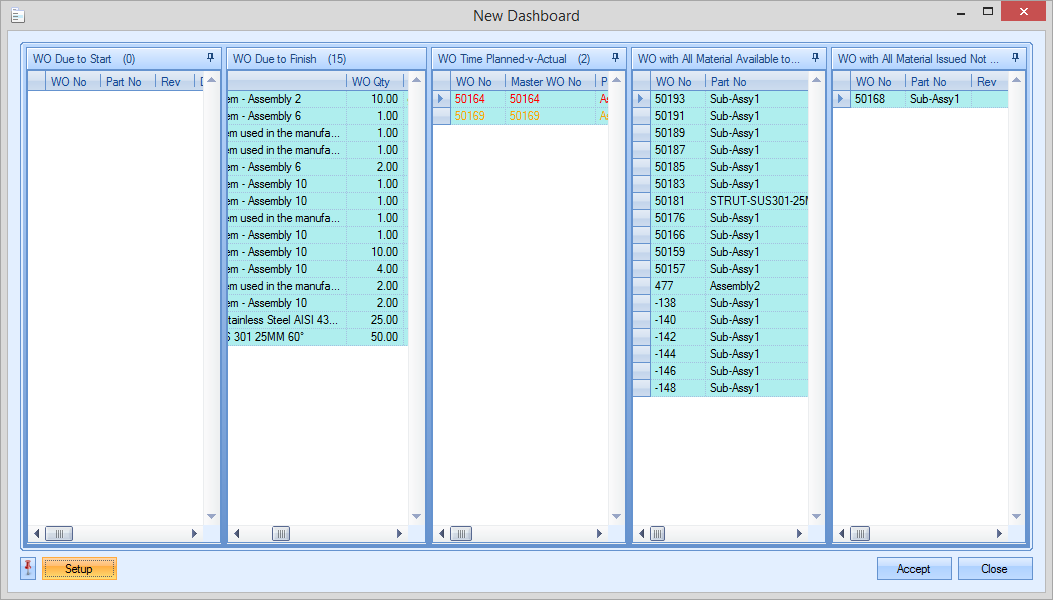
Once the panel contents have been selected, the user can arrange the panels to best display their contents. To do this, the user simply has to click-hold the panel they wish to move and then drag it into position. The system provides the user with a little locating tool (shown below) that can be used to move the panels too.

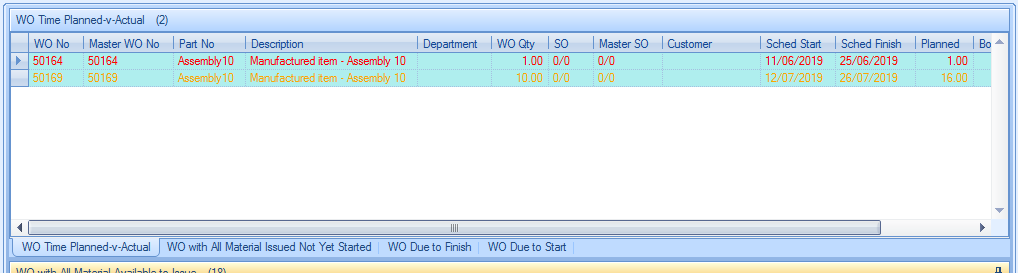
Dragging a single panel on top of another will combine them into a single panel, providing each item with its own tab.
The user can delete any unwanted panels by right-clicking on the panel header and selecting the Remove Panel option.
The user can also specify the refresh rate of the selected items. This can be done via the Setup option at the bottom of the dashboard window. Selecting this option will prompt the user to set a refresh period of the selected items in minutes.
Once the user has finished setting up their dashboard, clicking ACCEPT will prompt the user to give it a name and will save it for future use.
Loading Existing Dashboards
The user can load a predefined dashboard using the Open Dashboard option. This will launch the selected dashboard.
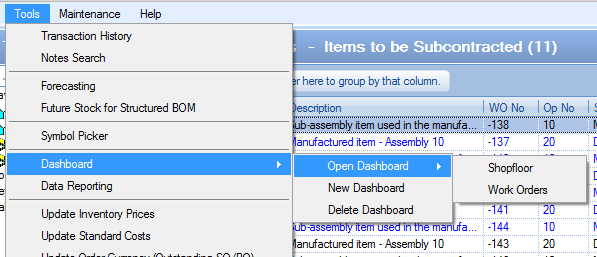
Once the user selects one of the dashboards listed, the dashboard will be displayed on-screen. Once the dashboard is loaded, the use can rearrange, remove and add to the dashboard using all the same options as they had when creating the initial dashboard.
Deleting Existing Dashboards
Any unwanted dashboards can be removed from the system using the Delete Dashboard option.
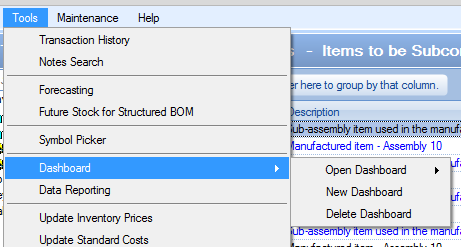
When selected, the user is prompted to select the dashboard to be removed from the system from a drop-down list of all dashboards.
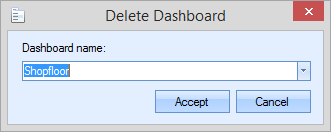
Clicking the ACCEPT option will permanently remove the dashboard from the system once the user confirms the deletion.