This section allows the user to record all calibration results for their tooling and equipment.
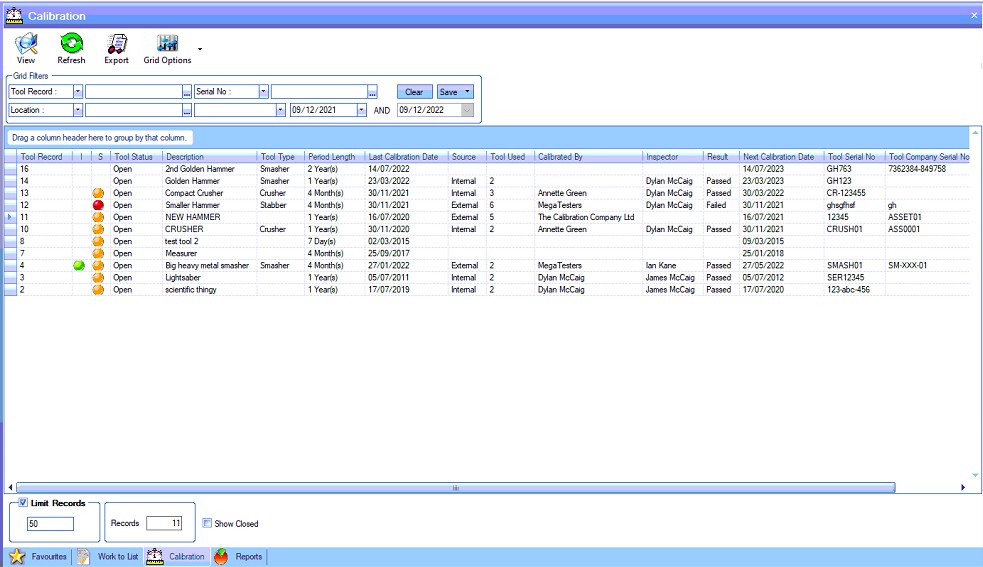
The filters at the top of the screen allow the user to search and display all calibration tool records based on the search criteria entered.

If any filters have been specified, the user must click the Refresh option at the top of the screen to update the list based on the filters chosen.
In addition to the filter options above, the user can also specify whether closed calibration tool records are included in the results grid. The option for this is directly under the grid. By default, this option is un-ticked.
![]()
Recording Calibration Results
The user can add additional calibration results for a tool by highlighting the tool and clicking VIEW or by double clicking the tool in the grid. This will open the tool calibration record.

All previous calibrations will be listed in the top-half of the screen, with their associated results shown in the bottom-half of the screen.
To record a new calibration, the user must complete the empty row in the top-half of the screen first. This details the calibration date, source, the tool used for the calibration as well as those people involved.
| Calibrated Date | This is the date of the calibration. |
| Calibration Source | This is the source of the calibration source. This will default to the value set in the tool's Calibration screen. |
Tool Used This is the calibration tool used in the testing. This will default to the DEFAULT TOOL USED value set in the tool's Calibration screen.
Note: If the default tool for calibration is not available, the system will highlight this to the user when the results are being recorded. A message will be displayed to inform the user. A similar message will be displayed if the tool specified against one of the individual tests is not available too.
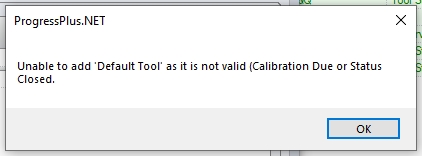
(warning that default tool is not available)
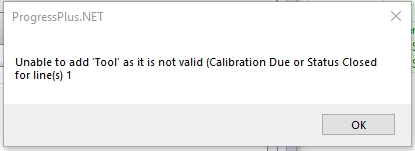
(warning that the tool specified against the calibration test is not available)
If either the default or individual test tool is not available, the user will have to select an alternative from the list of available tools.
Serial No This is the serial number of the selected Tool Used
| Calibration By | This is those responsible for carrying out the calibration. This will default to the value set in the tool's Calibration screen. |
| Inspected By | This is employee responsible for checking the calibration. This will default to the value set in the tool's Calibration screen. |
| Calibration Result | This is the overall result of the calibration based on the tests required. The user can specify the result by selecting an appropriate value from the drop-down list. |
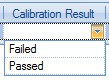
The user can change or add additional result values by amending the list of sources available via the List Maintenance > Calibration Results screen as shown below.

For more information on maintaining lists in Progress, please refer to the List Maintenance section of this manual.
| Comments | This field allows the user to add some notes regarding the calibration test and result. The user can also click on the |
Once the main calibration details have been added, the system will generate a set of calibration test results based on those added to the Measurement Setup section of the tool's Calibration tab.
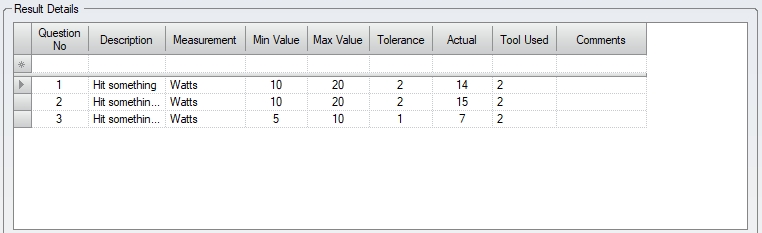
The user can now record the result of each test in the ACTUAL field at the end of each calibration test listed. Each time a new calibration is recorded, a new set of calibration results will be presented for the user to record the actual results against. Once all the details have been entered or any changes have been made, the user can click the ACCEPT option to save the details.
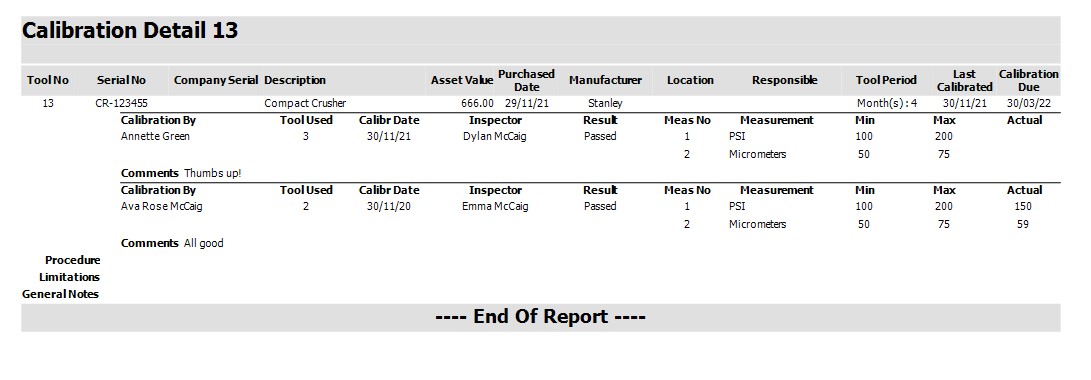
The PRINT option allows the user to generate the Calibration Detail report for the current tool, an example of which is displayed below.
Notes
This section allows the user to record any additional notes against the tool record.
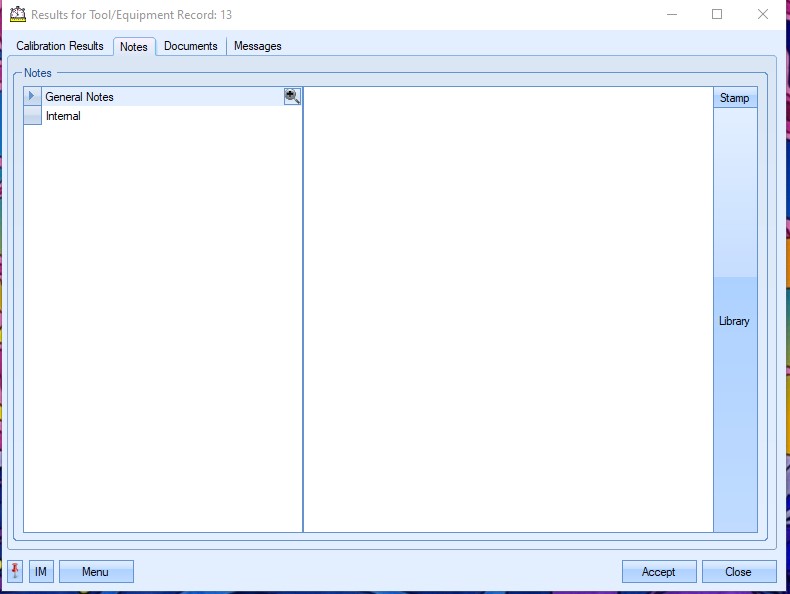
The user can manually enter notes or select notes from the Notes Library using the Library option to the right of the screen. Once any notes have been entered or any changes have been made, the user can click the ACCEPT option to save the details.
Documents
Like most Documents screens throughout the system, this section allows the user to link documents, folders and web addresses as well as capture images via the device's camera (where possible). Ideally, all linked items should be in a shared location so that other users can access them.
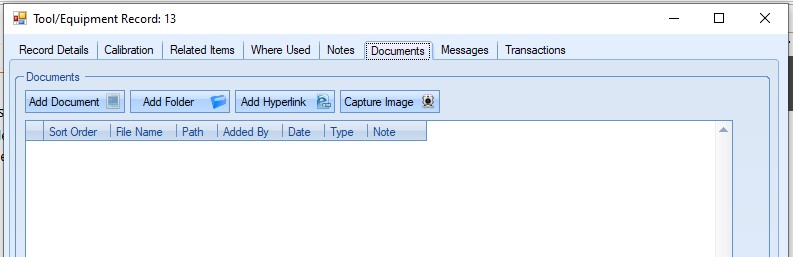
Clicking on any of the options will prompt the user to select a file, folder, enter a hyperlink or capture an image using the device. Once added, all items will be listed in the grid.
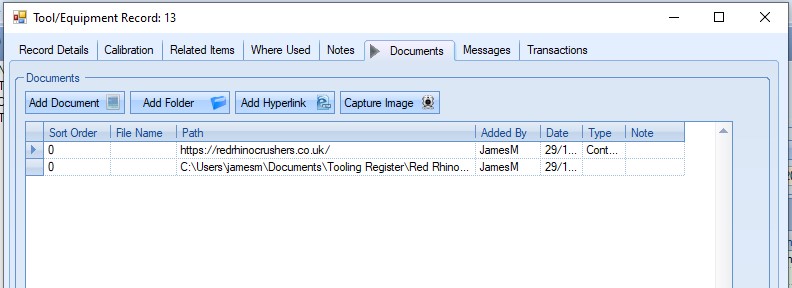
Users can view any attached documents by double-clicking them to open. Attachments can also be removed by highlighting the item and clicking the X option to remove the item.
If any changes are made, clicking ACCEPT will save the changes.
Messages
This section shows all associated messages and emails relating to the calibration results.
Any communication relating to the calibration results (i.e. emails, instant messages, etc.) will all be listed here for the user to view.
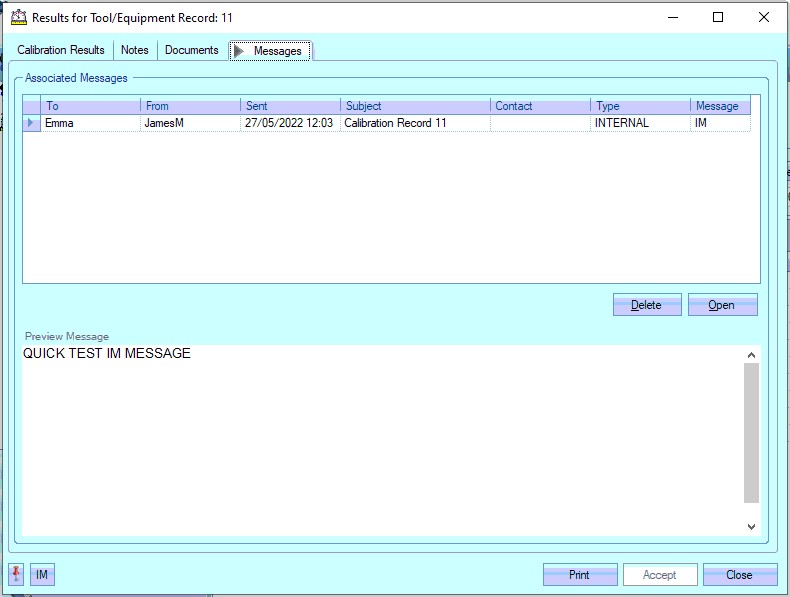
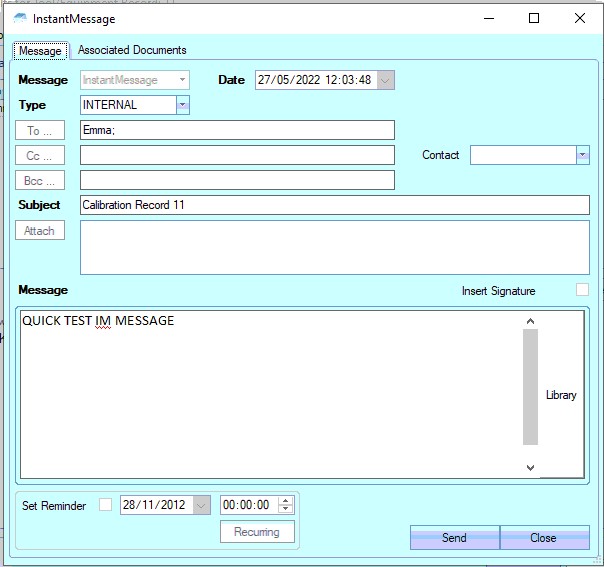
The user can open any of the items listed on this screen but either double-clicking on the listed item or by highlighting and clicking OPEN. The selected item will then be displayed for the user to view.
The user also has the ability remove messages recorded, if permitted. Permission to delete messages is set up against the user permissions. For more information on user permissions, please refer to the Administrator Functions > Access section of the manual. If the user has permission to remove messages, then the DELETE option will be available.
Messages can be deleted by simply highlighting the item and clicking the DELETE option. The user will be prompted to confirm the deletion.
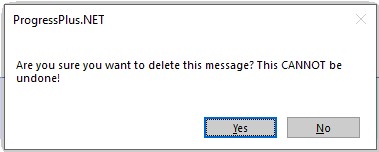
Clicking YES will delete the selected message, and the screen will be updated.