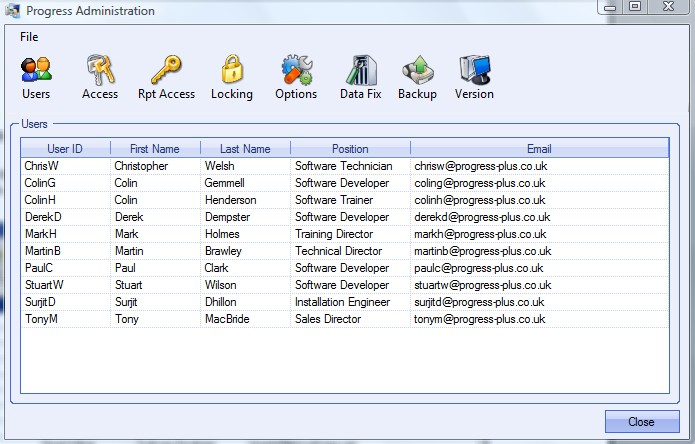
On accessing the Admin section a screen similar to the following is displayed showing the list of system users. To maintain user information the administrator must click onto the Users icon.

Adding a New User
To add a new user the administrator must click on the Add User button. Information regarding the new user can now be entered. Not all fields displayed on this form are essential to be completed for entering an additional user onto the system.
| User ID | This field is required to be entered and must be unique. It is usually the user’s first name e.g. Anne. However this name must be unique so if there are two or more employees called Anne the administrator must distinguish between them e.g. by using the first letter of their surnames. |
| First Name | The first name of the user. This field is required to be entered |
| Last Name | The surname of the user. This field is required to be entered |
| Position | The user’s job title. This field is not essential |
| The user’s email address. This field is not essential |
| Part Of A Group | This option permits the user to join / create a group e.g. stores, sales or quality etc which has predetermined access rights already assigned to it. The user would then be assigned the rights of the group and would not require access privileges set up on an individual basis. This field is not essential |
| Is User A Group? | This option permits the creation of a new user group e.g. stores, quality, sales etc. Adding a new user and setting it up as a group would permit the user to assign access to privileges to this account and then apply these rights to a similar level of employee e.g. another store man |
| Signature | Clicking on the Select button permits the user to choose a previously saved scanned signature that can be printed off on documents such as enquiries, purchase orders etc. The scanned signature should be in bitmap, gif or jpeg format. The Remove button will remove the link to any saved signature. This field is not essential |
| Update User | Clicking this button will save any changes made to this user |

Disabling an Existing User
To disable an existing user the administrator must click on the required record from the list of System Users. The user must then click the DISABLE USER button. A screen similar to the following will be displayed.
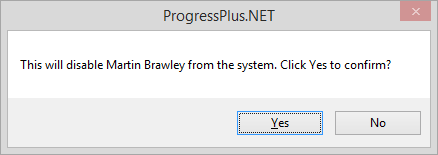
Clicking the Yes button will disable this user from the current list of people who can access the system. Clicking the No button will leave the record unchanged. Disabled users can be reactivated at a later date by highlighting the disable user name and clicking the ENABLE USER option.
Removing A Password
The administrator if required can clear a user’s existing password so a new one can be entered if required e.g. if the user has forgotten their password.
To clear an existing user’s password the administrator must click on the required record from the list of System Users. The user must then click the Remove Password button. A screen similar to the following will be displayed.
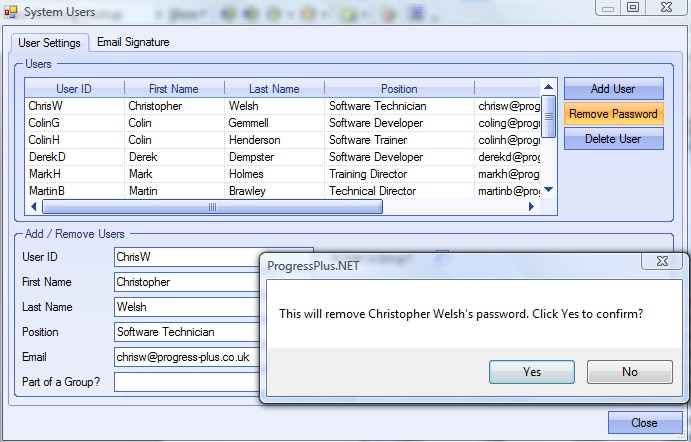
Clicking the Yes button will remove this user’s password.
Clicking the No button will leave the record unchanged.
User Email Signatures
Individual user email signatures can be set up in the email signature tab.
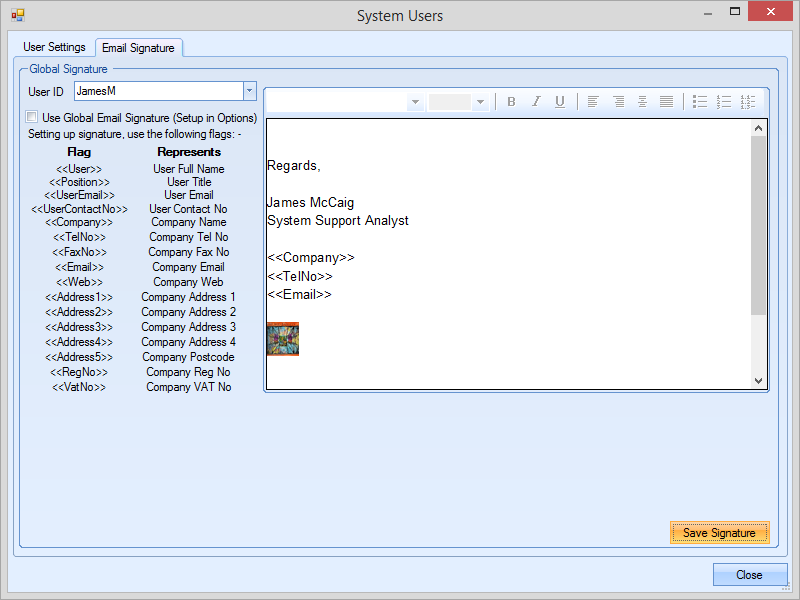
To switch on the user specific email signature, simply select the user from the drop-down list and untick the USE GLOBAL EMAIL SIGNATURE option. This will activate the user specific signature. The user signature will replace the generic, company wide email signature that is set up under the Admin options section of Progress.
The user can use the FLAGS listed on screen to set up generic fields which will be populated with the relevant information for the user in question, for example, the <<POSITION>> flag will be replaced by the user's positions as its recorded on the main USERS screen.
Images can be used in the email signature. These need to be added as JPG or PNG files.