This section allows the user to view, create or amend existing employee timesheet information in Progress.
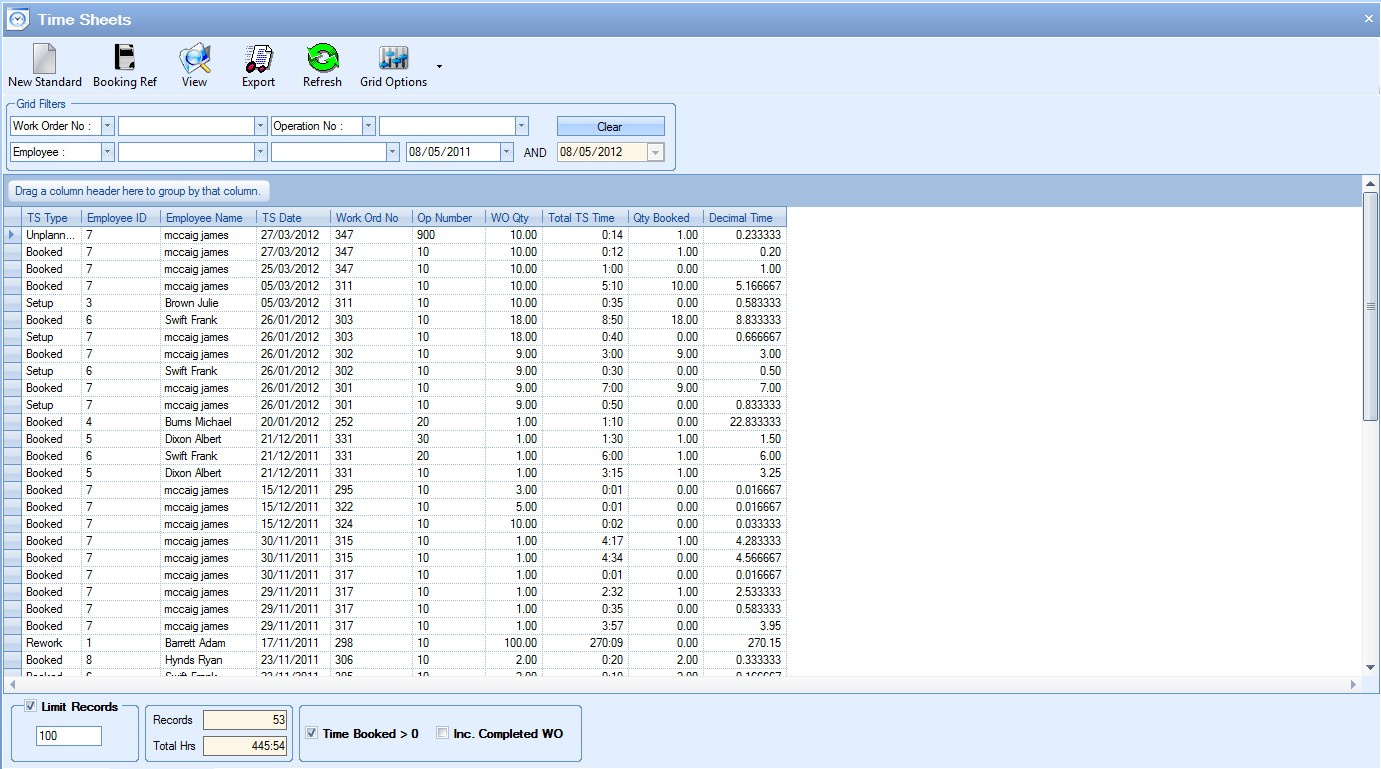
The filters at the top of the screen allow the user to search and display all timesheets based on the search criteria entered.

If any filters have been specified, the user must click the REFRESH option at the top of the screen to update the list based on the filters chosen.
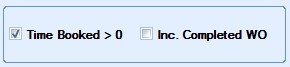
In addition to the filter options above, the user can also specify whether the timesheet records shown are only those with time booked or are only from work orders which are incomplete. The options for these are shown directly under the timesheet grid. By default, the Time Booked option is ticked, whereas the Inc. Completed WO option is not ticked.
The main timesheet Browse grid is also summarised at the bottom of the screen. This give a total for the number of timesheets shown as well as the total time recorded in those timesheet.
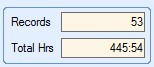
This is useful if the user is filtering the timesheet screen by date or by employee as the user can quickly see totals for the time recorded by that employee or during the selected date range.
The user can also set the maximum number of records to be displayed on the browse grid using the Limit Records option.
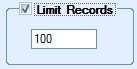
The default value of this option is set in the system options and is useful when large amounts of data are held in Progress as this limits the amount of data being displayed. The limit can be removed by the user if necessary by simply unticking the option, or they can simply increase the limit quantity to a more suitable value and then click Refresh to update the data displayed.
![]()
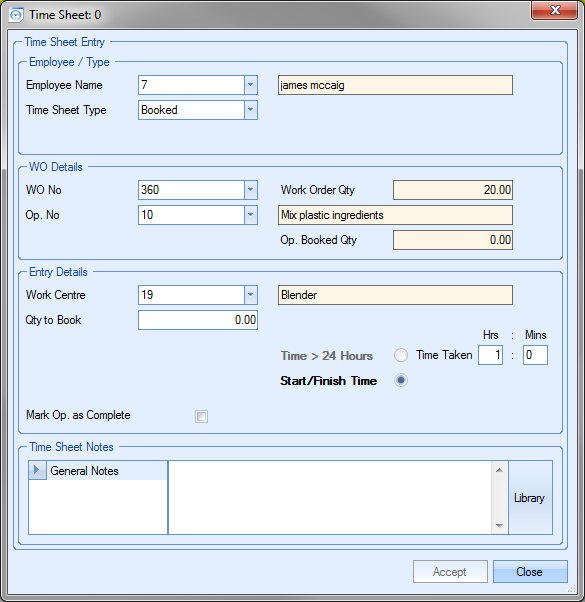
This option allows the user to manually create a new timesheet record. Clicking this option presents the user with a blank timesheet record.

The user can complete the required details (yellow boxes) to create the timesheet record.
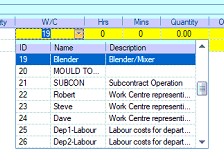
| ID | This is the unique employee ID. The user can select the ID from the drop-down list. Selecting an employee ID will auto-populate the Name field with the associated employee name. |
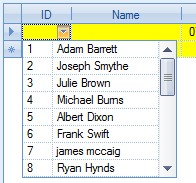
| Name | This is the name of the employee associated with the employee ID. The user can select the employee name from the drop-down list. Selecting an employee name will auto-populate the ID field with the associated employee ID |

| Date | This is the date of the timesheet record and the date for when the time was recorded. This defaults to the current date |
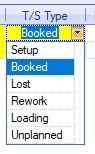
| T/S Type | This is the type of timesheet recorded. The user can select the type from the drop-down list of pre-defined types |
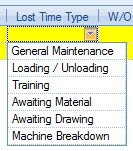
| Lost Time Type | If the T/S Type field is recorded as Lost Time, this field allows the user to specify a reason for the lost time. This list can be modified via the List Maintenance screen under the Lost Time Categories section. |
| W/O No | This is the work order number the time has to been recorded against. The user can select the work order from the drop-down list |
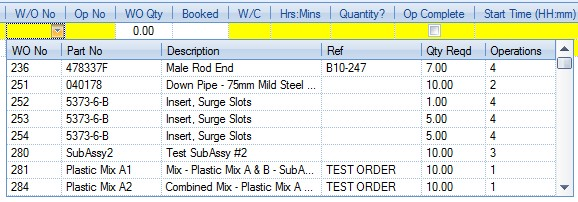
| Op No | This is the work order operation the time has to been recorded against. The user can select from the drop-down list. The list is filtered based on the chosen work order. |
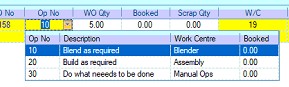
| WO Qty | This is the total work order quantity from the work order record. |
| Booked | This is the total quantity booked against this work order operation so far. |
| W/C | This is the work centre where the time is being recorded. This field defaults to the work centre ID associated with the chosen work order operation (from the work order routing) but can be changed in the event that a different work centre was used. The user can change by selecting the required work centre from the drop-down list. |
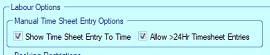
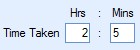
| Hrs | This field allows the user to record a number of hours for this timesheet record. The time value is entered as an integer and is irrespective or start and finish times. This has a value limit of 24 unless the system is configured to allow timesheet times > 24 hours. This option can be found in the Admin section of Progress, under the Labour options (shown below). |
| Mins | This field allows the user to record a number of minutes for this timesheet record. The time value is entered as an integer up to a maximum of 59 and is irrespective or start and finish times. |
| Quantity? | This field allows the user to record a quantity against this time period. This is the “booked” quantity for the time period entered. For example, if the user has worked for 2 hours and has completed one unit within this time, this quantity should be set to 1. |
| Op Complete | This tickbox allows the user to specify whether the selected work order operation has been completed. Ticking this option will update the work order routing operation and mark it as complete. |
| Start Time (HH:mm) | This field allows the user to specify the start point of the time period being recorded against the timesheet. Using this field (and the subsequent Finish Time (HH:mm) field) allows the user to record specific times for the chosen operation from which Progress will calculate the Hrs:Mins value. Typically the user would either use these fields or the Hrs:Mins field for recording the time period; not both. |
| Finish Time (HH:mm) | This field allows the user to specify the end point of the time period being recorded against the timesheet. Used in conjunction with the Start Time (HH:mm) field above. |
| General Notes | This field allows the user to add any additional notes that might be relevant to the time period being recorded. |
Once the user has completed the blank timesheet record, they can proceed onto the next line if they wish to add more timesheet records.

This timesheet screen also keeps a running total of the time being recorded in the timesheets. This is displayed at the bottom right of the screen.
Timesheet Detail
The user can view each timesheet record in a more detail by highlighting the timesheet record and clicking the Line X (where X is the line number) option at the bottom left of the screen. This will open the timesheet record as follows.
The screen above shows all the same information as displayed in the timesheet record, but allows the user to add library notes to the General Notes section if required. The user can make changes to the timesheet information here if required. Any changes made by the user can be saved by clicking the Accept option, which will also return the user back to the Time Sheet Entry screen.
Once all the details have been entered, the user can record the timesheets entered by clicking the Accept option. The user can click Close to return to the main Timesheet section of Progress.
Any timesheets entered are also recorded against the work orders they are logged against. This information can be viewed in the work order under the Labour section. An example is shown below.
Timesheet record for WO 360:
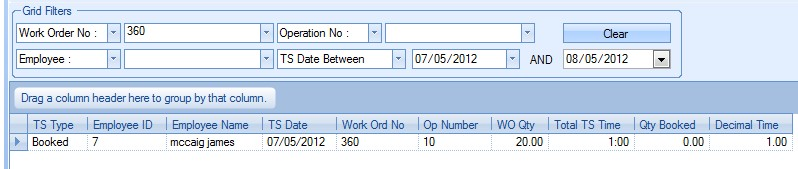
Labour bookings against WO 360:

In the event that a timesheet record is added incorrectly, the user can open the timesheet record and change the details accordingly. In the event that a timesheet record has been added when it shouldn’t have, the user cannot delete the record, but must edit the time to zero. This can be done by setting the HH:mm field to 00:00 or can set the Start/Finish times to 00:00:00.

The Booking Ref option allows the user to manually create timesheet records based on a booking reference. This spreads the time recorded across each of the work order operations which have been grouped under the booking reference. When the user clicks this option, the user is presented with the following screen.
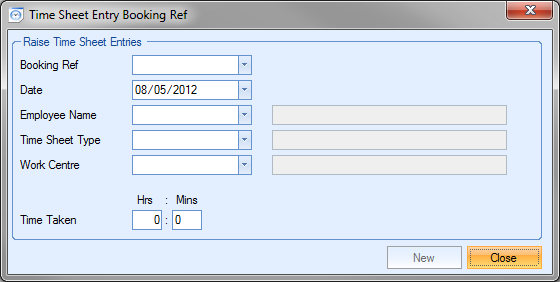
The user can select the booking reference required from the drop-down list and then complete the rest of the information required.
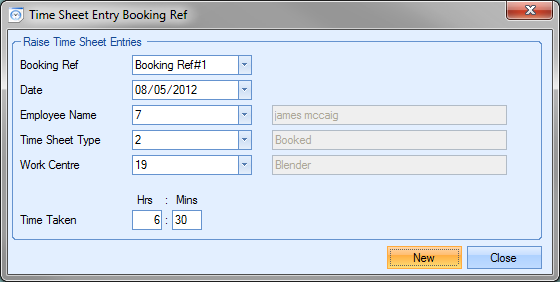
Once all the information has been entered, the user can click Accept to save the timesheet information. The user will then be presented with a breakdown of the time entered across the grouped work orders of the booking reference.

The time entered is split across the work orders on a pro-rata basis based on the work order quantities. The user can add any additional info they require on this screen or via the Line X option at the bottom of the screen. Once all the information has been entered the user can click the Accept option to save the timesheets.
View
![]()
The user can view the details of any timesheet record displayed by highlighting the required timesheet and then clicking the View option at the top of the screen. They can also open an existing timesheet record by double-clicking on the required record directly in the grid of timesheet records displayed. Either method will display the following screen.

The details of the timesheet record are shown on the screen that appears. The user can amend the details shown if required and can save by clicking on the Accept option.
Export
![]()
The Export option allows the user to export the current list of timesheets to an Excel spreadsheet for further analysis. This option can be used in conjunction with the filters available at the top of the screen or can be used with the full list of timesheets if required. Clicking the Export option will prompt the user to create an Excel file.
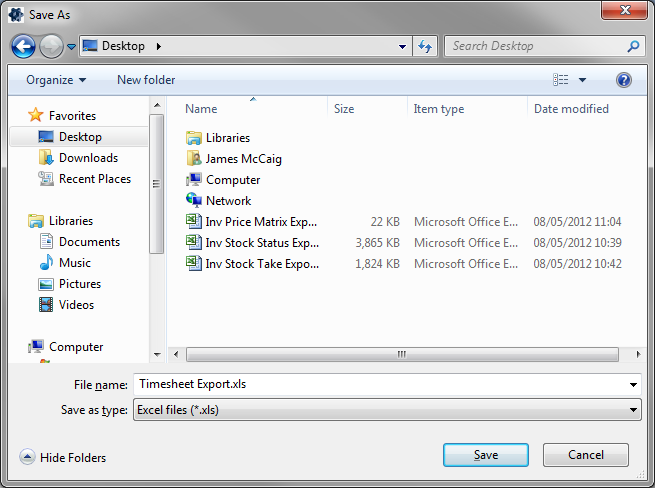
The user can specify the name required and where the exported file is saved. Clicking Save will generate the file. Once created, Progress will open the spreadsheet in Excel.
