The user can Replace, Insert or Remove an Inventory item using the Replace Inventory Item command. This is accessed through the Tools menu and displays the following screen when selected.
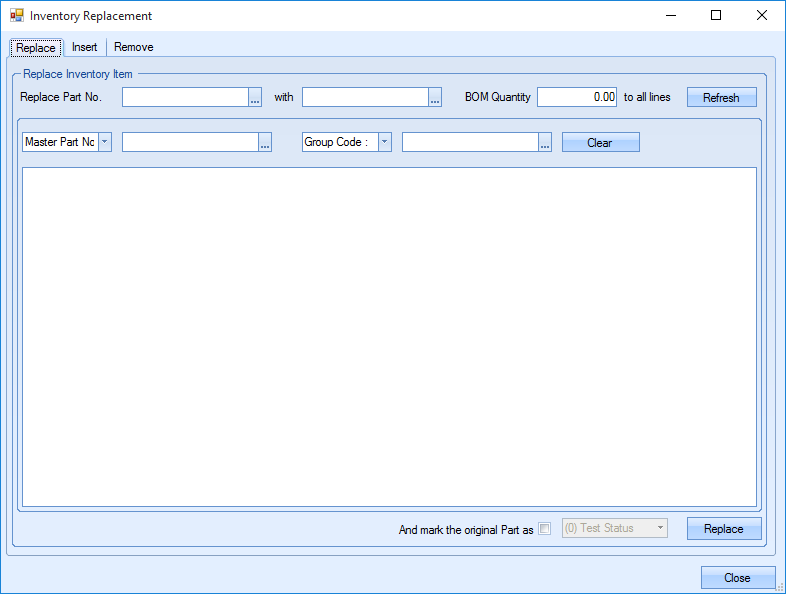
Replacing Inventory Item
The user can select which item needs to be replaced in the Replace Part No. box. Inventory can be searched by clicking the ![]() icon and typing the part name in the Quick Search box. Once chosen, the Select command should be selected. The same process is done to select the new part that is replacing the first part.
icon and typing the part name in the Quick Search box. Once chosen, the Select command should be selected. The same process is done to select the new part that is replacing the first part.
The BOM Quantity allows the user to add a specific quantity to the BOM when replacing inventory. If left as 0, the BOM quantity added will be the same as the part that is being replaced for each Master Part Number.
When both parts are selected, the user can click Refresh. This will display a list of Master Part numbers containing the part being replaced on the immediate BOM level. These results can also be filtered using the Master Part No. and Group Code filters.
The example below shows part Color A being replaced with Color B.
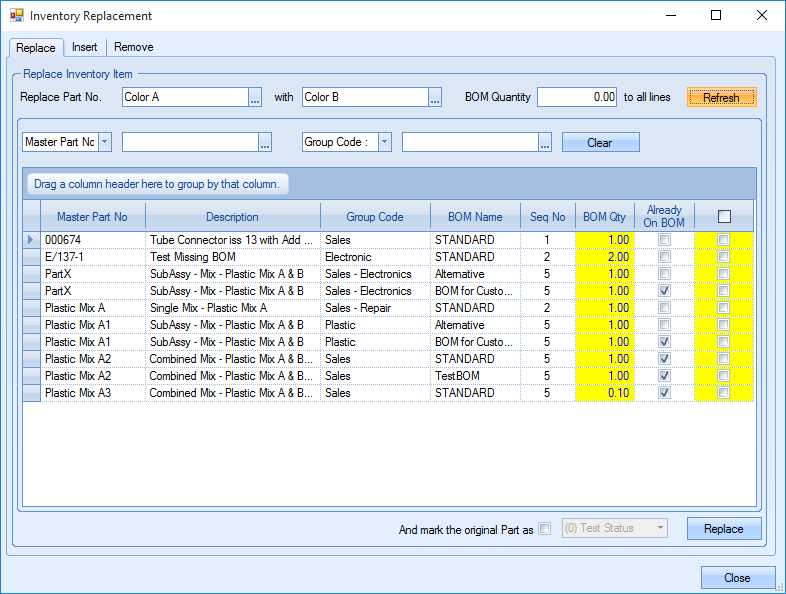
Colour A is selected in the first box as it is being replaced. Color B is selected in the second box as it is replacing Color A. As the BOM Quantity has been left as 0, the BOM Qty column shows the quantity of the item being replaced for each Master Part Number. The user can still manually override each quantity by typing in the required amount.
In order to replace the Inventory, the user must tick the check box for each Master Part Number. Alternatively, the user can tick the check box at the top of the list to tick all check boxes in the list.
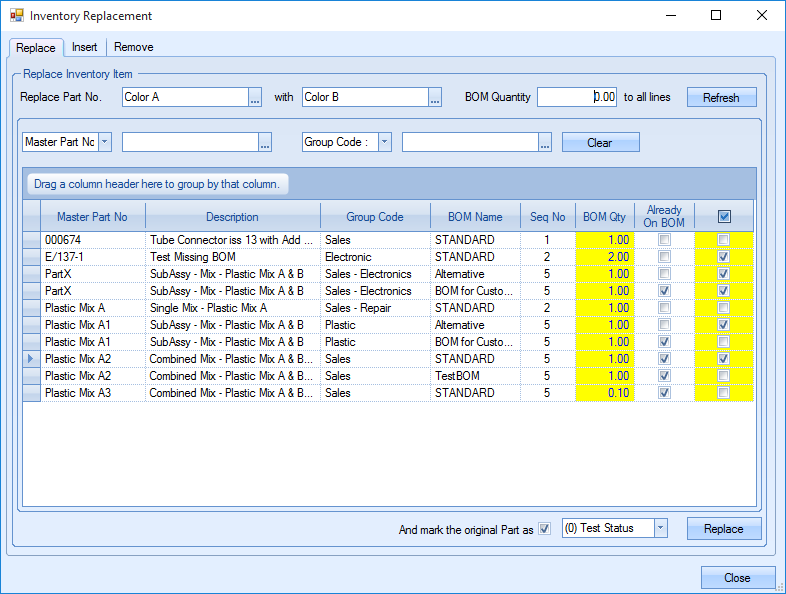
If the user requires the original part to be marked as a different status, the check box at the bottom of the screen can be ticked and the drop down box changed to the appropriate title.
![]()
When the user has selected all the appropriate Master Part Numbers, the Replace command can be used to make the changes.
Inserting Inventory Item
Inserting a part uses a similar process with the exception that no part is being replaced. The following screen is displayed when the Insert tab is selected.
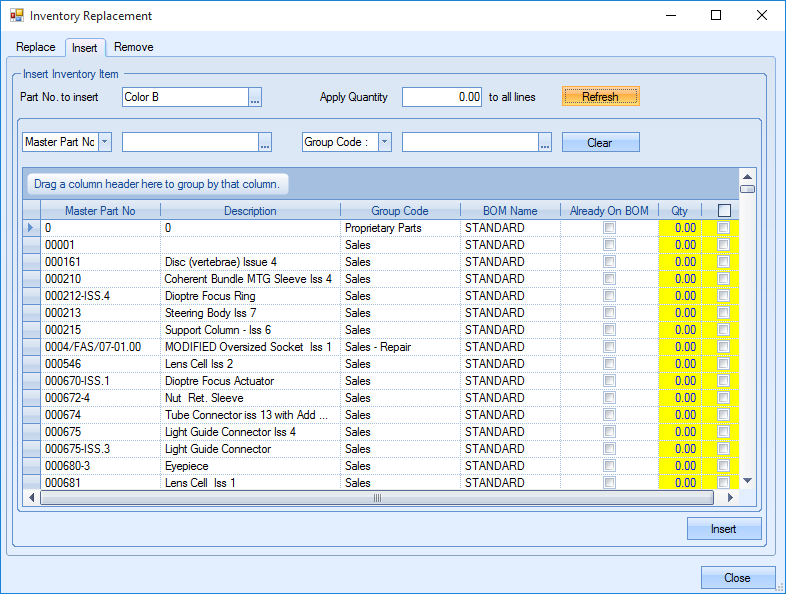
The user can search for the part to be inserted and filter the results by Master Part Number and Group Code if required.
The user can select the number of items that are required to be added for each line on the filtered list. This is done by changing the number in the Apply Quantity box.
![]()
The user can also add the quantities manually by changing the value in the Qty column of each individual Master Part Number. As well as adding the value required, the user must tick the check box to the right in order to insert that part.
When the user has selected the correct quantities and ticked the appropriate check boxes, the Insert command is used to confirm the changes.
Removing Inventory Item
Parts can also be removed from BOMs in a similar process.
The Remove tab is selected and the following screen is displayed.
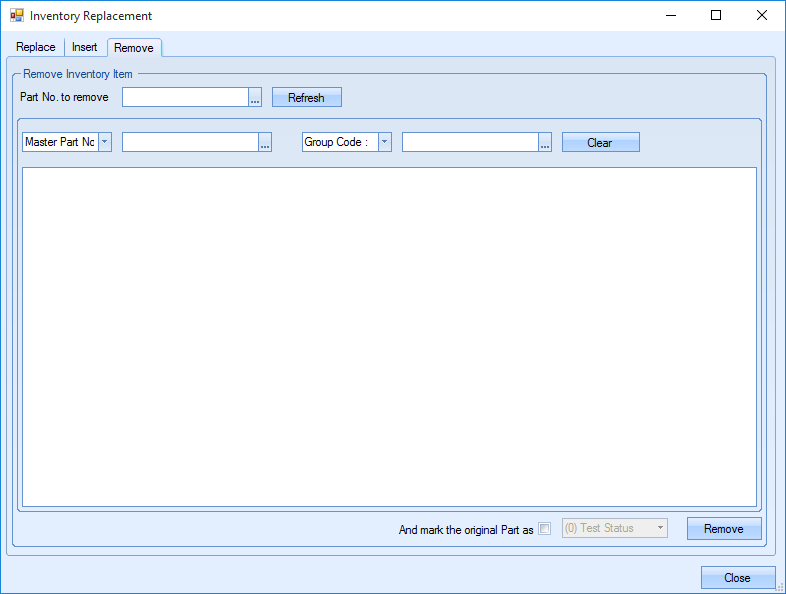
The user can search for the part to be removed by clicking the ![]() icon next to the box named “Part No. to Remove”.
icon next to the box named “Part No. to Remove”.
![]()
This will open the Quick Search function where the appropriate part can be chosen. Once selected, the Refresh command must be selected. This will display a list of all Master Part Numbers that contain the part in the BOM. The list can also be filtered by Master Part Number and Group Code.
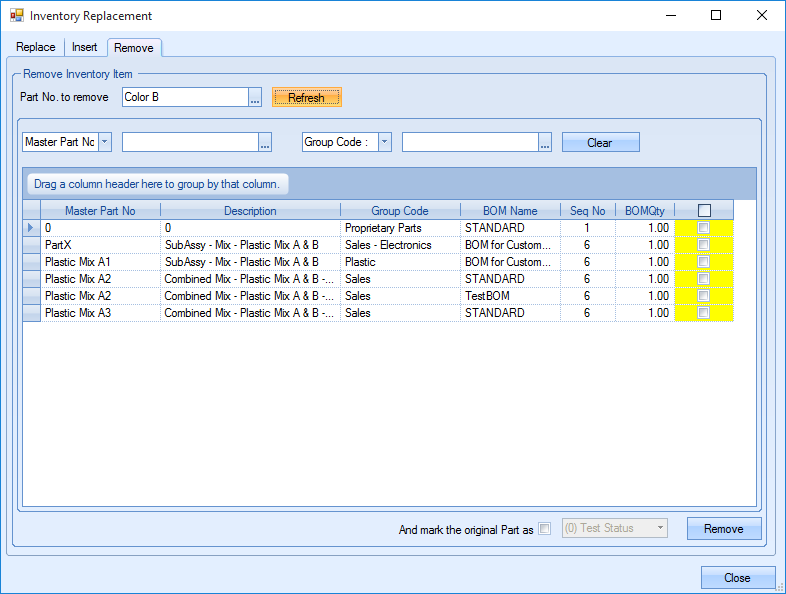
The user can tick the check boxes of all Master Parts that require the part to be removed. The top check box can also be ticked to select all of them. The Remove command can be selected to confirm the removal.