The following section allows the user to raise electronic purchase requisitions for parts and text items. The requisitions can then be converted to purchase orders or purchase enquiries by any user who has full access to the Purchase Orders and Purchase Enquiries sections respectively.
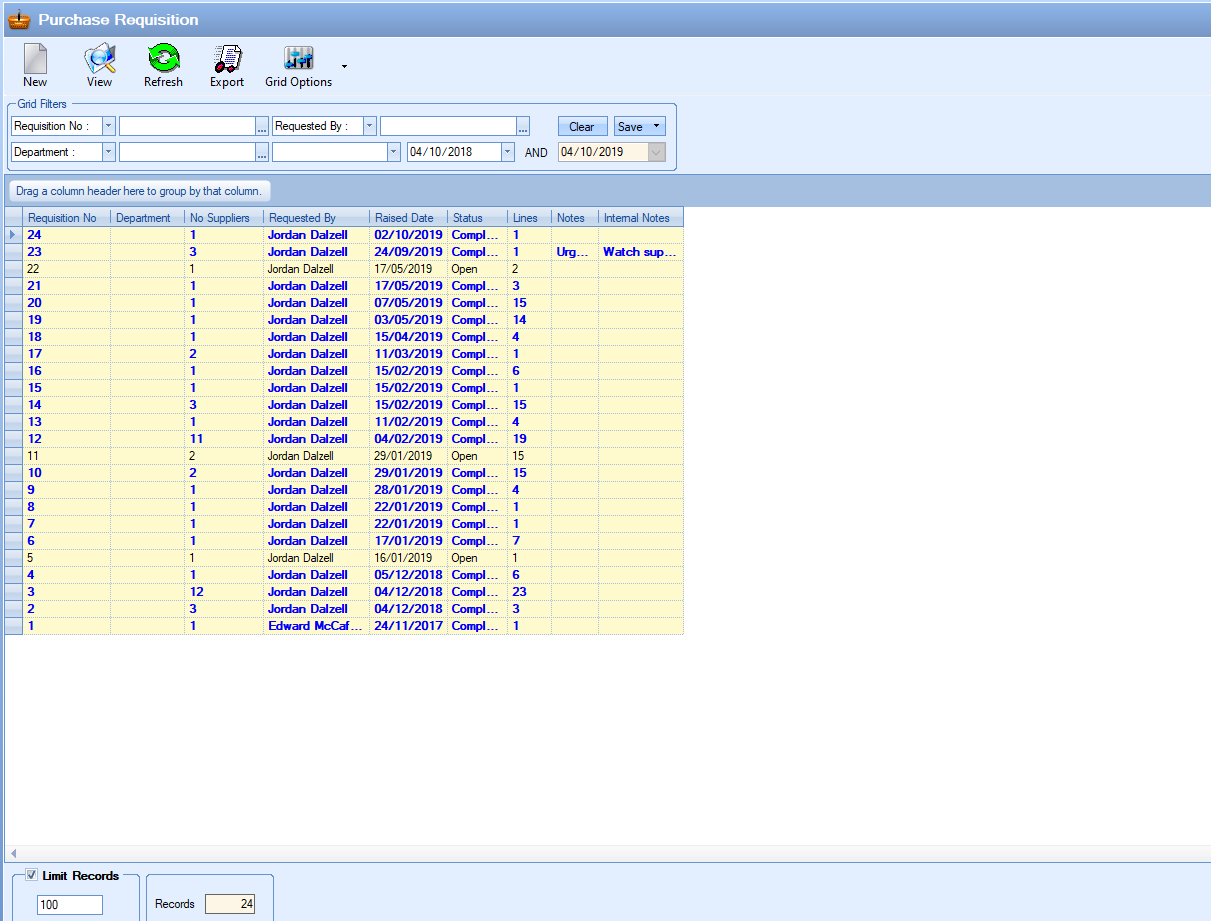
All existing purchase requisitions are listed in the main screen. The user can filter for specific purchase requisitions using the filters at the top of the screen.

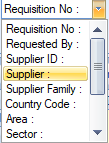
The user can select which pieces of information they wish to filter by using the drop-down lists to select the required field.
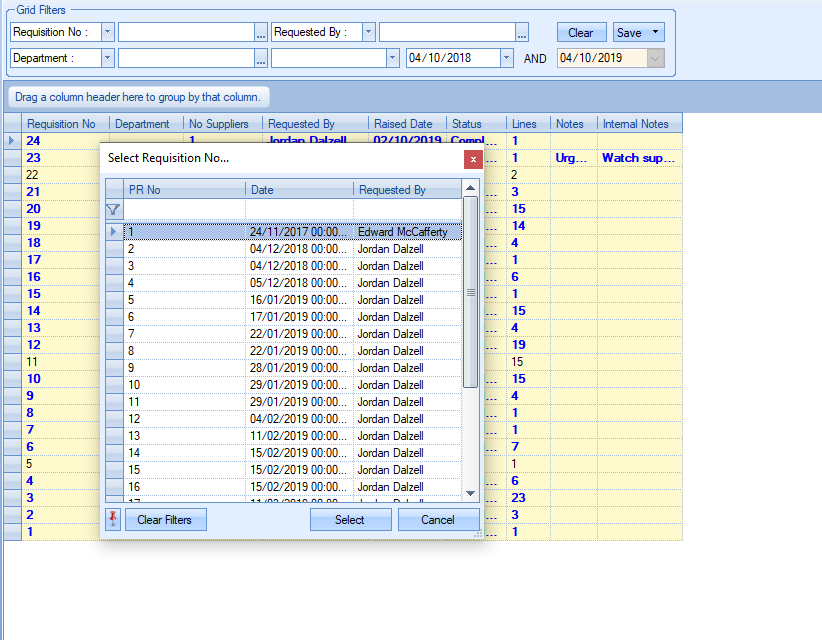
The user can then use the associated drop-down list to select the required values for the filters as shown in the next screen.
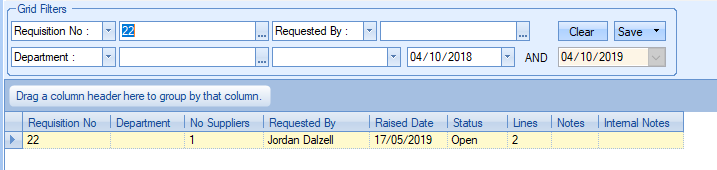
Once the user has selected the required filter, they can see the results by clicking the REFRESH option at the top of the screen. This will reduce the listed purchase requisitions to only those that meet the selected filter criteria.
View
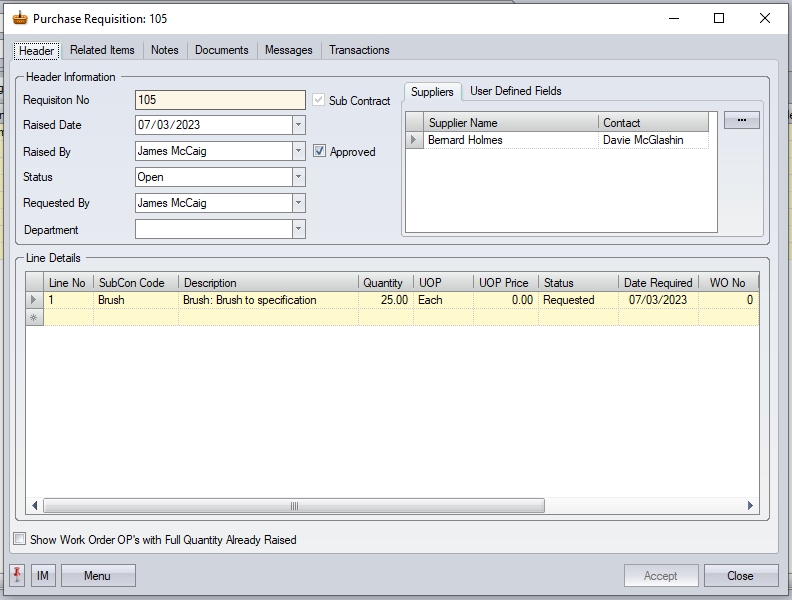
The user can access any of the purchase requisitions by double-clicking on the required requisition or highlighting the requisition in the grid and clicking the VIEW option at the top of the screen. Either method will open the selected requisition and display a screen similar to the following.
Export
This option allows the user to export the purchase requisition listed in the browse screen to an Excel spreadsheet. The user can use the grid filters to list the purchase requisitions they want to export and then click the EXPORT option. The user will be prompted to provide a file name for the Excel spreadsheet.
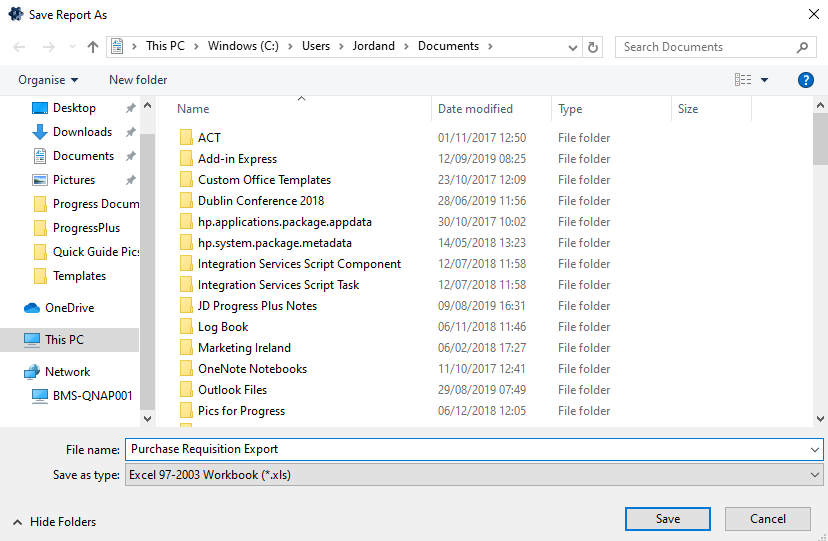
Once saved, the spreadsheet will open for the user to see. An example of the spreadsheet is shown below.

Creating a New Purchase Requisition
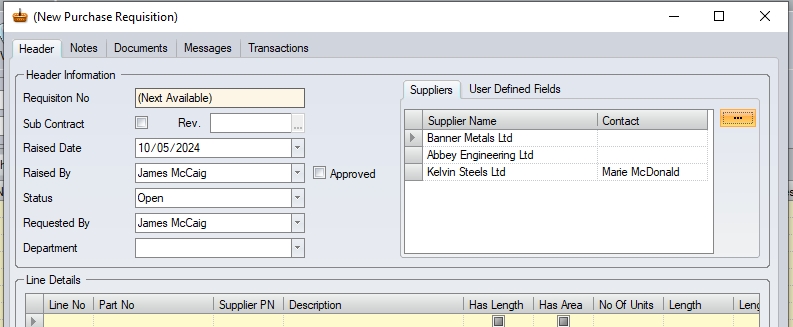
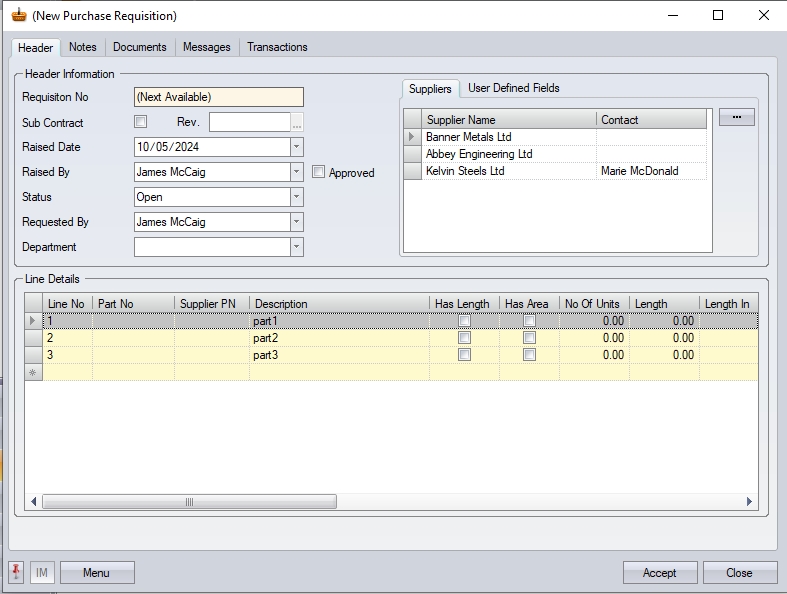
The user can create a new purchase requisition by clicking on the New option. This will present the user with the following screen.
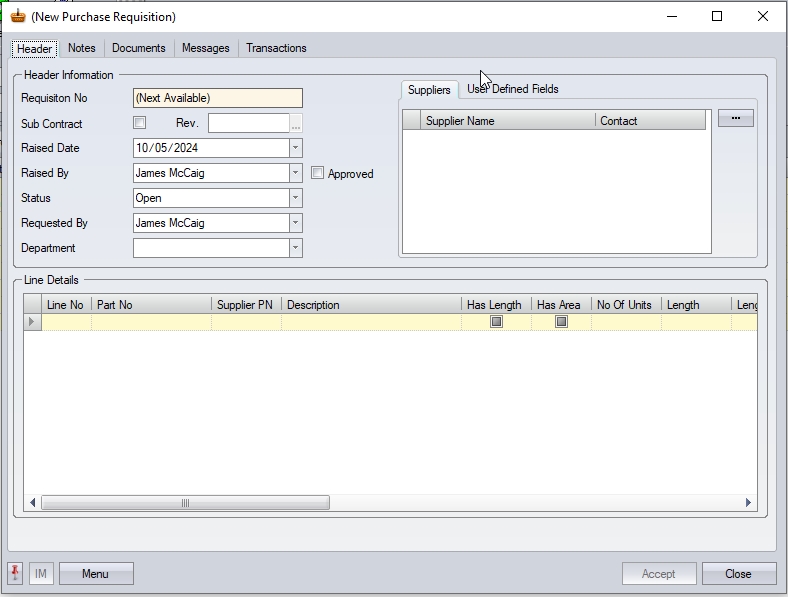
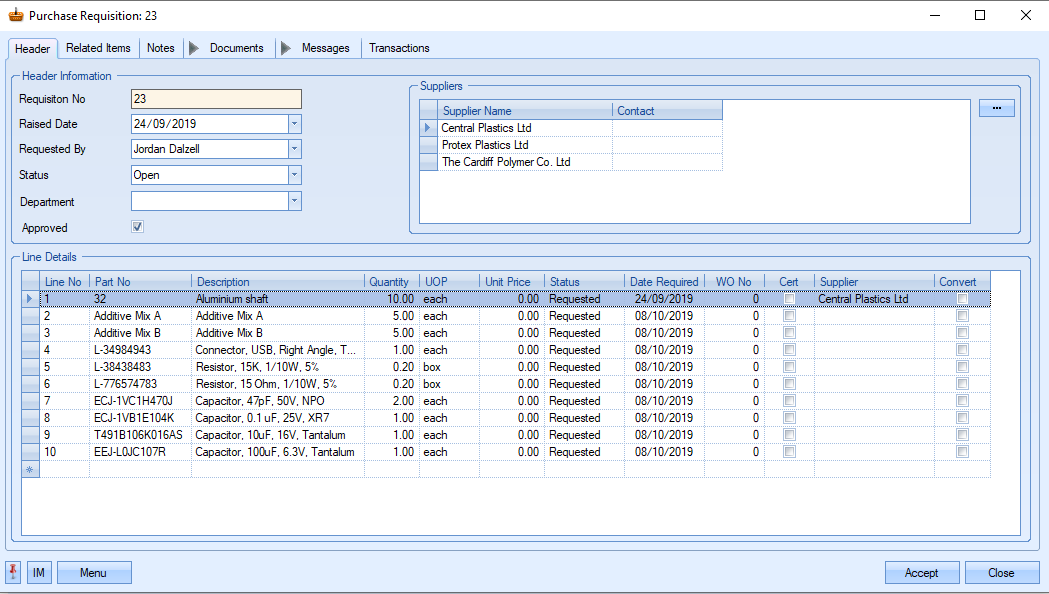
The screen above allows the user to specify some basic information regarding the purchase requisition as well as the suppliers they wish to enquire against. The basic information is as follows.:
Requisition No: System generated number. Allocated once user clicks ACCEPT button to save the requisition.
| Sub Contract: | This option indicates whether the purchase requisition is for a subcontract (i.e. external) process or not. If this is ticked, then the Line Details grid is amended accordingly o the relevant subcontract information can be entered. |

(standard purchase requisition)

(Subcontract purchase requisition)
| Rev. | This allows the user to specify a revision number against the requisition. To add a revision, the user must first create the requisition. Once saved, the user can click the |
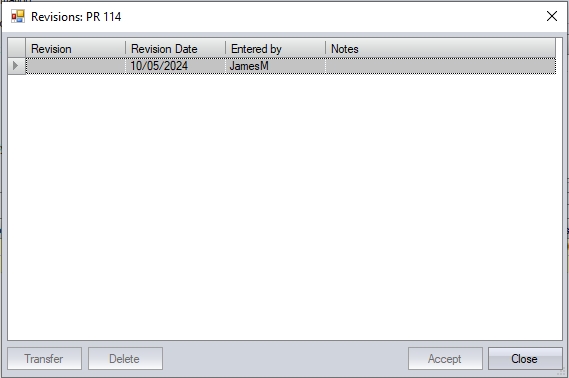
| The user can then add a revision, date and note regarding the revision being created. Once created, the user can select a revision by highlighting and clicking the TRANSFER option. This will pull the revision number through to the requisition. |
Raised Date: Date of requisition. Defaults to current date, but can be amended using the drop-down list if necessary.
Raised By: Creator of the requisition. Defaults to the current user but can be changed using the drop-down list if necessary.
Status: Requisition status. Defaults to OPEN.
Requested By: Name of employee who has requested the items.
Department: Allows the user to allocate a department to the requisition from the drop-down list. The department list is maintained via the List Maintenance screen.
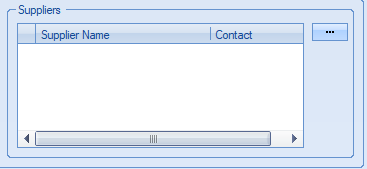
The user can add suppliers to the purchase requisition using the Suppliers window at the top of the requisition screen.
To add suppliers, the user can click on the ![]() option. This will present the user with a supplier list to select the user form.
option. This will present the user with a supplier list to select the user form.
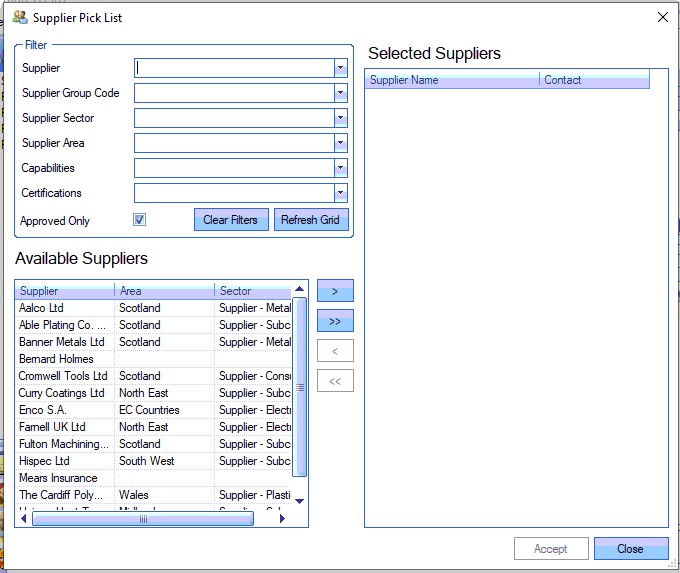
The user can use the filters at the top to find specific suppliers or groups of suppliers. The user can then add the suppliers by highlighting the required supplier and clicking on the ![]() option to add the selected supplier or the
option to add the selected supplier or the ![]() option to add all the suppliers listed. The user can also remove suppliers that have been selected by clicking on the
option to add all the suppliers listed. The user can also remove suppliers that have been selected by clicking on the ![]() option (removes selected supplier) or the
option (removes selected supplier) or the ![]() option (removes all suppliers).
option (removes all suppliers).
All suppliers are shown in the right-hand list as follows.
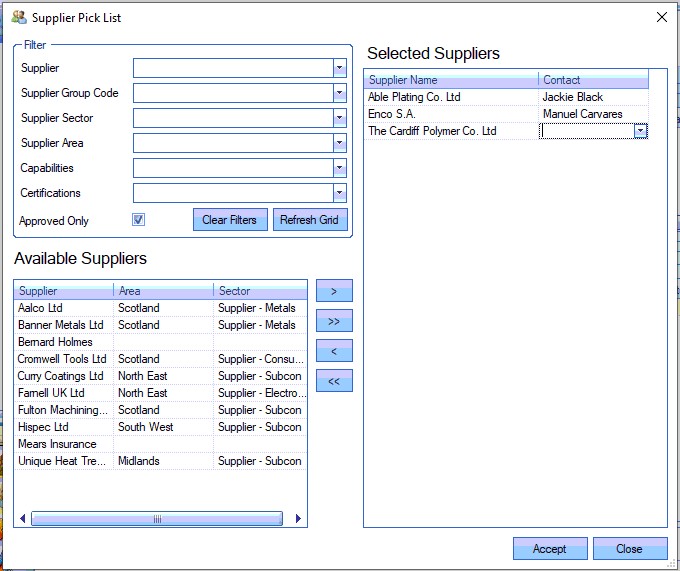
Clicking the ACCEPT option returns the user to the purchase requisition screen along with the chosen suppliers. Any default or selected contacts for the suppliers will also be pulled through to the purchase requisition and will flow through to any purchase enquiries or purchase orders created by converting the requisition.
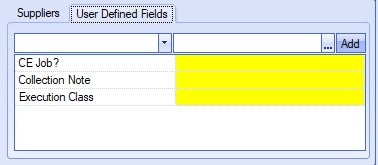
The system also allows user defined fields (UDFs) to be set up for purchase requisitions. These will be available under the User Defined Fields tab at the top of the screen.
Once the user has selected the suppliers and completed any UDFs that are required, they can then enter the details of the material or parts they are looking for. If the user is creating a requisition for an existing part number, they can click on the ![]() option against the PART NO field to open the inventory search window.
option against the PART NO field to open the inventory search window.
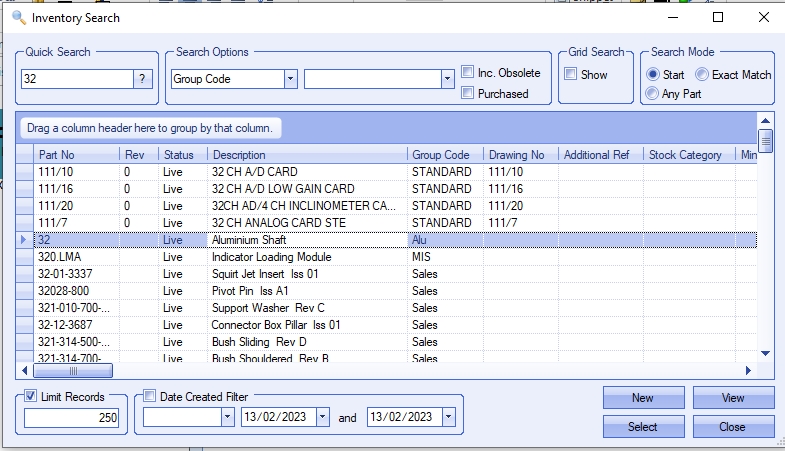
The user can search for the part number required. This will present a list of parts based on the search criteria entered by the user. Once the item has been located, the user can simply highlight the part and click the SELECT option to add the part to the purchase requisition. The user will be returned to the purchase requisition screen with the part number selected.
If the item does not already exist in Progress, the user can create a new part number by selecting the NEW option in the Inventory Search window above. They can then proceed to create the new part number as required. For more information on creating part numbers, please refer to the Inventory section of this manual.

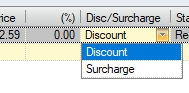
For existing and newly created parts, the part description field will populate from the inventory record along with the unit of purchase. The user can enter a unit price if they wish, although it will default to 0.00. The user also has an option for a discount or surcharge to be applied. The user can select whats required and set a %.
The NET value of the line will also be calculated and displayed.
![]()
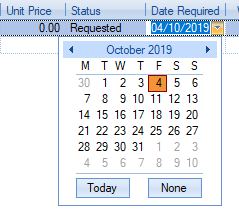
The line status will also default to REQUESTED, as well as the date required date which will default to today's date, but can be manually edited by the user by selecting the drop down and using the calendar.
If the user is requesting that the material is purchased specifically for a work order, then they can link a work order by clicking in the WORK ORDER NO field and selecting from the list as shown below.

If there is a Certificate of Conformity required from the supplier then the user can tick the CERT box to highlight this. If the items have been sourced by a supplier then the user can select a specific supplier from those in the top-right of the screen by clicking in the supplier field drop down, or they can leave this blank. The covert box will be ticked when the user wishes to convert the requisition to a new purchase enquiry, a new purchase order or an existing purchase order.
If the user wishes to create a new requisition upon an item that does not currently exist in Progress, they can simply use a description to detail what they are raising the requisition for. If the user has added a line to the requisition in error, they can delete the line in question AS LONG AS THE REQUISITION HAS NOT YET BEEN SAVED. To delete the offending line, the user can just press the ESC key on their keyboard.
Purchase Requisition Approval
If the system is configured to use the approval process for purchase requisitions, then the APPROVED option on the requisition is what needs to be ticked to "approve" the requisition. This can only be done by an authorised user (i.e. they have approval permission and a valid approval limit). For more information on purchase requisition approval limits and user's permissions, please refer to the Administrator Functions > Access section of the manual.
Purchase Requisition Line Details
If the user wants to access the information that is stored against the line details of the purchase requisition, they can double click on the little ![]() at the start of the line. This will present the user with the following screen.
at the start of the line. This will present the user with the following screen.
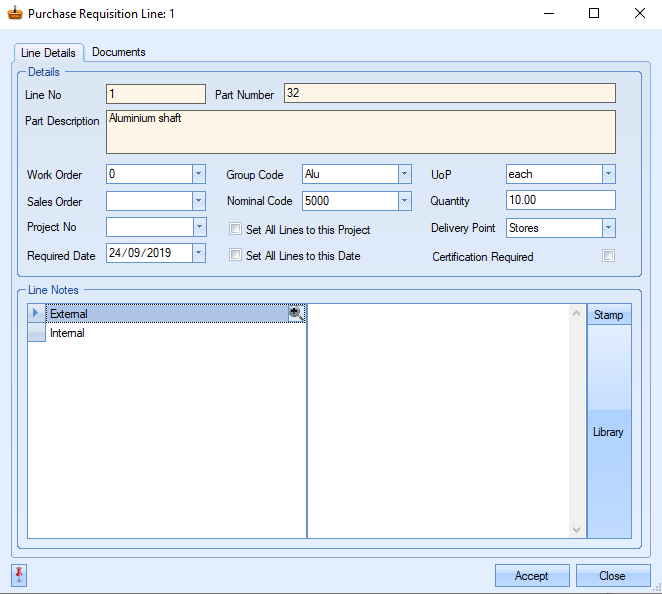
This screen allows the user to define or link certain fields or parts of the system to the purchase requisition.
| Work Order: | This is the Work Order no the requisition is being linked to. This can be left blank or selected from the drop-down list. |
| Sales Order: | This is the Sales Order no the requisition is being linked to. Typically, this would be for buy in/sell on parts. This can be left blank or selected from the drop-down list. |
Project No: This is the Project that the requisition is being linked to. This can be left blank or selected from the drop-down list.
Required Date: This is the date that the requisition is required to be reviewed.
Group Code: This is the Group Code of the part.
Nominal Code: This is the Nominal Code that the part will go to when transferred over to the accounts package.
UOP: This is the unit of purchase, so how the material is purchased from the supplier.
Quantity: This is the quantity of the material that is required.
Delivery Point: This is the location that the material will be delivered. This will be a valid location within the system.
Certification Required: If there is a Certificate of Conformity required from the supplier then the user can tick the cert box to highlight this.
Similar to the MENU option at the bottom of the requisition, the user has the option to link the same PROJECT to all lines and also the same REQUIRED DATE to all lines. Internal and external line notes can also be added for the part and also documents. See the section further on in this document on how to add notes and documents.
Copy Order
This option allows the user to copy the details from a previous requisition. This option is often used where repeat requisitions are raised, saving the time it takes to re-enter all the same information. Selecting this option presents the user with a window which allows them to select the previous requisition they wish to copy.
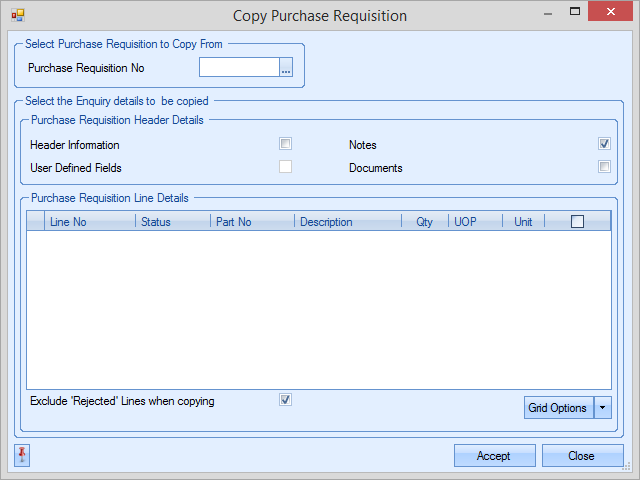
The user can select the relevant requisition before the system lists all the items that were included in that requisition.
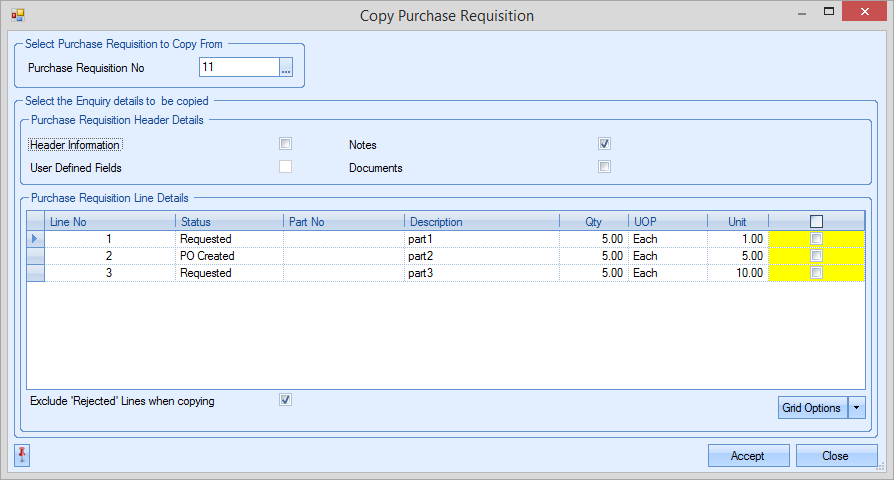
The user now has the options to select the information they wish to pull across to the new requisition. This includes the the header information (suppliers, requested by, etc.), any notes that were recorded against the requisition, associated documents which were attached to the requisition or any user defined field values which were used to record additional info.
The user can also select individual line items from the requisition with each item listed in the displayed grid alongside the previous quantities, UOP values and the status of the previous requisition line. To copy any of the parts listed, the user simply ticks the selection box against the line items. Upon clicking ACCEPT, all the selected details are pulled across to the new requisition.
The user can add any additional information or line items once the details have been copied across or they can simply click ACCEPT to save the details and assign a new requisition number.
Converting Purchase Requisitions to Purchase Enquiry
If a quote needs to be placed with multiple suppliers prior to the purchase order being raised then the purchase requisition can be converted to a purchase enquiry first.
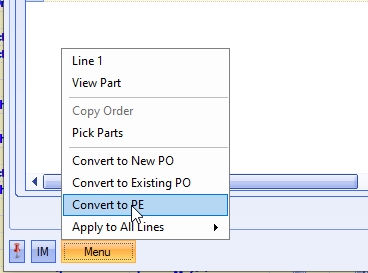
Within the Today – To Do screen, the user can select PO Requisitions to be Converted. This will display all the outstanding Purchase Requisitions available. The user will double click on the line they want to convert and this will open the requisition. To convert the requisition to a Purchase Enquiry, the CONVERT box must be ticked on the relevant lines. The user must then select the CONVERT TO PE option from within the MENU option.
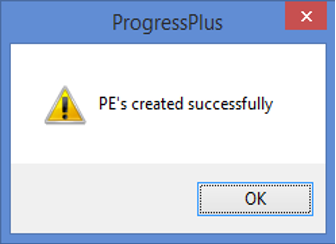
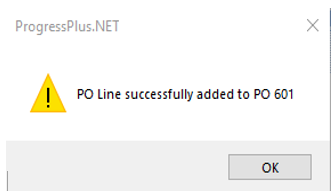
The system will confirm creation of the enquiry once generated.
Converting Purchase Requisitions to a New Purchase Order
If there is no requirement to create an enquiry for the part, and the user wishes to create a new purchase order they can go ahead and do this.
Within the Today – To Do screen, the user can select ‘PO Requisitions to be Converted’. This will display all the outstanding Purchase Requisitions available. The user will double click on the line they want to convert and this will open the requisition. To convert the requisition to a Purchase Order, the Convert box must be ticked on the relevant lines. The user must then select Menu and Convert to New PO.

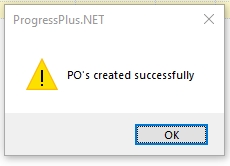
The system will confirm creation of the purchase order once generated.
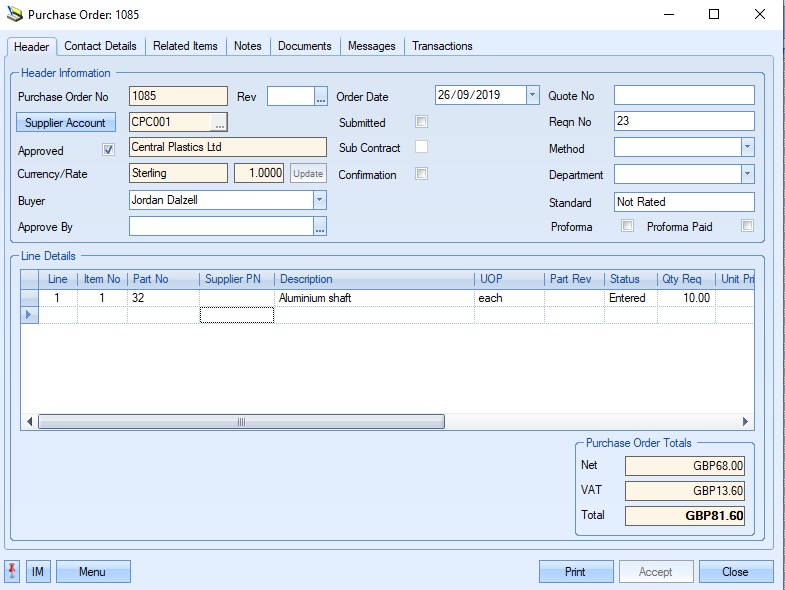
The user can then view the PO created via the Purchasing screen as usual.
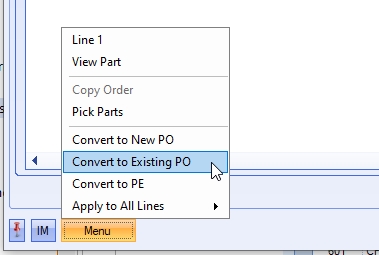
Converting Purchase Requisitions to an Existing Purchase Order
If there is no requirement to create an enquiry for the part, and the user wishes to create a new line on an existing purchase order they can go ahead and do this.
Within the Today – To Do screen, the user can select ‘PO Requisitions to be Converted’. This will display all the outstanding Purchase Requisitions available. The user will double click on the line they want to convert and this will open the requisition. To convert the requisition to a Purchase Order, the Convert box must be ticked on the relevant lines. The user must then select Menu and Convert to Existing PO.
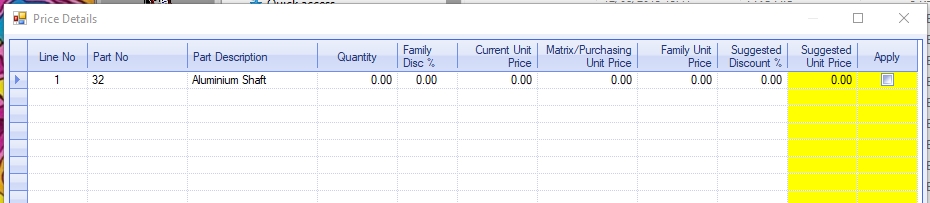
Once the user clicks the CONVERT TO EXISTING PO option, they will be presented with a screen highlighting existing pricing information for the parts on the purchase requisition. From here the user go with the suggestion price or manually enter the price they wish to use.
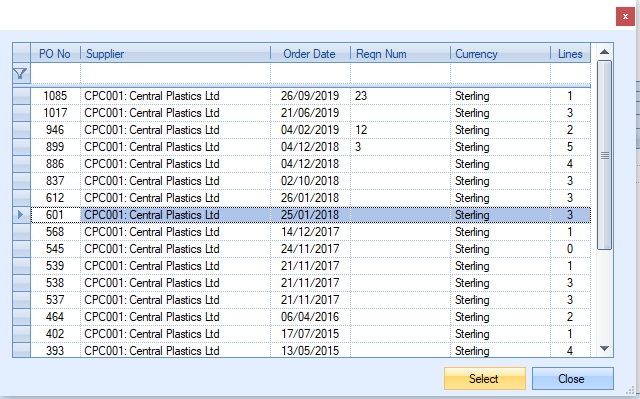
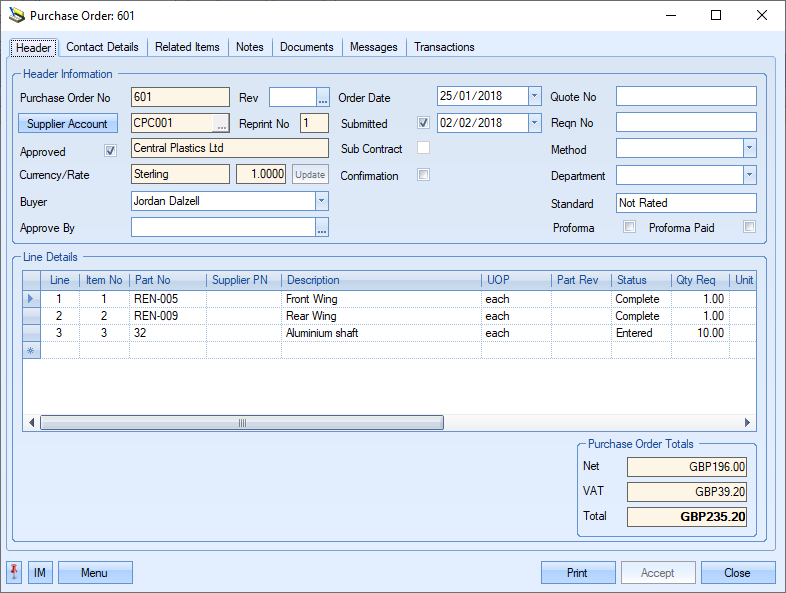
The user will then be presented with a screen where they will be able to choose the existing purchase order they wish to add the item to.
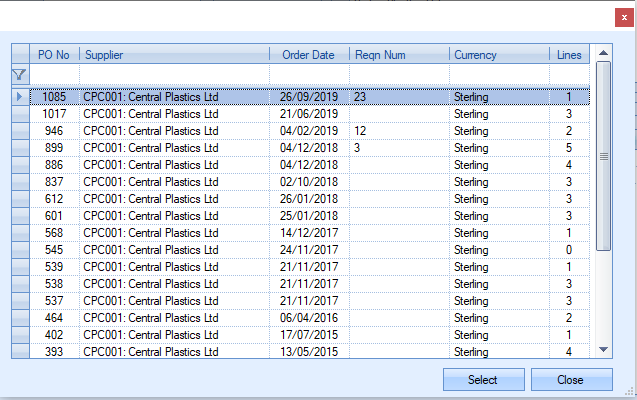
This will display all the existing purchase orders for the supplier that is selected. The user can highlight the line they wish to add to the purchase order and then click the select option.
The system will confirm the addition of the purchase order line to the existing purchase order once generated.
The user can then view the PO created via the Purchasing screen as usual.
Apply to All Lines
The user has the option to apply a number of different options to all lines on the purchase requisition. The user must select Menu and Apply to All Lines and they will be presented with the following options.
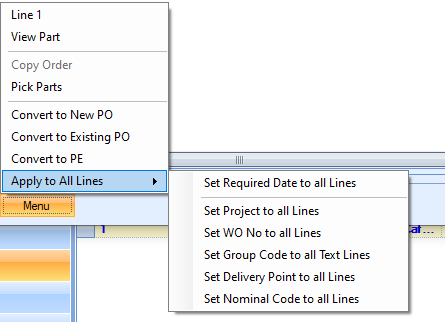
These options will do the following:
Set Required Date to all Lines: This will prompt the user for a date to set as the Required Date for all lines on the Requisition.
Set Project to all Lines: This will prompt the user to select a valid project and apply it to all lines on the Requisition.
Set WO No to all Lines: This will prompt the user to select a valid WO No and apply it to all lines on the Requisition.
Set Group Code to all Lines: This will prompt the user to select to a valid Group Code and apply it to all lines on the Requisition.
Set Delivery Point to all Lines: This will prompt the user to select a valid stock location and apply it to all lines on the Requisition.
Set Nominal Code to all Lines: This will prompt the user to select a valid nominal code and apply it to all lines on the Requisition.
After setting the appropriate value in each case, clicking the ACCEPT option will update the lines accordingly.
Menu Options – View Part
If the purchase enquiry is for an existing part number, the user can access the inventory record for the part by selecting the View Part option from the Menu options.
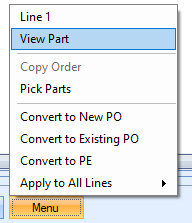
Selecting this option will present the user with the inventory screen for the selected part as shown below.
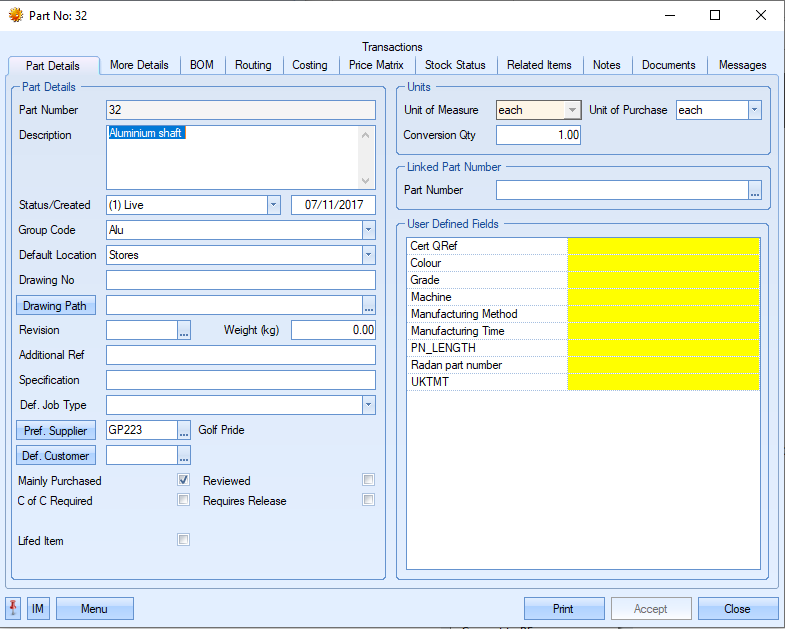
The user may if required change the information contained in this screen if he or she has permission to do so as determined within the User Access Rights section of the Admin section of Progress. For more information on amending information on these screens, please refer to the relevant section of this manual.
Clicking the Accept or Close options will return the user to the purchase requisition.
Purchase Requisition Related Items
This section shows the items in Progress related to the current purchase requisition.
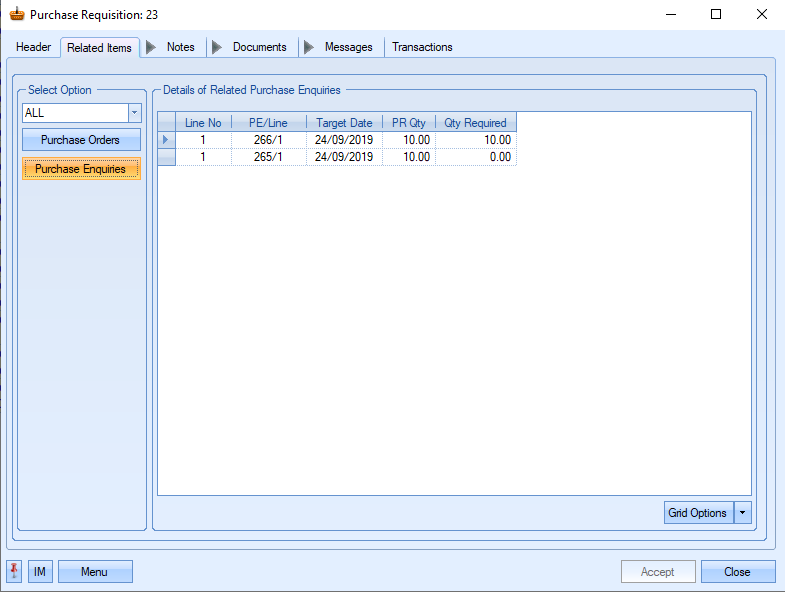
The user can select the required requisition line from the drop-down list at the top and then select the appropriate category they wish to view. The Purchase Orders option here will only show related purchase orders once the requisition line has been converted. The Purchase Enquiries option will only show items where the requisition line has been converted to a purchase enquiry.
This section allows the user to add notes to the purchase requisition.

The user can enter any general comments in the General Notes section regarding the requisition. They can also select a comment from the Notes library within Progress using the Library option. Clicking on this presents the user with the library list of notes they can choose from.
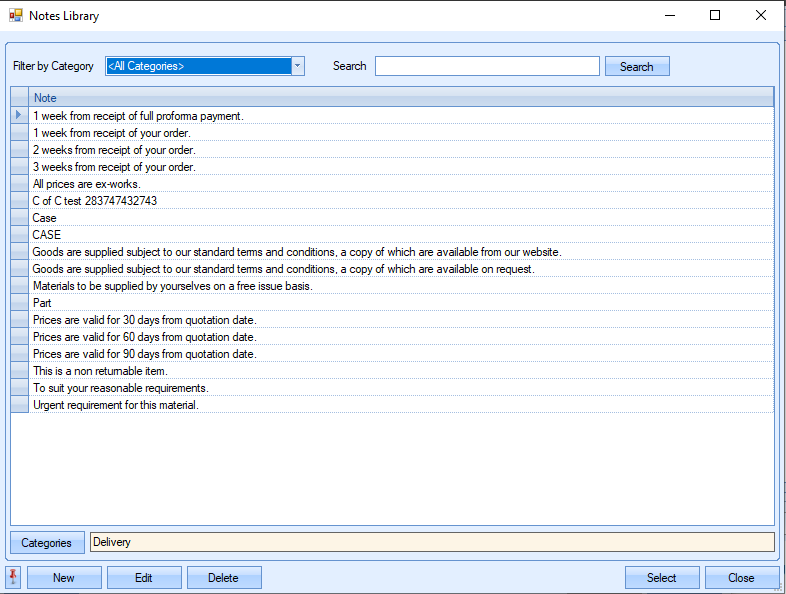
The user can select an existing note or add new notes if required. For more information on the Notes library in Progress, please refer to the Maintenance section of this manual.
Once the user has selected the note they wish to use, they can click the Select option to pull it through to the requisition.
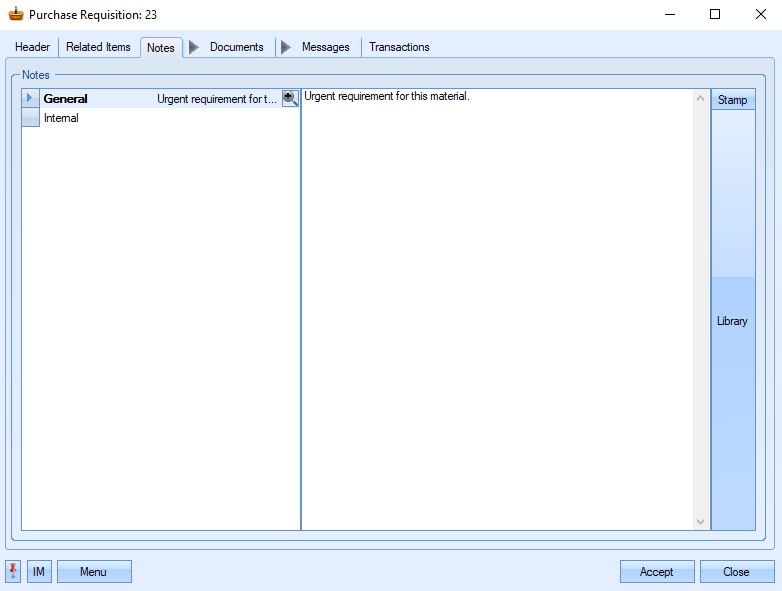
Again, the user can also select a note from the Notes library within Progress by selecting the Library option. Once the user has added any comments/notes they require, they can save the information by clicking the Accept option.
Purchase Requisition Documents
This section allows the user to attach documents to the purchase enquiry. They may relate to material specifications of the material that the requisition is being created for.
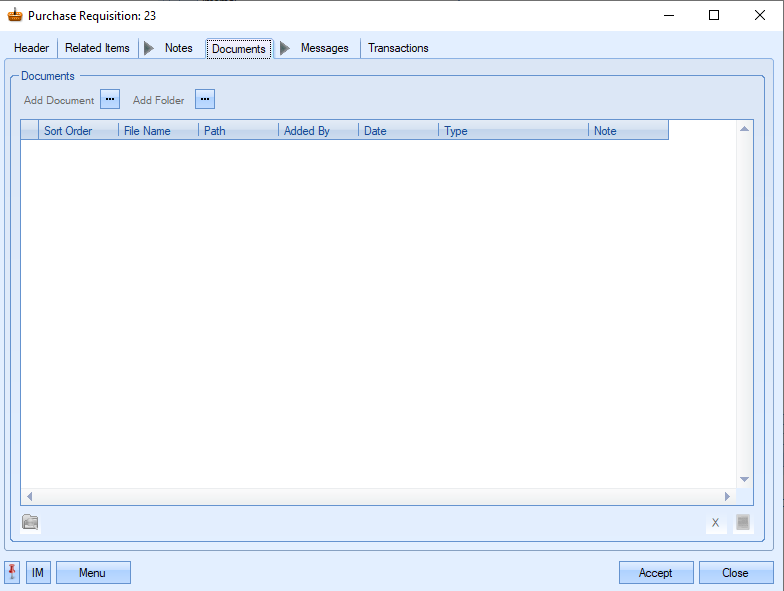
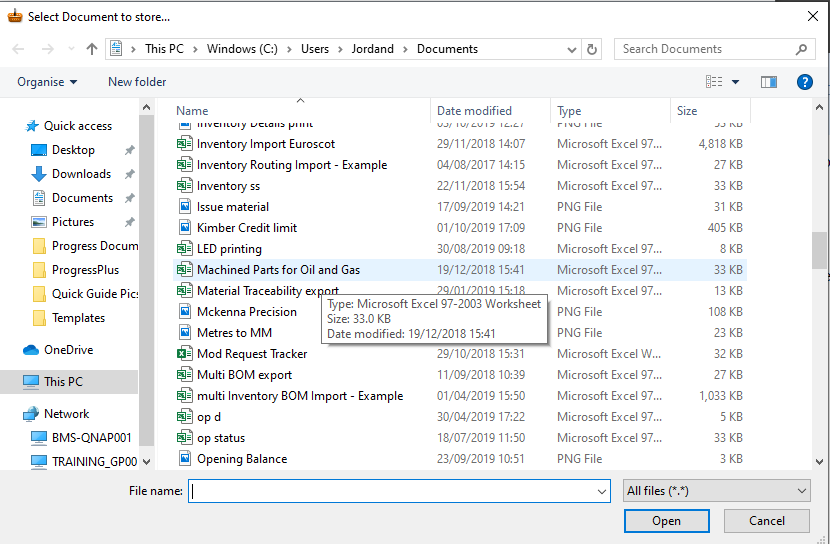
To record documents against the purchase requisition, the user simply clicks on the Add Document option to select the file required.
![]()
This will open a standard Windows explorer window to allow the user to search for the file to be attached.
Once the user has selected the file required, Progress will return the user to the documents screen and list the selected file.
Once the user has selected the file required, Progress will return the user to the documents screen and list the selected file.

NOTE: To allow access for other users to the files added to the purchase requisition record, the user must ensure that these files are held in a folder accessible by all users. Typically, a shared network folder would be created for this purpose. Once the file(s) have been added, the user can specify a file type or comment associated with the document. The type can be chosen from the drop-down list.
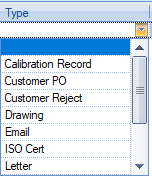
The drop-down list can be populated from the List Maintenance section of Progress in the Document Types list as shown in the screen below.
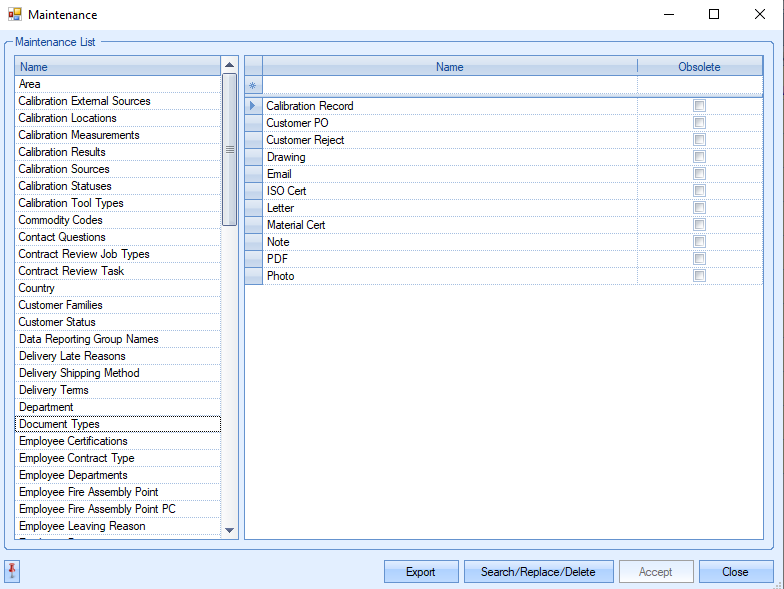
For more information on maintaining lists and the List Maintenance section of Progress, please refer to the List Maintenance section of this manual.
A note for the document can be added directly to the Note field as shown.
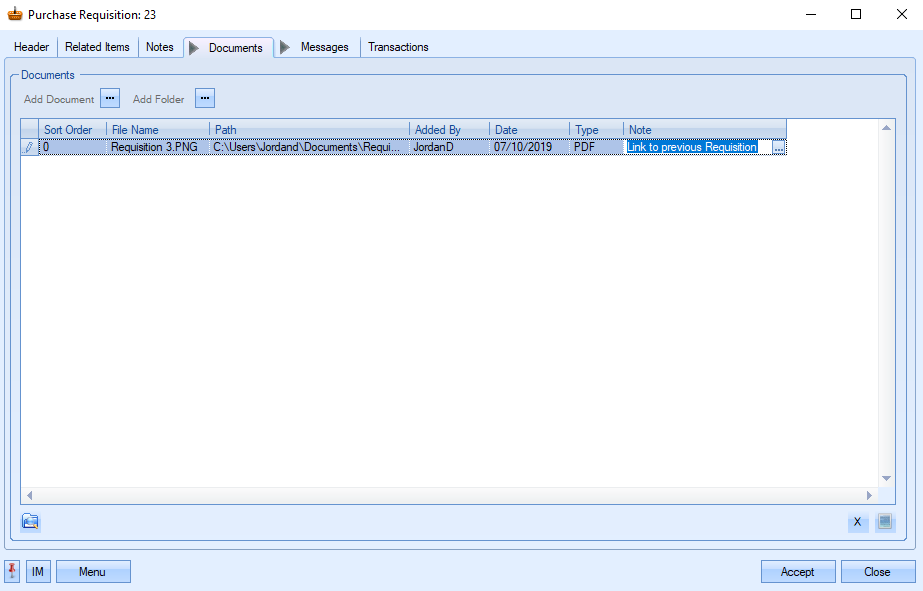
Once all documents and details have been added, the user can save the changes by clicking on the Accept option. This will also return the user to the main purchase requisition screen.
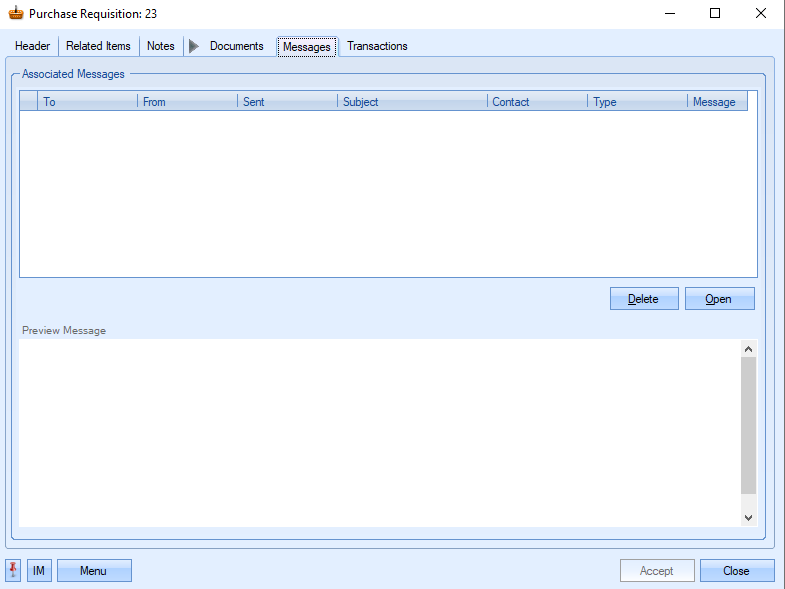
Purchase Requisitions Messages
This will allow the user to add any appropriate messages that relate to the purchase requisition. This can be done from the following screen.
If the user wanted to add a new message to the purchase requisition, they would click on the ![]() option. This would then take them to the screen where they can add a message.
option. This would then take them to the screen where they can add a message.
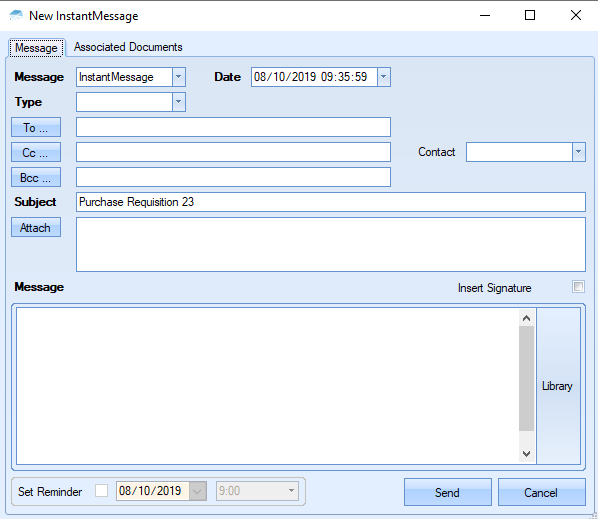
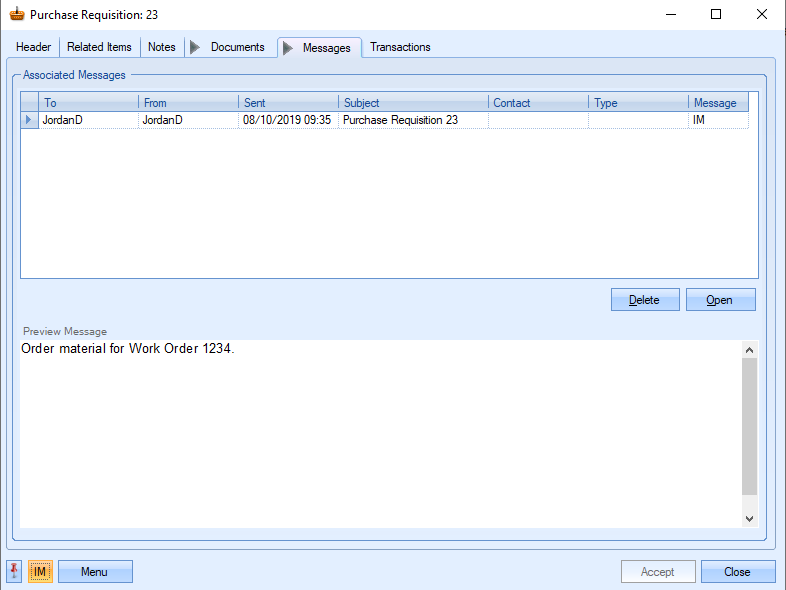
The user has the option to select from an Instant Message, Note, Reminder or Email. Once they have filled in the rest of the required fields, they can send the message and this will now appear in the messages tab of the purchase requisition.
Purchase Requisition Transactions
This section of the supplier details shows a complete list of transactions made in Progress by the users which relate to this purchase requisition.
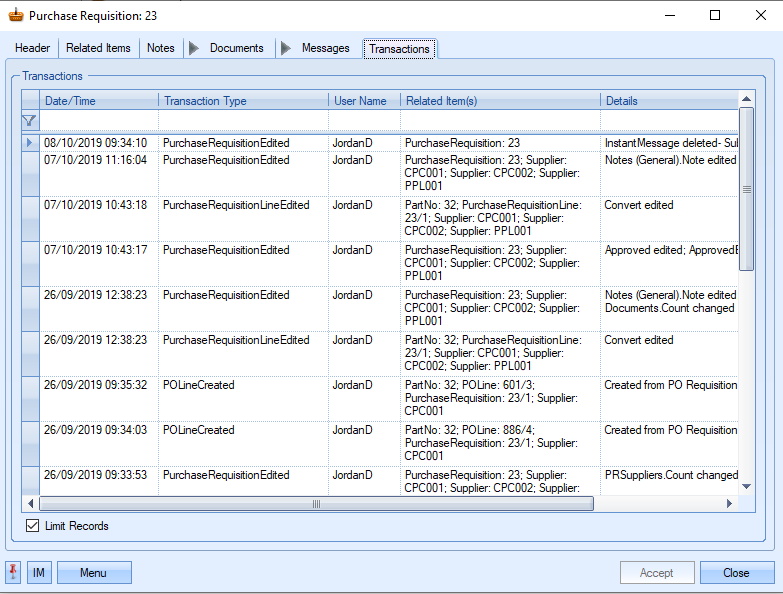
The user can see what transactions have occurred as well as details on the changes made. This is often very useful when trying to find out why something has changed unexpectedly or if the user needs to find out who made a particular change.
Date/Time: The date and time that the transaction occurred.
Transaction Type: The type of transaction recorded. This references both the area of Progress and the action, i.e. SupplierEnquiryLineCreated – requisition converted to a purchase enquiry.
User Name: User who made the transaction.
Related Item(s): Reference information on the exact record that was amended, i.e Purchase Requisition number, Part No, Supplier, etc.
Details: Brief explanation of edited information.
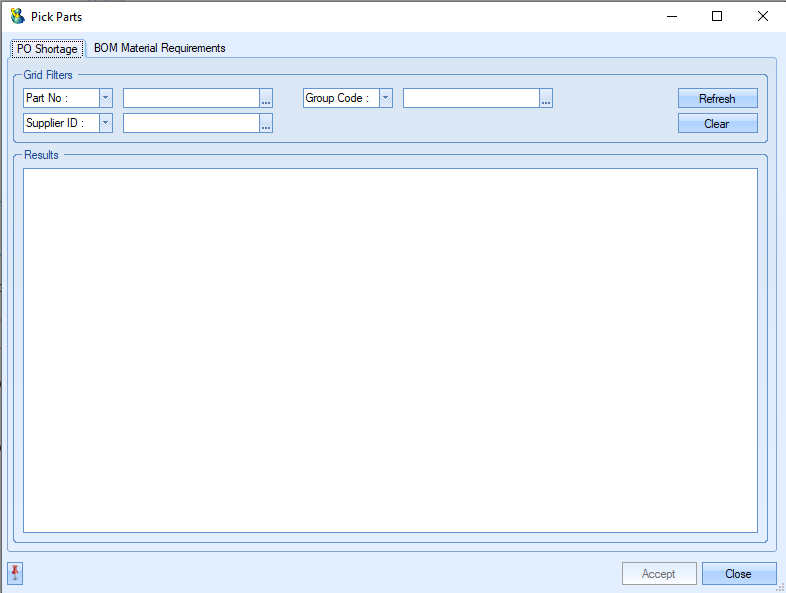
The user also has an option to raise the purchase enquiry based on two other methods – PO Shortages and BOM Material Requirements. The user can access these through the Pick Parts option from the Menu options.
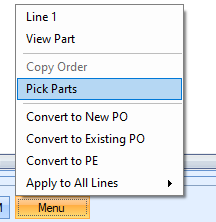
Selecting this option presents the user with the following screen.
PO shortage
This option allows the user to create a requisition based on parts that have a current shortage. This screen presents the same parts that appear on the Items To Be Purchased screen. The user can filter this screen using the grid filters at the top and then click Refresh to view the selected parts. This will present a screen similar to the following.
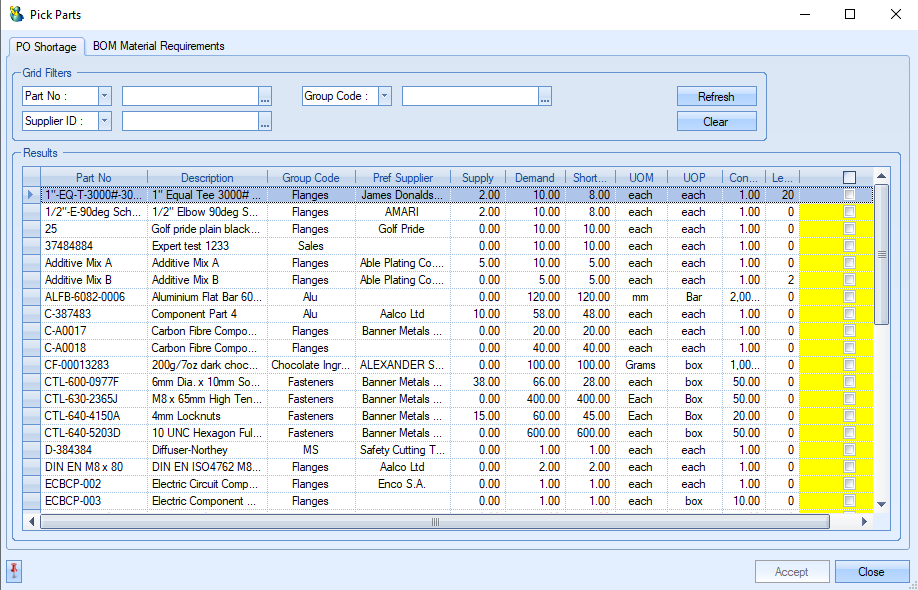
From here the user can select the parts they wish to add to the purchase requisition by clicking on the tick box at the end of the line. Once the items have been selected the user can click the Accept option. The purchase requisition will then be updated with the selected parts and quantities based on the material shortages chosen.

The user can save the purchase enquiry by clicking on the Accept button.
BOM Material Requirements
This option allows the user to create a requisition based on the BOM of a selected manufactured item.
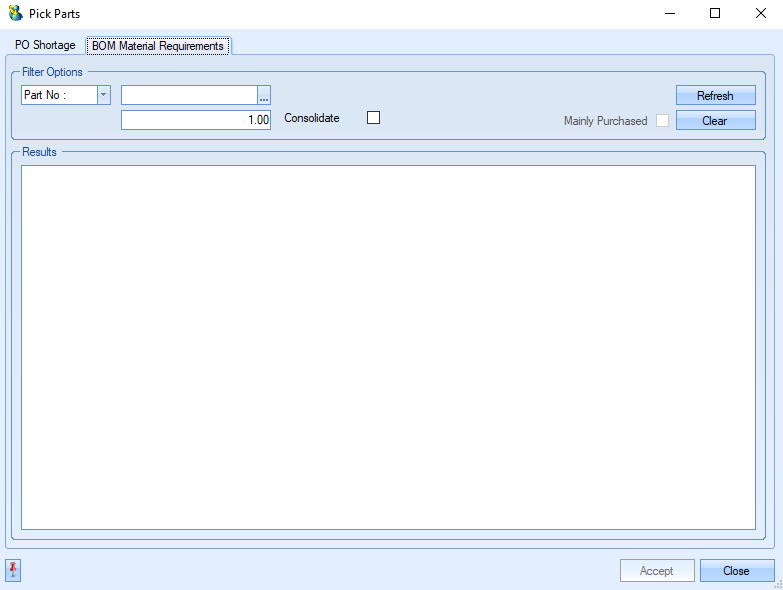
From the screen above the, the user can select the part required using the filter option. Once the user has selected the part and quantity required, clicking the Refresh option presents the user with the full BOM of the selected part.
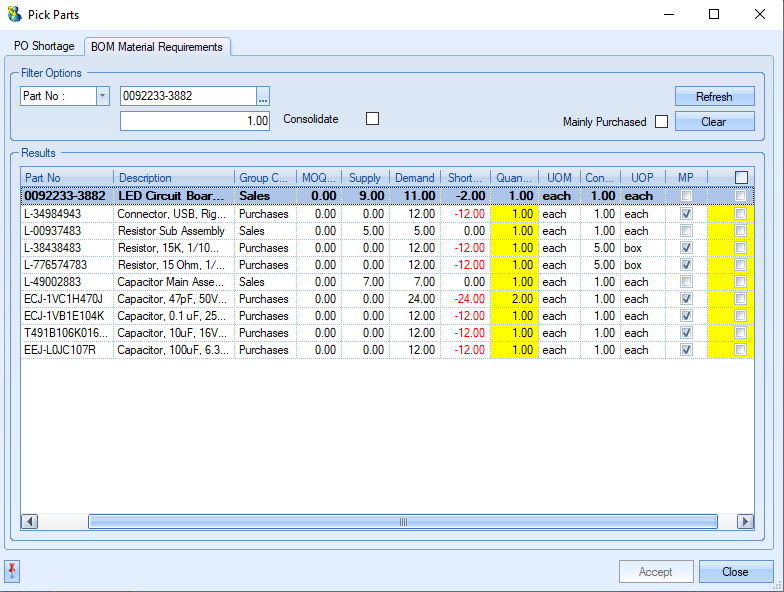
If the user ticks the Consolidate option this will show each of the individual parts rather than the different levels as shown above. Ticking the Mainly Purchased option will show all the parts that are bought from a supplier and are predominantly the parts that the user will be raising the requisition for.
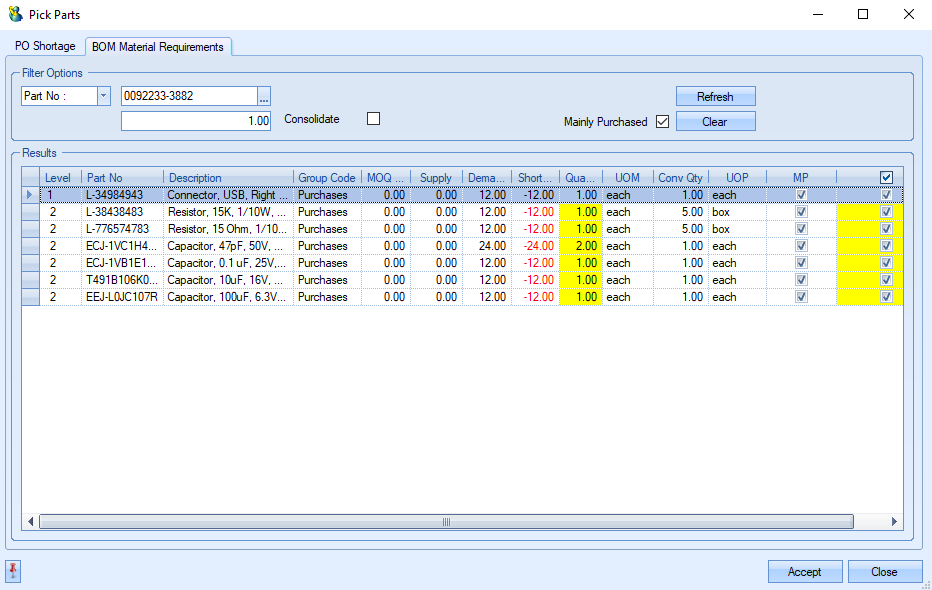
If the user wants to raise the requisition for all the items on the screen then they can do this by ticking the box at the end of each line and clicking accept.
The user can save the purchase requisition by clicking the accept option.