In addition to being able to email direct from within Progress, the Outlook Add-In functionality allows users to import emails from their Outlook client into Progress against customer and supplier contacts. This allows users to keep all communications, both internal and external, in Progress Plus for reference by users of the system. Once imported, the system also allows emails to be linked to specific orders, invoices, etc. so the communications can be viewed directly within the associated order, invoice, etc.
Installation & Setup
The set up of the Outlook Add-In requires the installation of an additional file. The file can be downloaded from the Progress Plus website via the Admin section of Progress.
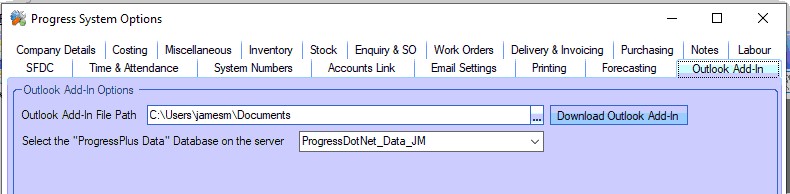
The specified path set on this screen is where the install file will be downloaded to when the download option is selected. Ideally, this should be a common, shared folder on the network which all users have access to so the file can be installed on each client that requires it. The shared Progress folder on the server is commonly used, as most users should have acces to this folder for system updates too. Periodically downloading the install file will also ensure the latest version of the Outlook Add-In is being installed and used.
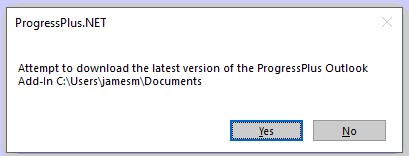
Clicking the DOWNLOAD OUTLOOK ADD-IN option will prompt the user to confirm the download. Clicking YES will proceed with the download to the specified folder.
The install file can also be downloaded via the download section of the Progress Plus website:
In addition to the installation of the Outlook Add-In, the system also needs to know which database the Outlook Add-In will be cross-referencing for email addresses. This should be the "live" company set up in Progress. The relevant database can be selected from the drop-down list.
Once the file has been downloaded and the database has been set, the installation of the Outlook Add-In can be done on the clients its required for.
NOTE: Make sure both Outlook and Progress are closed on the client before the installation.
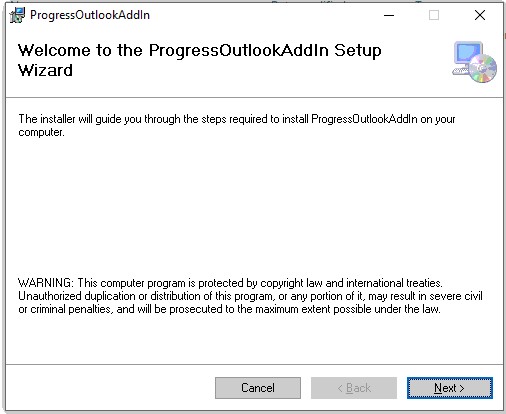
On each Progress client, the user should navigate to the specified shared folder and run the install file. Its a quick installation with the user simply confirming the install folder and completing the install.

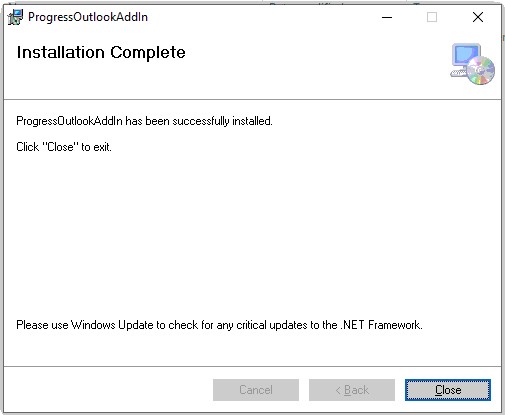
Once installed, the user will find some new options available within Outlook.
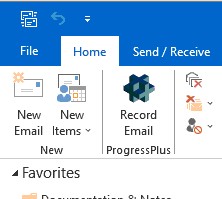
On the main Outlook screen, a new RECORD EMAIL option (with Progress logo) will now be available. This allows the user to select emails they have received and import them into Progress Plus.
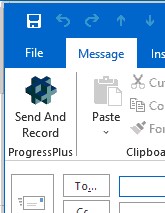
The user will also have a new SEND AND RECORD option within new emails too. This allows them to import the email into Progress Plus when they send them to the recipient.
Importing Emails From Outlook to Progress Plus
When an email is imported into Progress Plus using either of the options above, the system will cross-reference the FROM/TO email address from the email against all customer and suppliers, and their contacts, to identify the associated customer or supplier. If a matching email address is identified, the system will import the message to the relevant customer or supplier and confirm to the user of its successful import.

If the system is unable to identify an existing customer or supplier email address that matches that from the email, the system will highlight this to the user and give them options to update existing contacts with the new email address, create a new contact against the relevant customer or supplier or simply save the email against an existing customer or supplier without selecting a contact.

Editing an existing contact
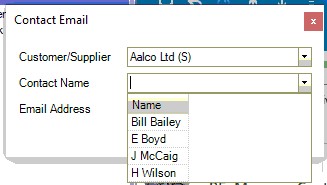
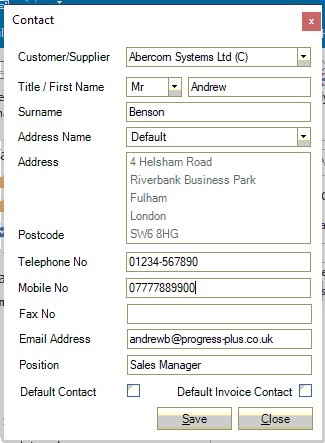
If the user wants to update an existing contact in Progress with the new email address, they should click the EDIT option when prompted. This will present the user with the following form.
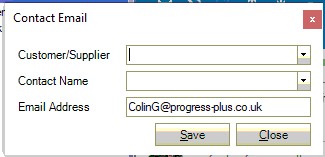
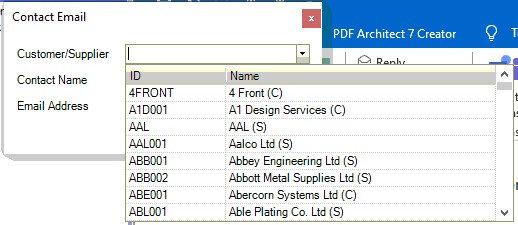
From here, the user can select the relevant customer (C) or supplier (S) and existing contact using the drop-down lists provided.
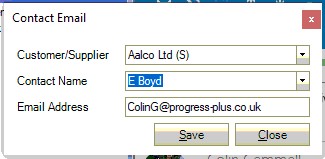
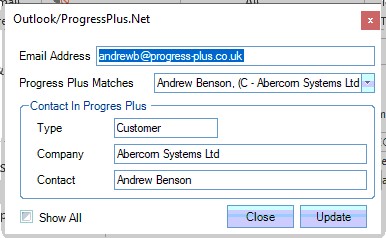
Once selected, the user can click the SAVE option. This will present the user with the following confirmation screen.
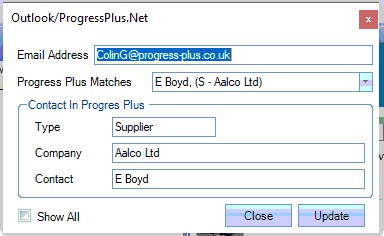
Clicking the UPDATE option will update the contact's email address in Progress and also import the email as requested. Confirmation of success will be displayed.
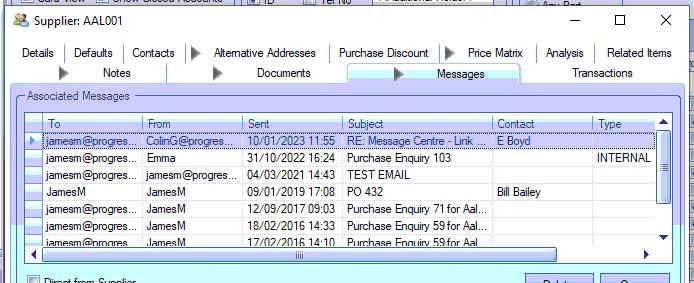
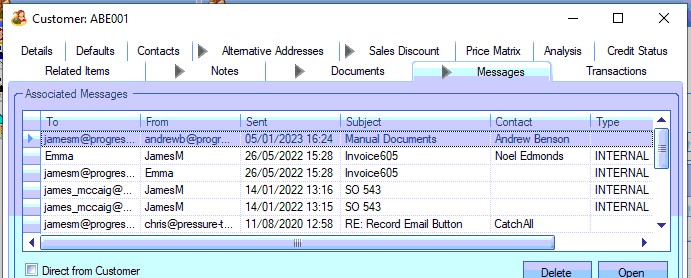
The imported email will now be listed in the supplier or customer's Messages tab.
Creating a New Contact
If the email address is a new contact (i.e. one that doesn't already exist in Progress Plus), the user can create a new contact by selecting the NEW option when prompted. This will display the following form.
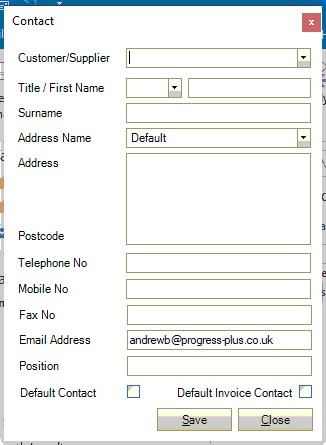
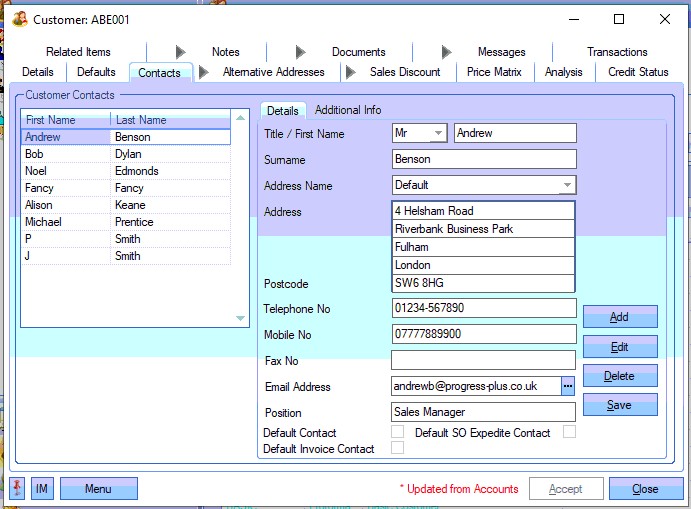
The user can proceed to complete the details for the new contact by selecting the relevant customer or supplier and adding the rest of the contacts details (if known).

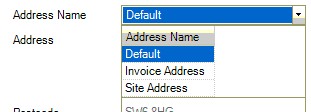
If the customer or supplier has multiple associated addresses, the user can select the correct one for the contact.
Once all the details have been entered, clicking the SAVE option will present the following screen for the user to confirm the details.
Clicking the UPDATE option will create the new contact against the selected customer or supplier and also import the email as requested. Confirmation will be given to the user.
The new contact will be visible in the Contacts tab of the customer or supplier and the email listed under the Messages tab.
Saving Email Only
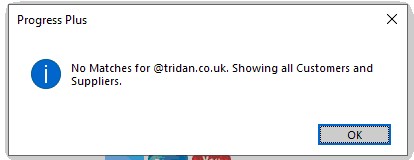
If the user simply wishes to save the selected email against a customer or supplier account without creating or updating contacts, they can select the SAVE option. The system will cross-reference existing emails in Progress Plus to try and identify the relevant customer or supplier. If the system identifies any matches, it will default the PROGRESS PLUS MATCHES list that's displayed to the matching customers and/or suppliers. If no matching emails can be found, the system will highlight this before allowing the user to select the relevant customer or supplier from all that exist in Progress Plus on the confirmation screen (SHOW ALL option will be ticked).
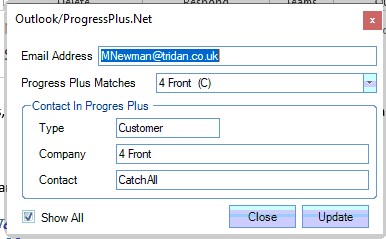
The user can select the customer (C) or supplier (S) from the drop-down list as required.
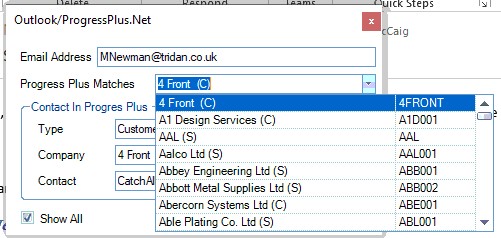
Once selected, the user can confirm the saving of the email by clicking the UPDATE option. Confirmation of the email import will be given.
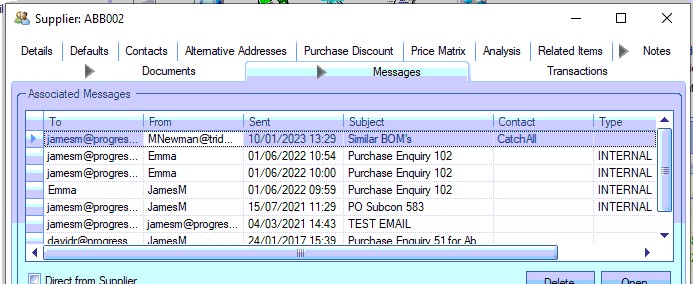
The imported email will now be listed in the selected customer or supplier's Messages tab under a generic CATCHALL contact.
Once emails have been imported, they will also be visible in the Link Outlook Mail screen, which can be found in the Message Centre section of Progress Plus. This allows the emails to be linked against specific orders, invoices, etc. within Progress.
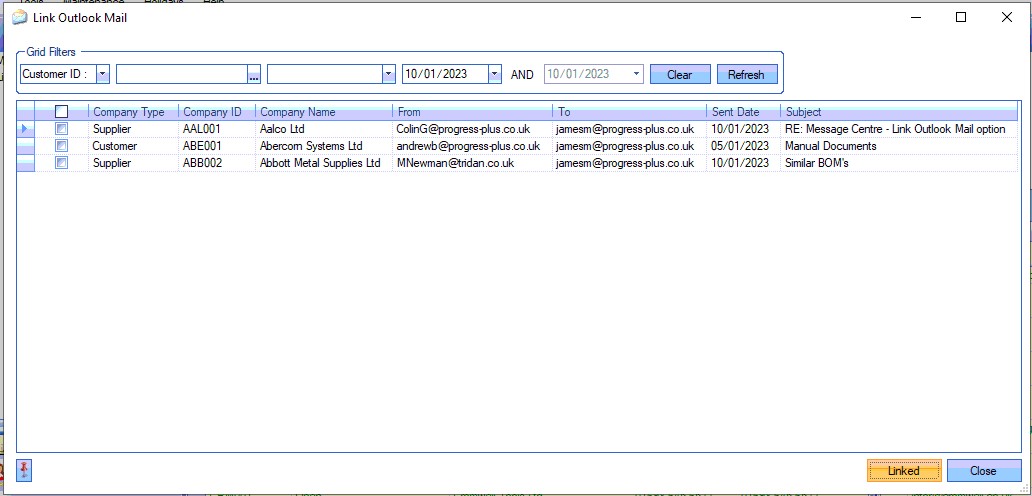
For more information on this, please refer to the Message Centre section of the manual where the Link Outlook Mail screen is covered in more detail.