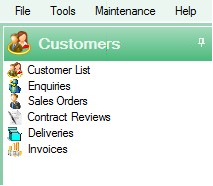
To enter a new enquiry the user must first choose the Customers section of the grid.
![]()
A range of Customer options similar to those shown in the following diagram will be displayed.
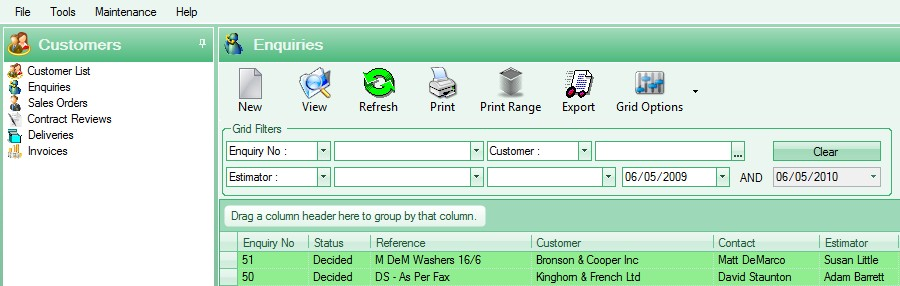
The user must now select the Enquiries section from the list on the left. This will take the user to the main Enquiries section, displaying all existing enquiries in the main grid.
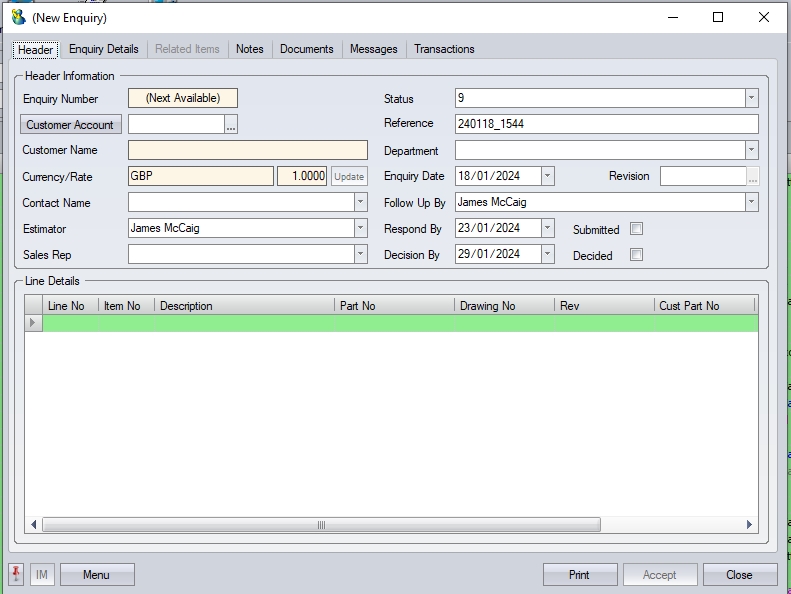
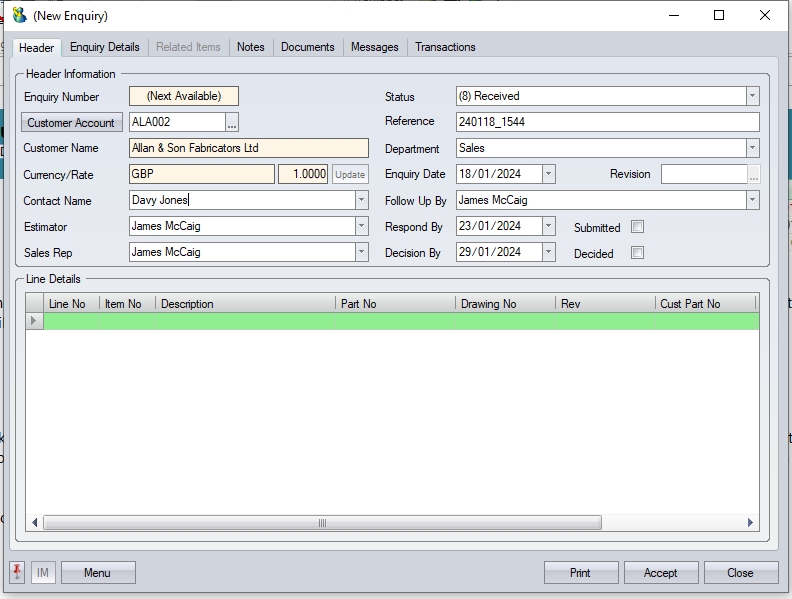
The user must now click onto the NEW button at the top of the main Enquiries screen. A new enquiry screen similar to the following will then be displayed. The user can now proceed to enter the required information.
| Enquiry Number | This is a system-maintained number. This is a numeric counter based on the enquiry numbering sequence as defined in the Admin section of Progress (Admin > Options > System Numbers). This will be populated with the next sequential number on saving the enquiry. |
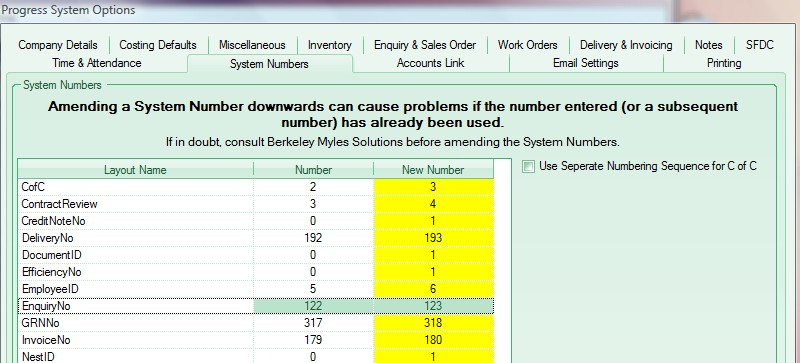
(System numbers in Admin section)
| Customer Account ID | Who are we quoting to? The user must select an existing customer from the look-up via the Company Search facility. The user can choose to scroll up and/or down to find the required record or alternatively by entering the first few letters of the required company name into the QUICK SEARCH field will narrow down the search. Customers who don't already exist in Progress Plus must be created first via the Customers > Customer List section. |

| Contact Name | Who is the quote for? The user can select an existing customer contact from the drop-down list, or simply type a name into this field. The system will populate this field with any pre-defined default contact, though the user can select or type an alternative. |
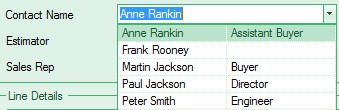
| Names simply typed into the Contact Name field will be saved against this quotation but will not appear in the look-up for future use. New contacts can be added to the customer account via teh COntacts section of the customer account. |
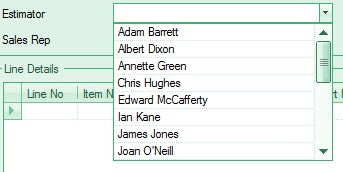
| Estimator | Who is entering the quotation? This field will default to the current system user but can be amended by choosing an alternative from the drop-down list of employees. |
| Sales Rep | This field will default to the Sales Rep (if any) set up against the customer account as shown in the following example. An alternative Sales Rep can be selected from the drop-down list if required. |
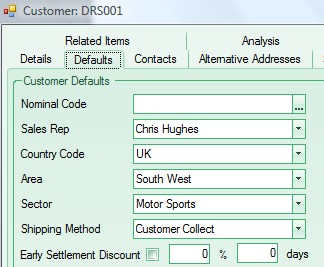
(Customer default Sales Rep)
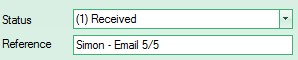
| Status | This field will display the current status of the enquiry. It is usually automatically maintained by the system but can be manually changed. The standard statuses of an enquiry are normally as follows: |
| Entered – Some enquiry details have been entered but the quotation has not yet been sent to the customer. |
| Submitted – The customer has been sent a quotation but no decision has been made yet. |
| Decided – The quotation has been decided. The quote has been progressed into a Sales Order or marked as Lost. |
| Enquiry Ref. | This field can be used to enter a meaningful reference to the customer e.g. Tender AB/134, As per your fax, Your Enquiry 4356, As per email etc. |
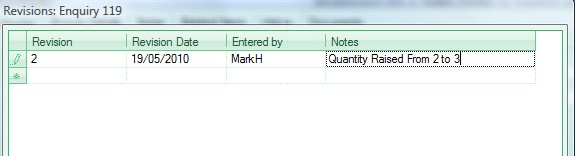
| Revision | If required, the user can maintain notes of different revisions made to this quotation. |
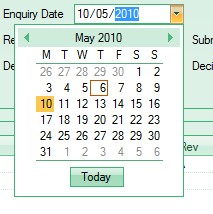
| Enquiry Date | This is the date of the enquiry and will default to the current date, but the user can select an alternative from the drop-down calendar. |
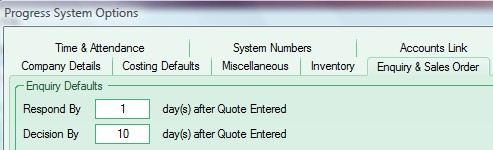
| Respond By | What date is the contact expecting a quotation by? This field will default to the current date plus the default time for processing the enquiry. This is set in the Admin section of Progress (Admin > Options > Enquiry & Sales Order > Enquiry Defaults). The user can select an alternative from the drop-down calendar if required. |
| This date will be also be used in the Today > To Do > Enquiries To Respond To screen to highlight enquiries that are due a response. |

| Decision By | When does the user expect the contact to let him/her know if they have been successful with the quotation or alternatively when does the user want to “chase up” the contact for a decision? Like the RESPOND BY date above, this field will default to the current date plus the default time for a decision to be expected on the enquiry. This is set in the Admin section of Progress (Admin > Options > Enquiry & Sales Order > Enquiry Defaults). The user can select an alternative from the drop-down calendar if required. |
| This date will also be used on the Today > To Do > Enquiries with a Decision Date to highlight enquiries that are due to be decided. |

| Submitted | This flag indicates the enquiry has been submitted. When ticked, the date shown will default to the current date, however the user can select another date using the drop-down calendar if required. THis will typically be updated at a later stage once the enquiry has been sent to the customer. |
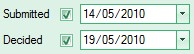
| Decided | Like the SUBMITTED flag above, this flag indicates the enquiry has been decided. When ticked, the date shown will default to the current date, however the user can select another date using the drop-down calendar if required. This will typically be updated at a later stage once the customer had decided how they wish to proceed. |
At this stage, the enquiry will look something similar to the example below.
Once the main enquiry details have been entered the user can proceed to the Line Details section of the enquiry. This is where the user will specify the products/parts that are being quoted on.
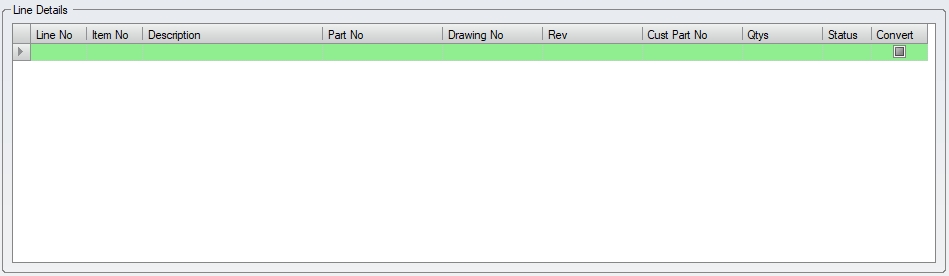
| Line No | This is a system maintained counter field and cannot be amended. |
| Item No | This field will default to the same number as the LINE NO, but this field can be amended by user to something more suitable. This field can be alphanumeric. |
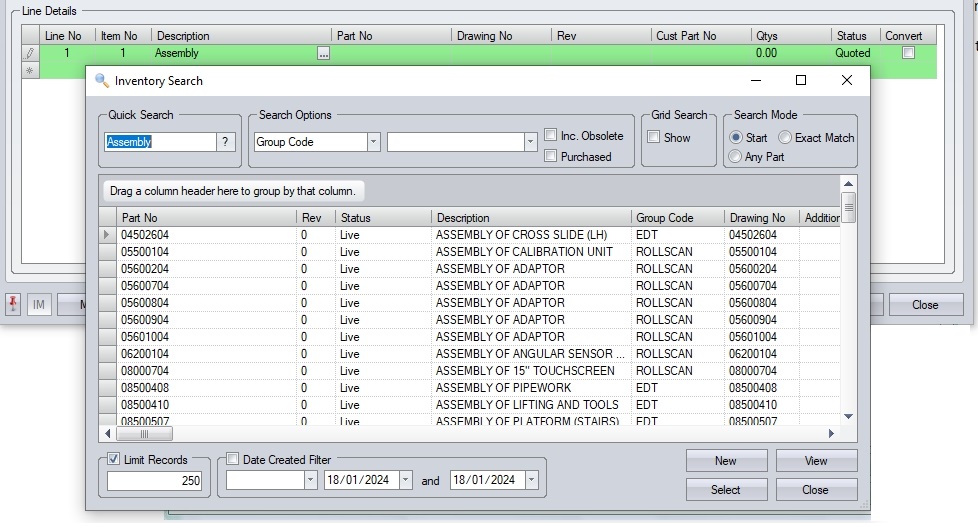
| Description | The user can enter the description of a new item or alternatively search and choose an existing part via the Inventory Search look-up. When choosing an existing part number, the description, part number, drawing number, revision and customer part number will be automatically populated based on the existing Progress part number's details. Typing in a DESCRIPTION and pressing the TAB key will display a list of any existing parts with the similar descriptions. The user can then choose one of these parts to quote for or, alternatively, click on the NEW option to create a new part number. |
| Part No | The user can enter an alphanumeric part number or leave it blank for a system generated number based on the new Enquiry Number and Line No (e.g. the system generated part number for Enquiry Number 222 Line No.1 would be E/222-1). Once the part number is saved on the enquiry, it cannot be amended. |
| Drawing No | The user can enter the drawing number for this item if desired. This field is not essential |
| Rev | This field is for any drawing revision number for this item. This field is not essential |
| Cust Part No | The user can enter an alphanumeric customer part number if it doesn't already exist in Progress against the selected part number. This field is not essential. |
At this stage, the user should have a screen similar to the following.
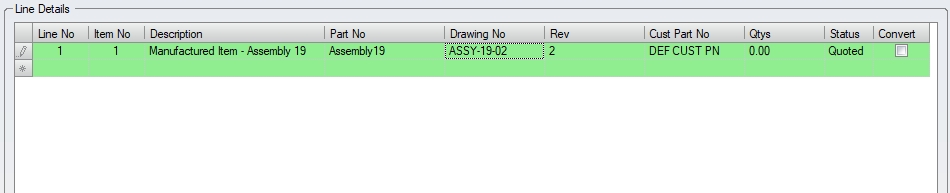
The QTYS, STATUS and CONVERT columns are not used at this time. The user can repeat the process of adding parts to the enquiry until all the required items are included for quotation. The user should end up with a screen similar to the following.

The user can save the enquiry at this stage by clicking the ACCEPT option at the bottom of the screen. This will record the enquiry, and its details, in Progress Plus and assign the enquiry its unique number.

The user can now click on the MENU button that is situated at the bottom of the screen. This will present the following options.
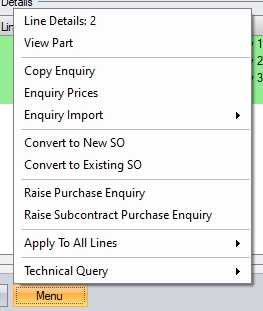
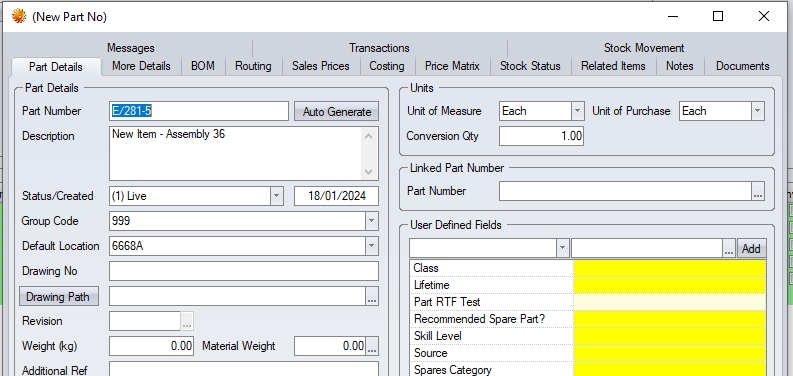
The user must now click on the VIEW PART option to proceed with the enquiry. If the selected part number on the enquiry line already exists in Progress Plus, this will open the existing inventory record of part number on the selected enquiry line. If the part number entered by the user doesn't already exist in Progress, then a NEW PART NO screen will be displayed for the user to complete. Any details added to the enquiry line (i.e. description, part number, etc.) will be carried across to the new part form. If no part number has been specified on the enquiry line (i.e. description only), the system will assign a part number based on the enquiry and enquiry line in the formay of E-XXX/Y, where XXX is the enquiry number and Y is the enquiry line number.
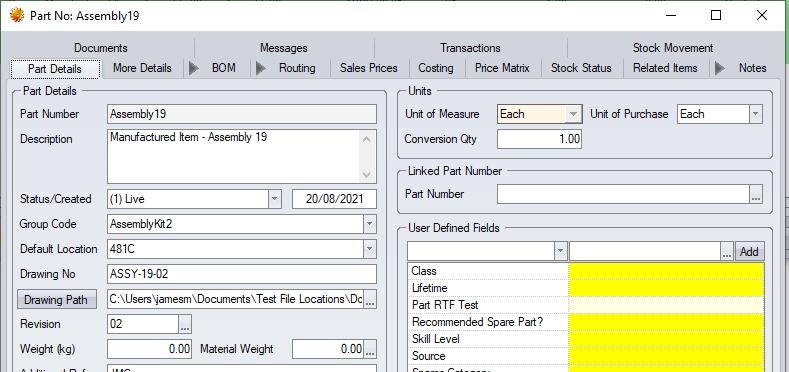
(VIEW PART opening an existing Progress part number)
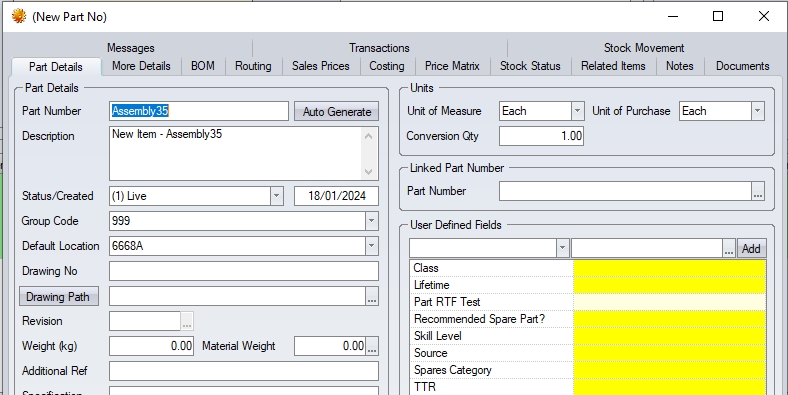
(VIEW PART option creating a new part number where the new part number has been entered on the enquiry line)
(VIEW PART option creating a new part number where the new part number has not been entered on the enquiry line)
The next section of the Quick Start Guide covers the creation of new part.